Bakery Style Red Velvet Cookies – Extra Thick
I may receive compensation in the form of payment or products to supplement my posts, but all opinions remain my own. Read our disclosure policy.

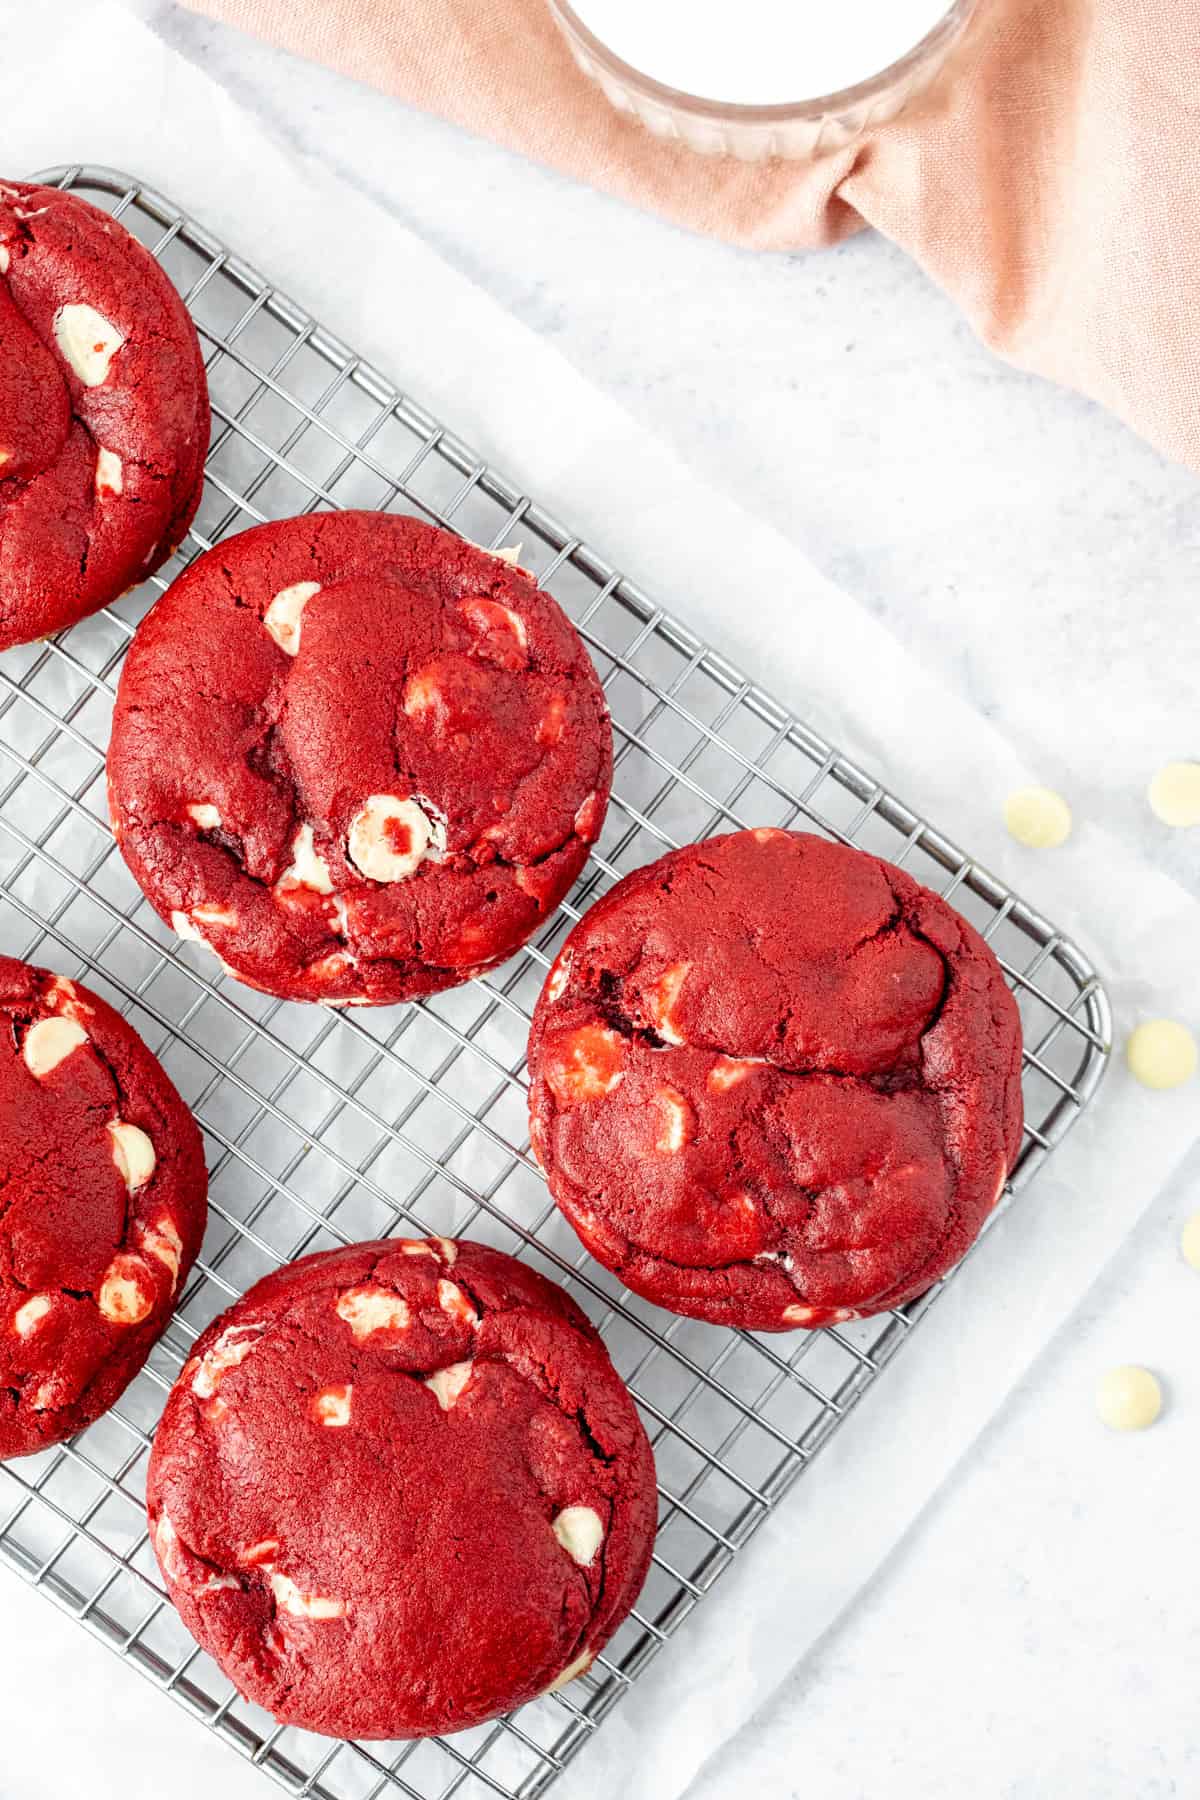
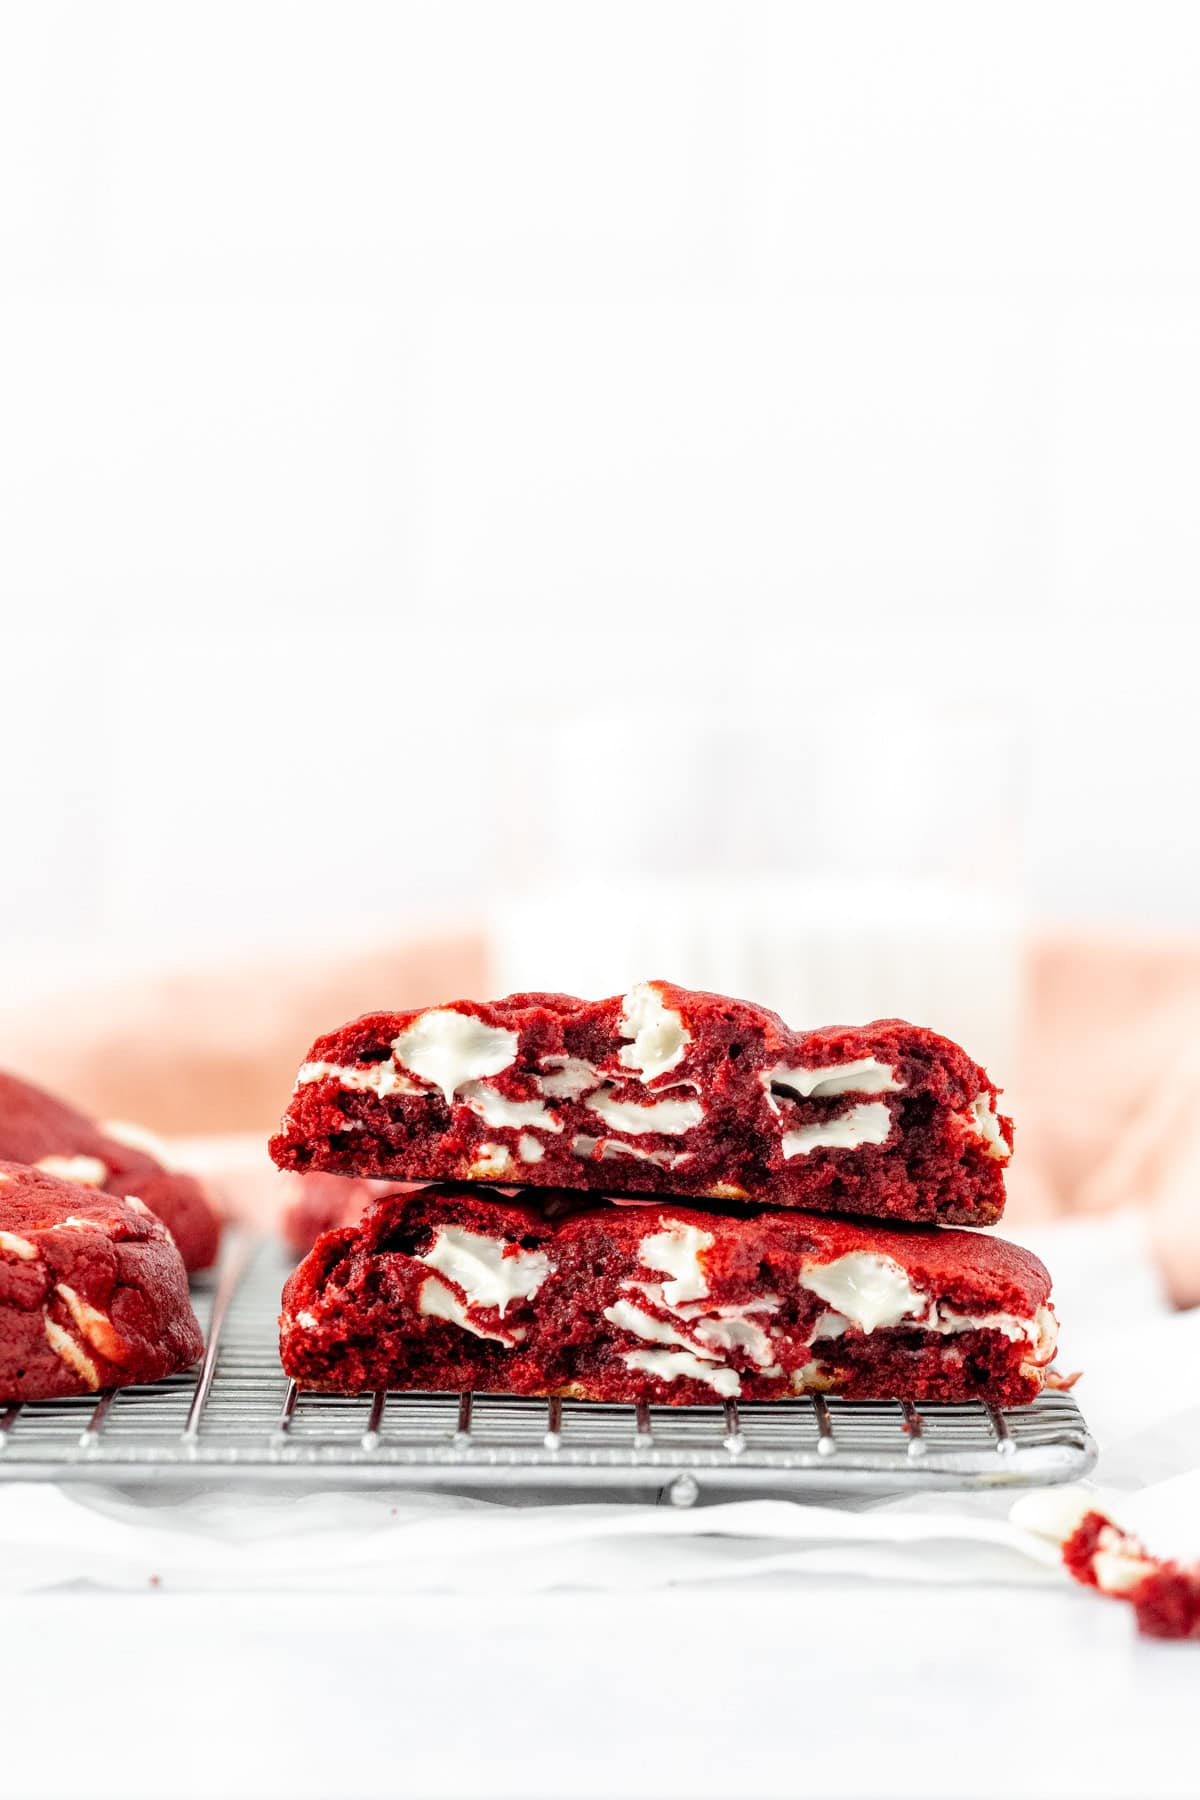
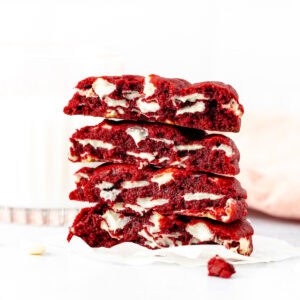
These bakery style red velvet cookies incredibly thick with slightly crispy edges and gooey centers. They have the perfect red velvet flavor and are oozing with so many chocolate chips.

A few years ago I started experimenting with recipes for extra thick, bakery-style cookies. You know, type of cookies that are gigantic and verging on gooey in the middle? I think always think of Levain Bakery in New York city with I think of thick and chunky cookies – and these bakery style red velvet cookies are inspired by the famous bakery.
This recipe is makes red velvet cookies that are slightly crispy on the edges and verge on gooey in the middle. They’re gigantic in size and extra thick, so you can pack them with a ton of chocolate chips or chocolate chunks. They have the perfect red velvet flavor that has a hint of cocoa and a slight tanginess. The beautiful red color really takes these to the next level.
Getting the Perfect Red Velvet Flavor
Red velvet is classified by a hint of cocoa and a slight tanginess. Therefore, this recipe has less cocoa than my chocolate cookie recipe and uses natural cocoa, as opposed to Dutch process with delivers a richer flavor and darker color.
The slight tanginess comes from adding a touch of vinegar – this is a key ingredient in any red velvet cake. Do not leave it out! To interact with the vinegar (which is an acid), it also uses baking soda as a leavener.
Getting the Perfect Thick & Chunky Texture
There are a few key ingredients for thick & chunky cookies:
- Cold Butter. Cold butter helps to give cookies slightly crispy edges and gooey centers.
- Cake Flour. This recipe uses a combination of all-purpose flour and cake flour. The cake flour contributes to the centers being tender. Be sure not to use self-rising cake flour. Always sift cake flour first as it can be lumpy.
- The Right Amount of Flour. Too much flour and these cookies will be dry and flavorless. The flour needs to be measured correctly. Use a kitchen scale and weigh for the best results. If you don’t have a kitchen scale, whisk the flour first. Then spoon into dry measuring cups (not the clear Pyrex liquid measuring cups) and level off the top.
- Gel Food Coloring. For these cookies to have a rich red color without adding too much liquid (liquid will make the cookies spread thin) I highly recommend using gel food coloring because it is more concentrated.
- Chill the Dough. For extra thick cookies, chilling is required. I recommend at least 2 hours or up to 48 hours.
- Make BIG Cookie Dough Balls. I use a 1/4 cup or 1/3 cup to measure mine out. On a kitchen scale, they weighed 3.5 ounces or about 100 grams.
- Bake at 375F (180C). A slightly higher bake temperature minimizes spread and helps to make the edges slightly crispy while the middle stays gooier.
Recipe Tip
I used white chocolate callets by Callebaut – they melt as the cookies bake and stay quite melty as the cookies cool (as you can see pictured). Any white chocolate chips or chocolate chunks work well. I prefer to use real white chocolate over chips called “white cream” as I find the flavor far superior.
Freezing
One of the best things about this recipe is that these cookies are perfect for making ahead of time. You can chill the dough in the fridge for up to 48 hours, then form into balls and bake.
Cookie dough balls can be frozen for up to 3 months in a freezer bag with excess air removed. Bake the cookies from frozen, as directed in the recipe.
Baked and fully cooled cookies can be wrapped tightly, placed in a freezer bag or freezer safe container and then frozen. Thaw in the fridge, then bring to room temperature before enjoying.

More Red Velvet Treats to Try
- Red Velvet Blossoms – these are soft, chewy and topped with a Hershey’s Kiss
- Easy Red Velvet Cake – this is made in a 9×13 inch cake pan for easy frostin
- Red Velvet Cookie Cake – one giant cookie that’s decorated with cream cheese frosting
- Red Velvet Brownies – delicious filled with white chocolate chips or topped with cream cheese frosting
Bakery Style Red Velvet Cookies
Equipment
- Cookie Sheets
Ingredients
- 1¾ cup all-purpose flour (219 grams or 7.87 ounces)
- 1⅔ cup cake flour (135 grams or 6.68 ounces), not self rising
- ¼ cup natural cocoa powder (22 grams or 0.75 ounces)
- 1 teaspoon baking powder
- ¾ teaspoon baking soda
- ½ teaspoon salt
- 1 cup unsalted butter (226 grams or ½ lb), cold, cut into cubes
- 1 cup brown sugar (210 grams or 7.5 ounces ), I used light
- ¾ cup granulated sugar (150 grams or 5.6 ounces)
- 2 large eggs
- 2 teaspoons vanilla extract
- ½ teaspoon white vinegar, or distilled vinegar
- 2 teaspoons red food coloring , I recommend gel, you can use a little more or a little less
- 2¼ cups white chocolate chips or chunks (about 405 grams)
Instructions
- In a large bowl, sift together the flour, cake flour, cocoa, baking soda, baking powder and salt. Give the bowl a whisk and set aside. Be sure to measure the flour and cake flour properly – either using a kitchen scale or whisk first, then spoon into dry measuring cups and level off the top.
- In a separate large bowl, beat together the butter, brown sugar and granulated sugar until creamed.
- Mix the eggs, vanilla, vinegar and food coloring into the butter mixture. It will be very vivid at this stage.
- With the mixer on a low speed, beat the dry ingredients into the butter mixture. I typically do this about ½ at a time. The dough will be very thick. You may need to use your hands to get all the dry ingredients incorporated.
- Stir in the white white chocolate chips.
- Cover the bowl and place in the fridge for at least 2 hours or up to 48 hours.
- When ready to bake, preheat the oven to 375℉ (190℃). Line cookie sheets with parchment paper. If the dough has been in the fridge overnight, you may need to let it sit on the counter for 5-10 minutes first so that it's easier to work with.
- For the dough into large balls – you can use a ¼ cup or ⅓ cup measuring up. I like to weigh mine – each was 3.5 ounces (100 grams). Place 2½ inches (about 6 cm) apart on the lined cookie sheets.
- Bake 1 sheet at a time in the middle of the preheated oven. Keep the other cookie dough balls in the fridge as you bake 1 sheet at a time. The cookies will take about 12-15 minutes, or until the tops look set.
- Cool the cookies on the cookie sheets for at least 15 minutes. Note: because these cookies are very thick, do not try to transfer them to a cooling rack quickly or they will fall apart. For perfectly round cookies, when the cookies are fresh from the oven take a large biscuit cutter or very large mug (big enough to fit around the cookie without slicing it) and place around a cookie. Then make a gentle circular motion to trace the outside of the cookie.
Notes
- Cake Flour: Cake flour gives these cookies an extra tender middle. Do not use self-rising. If you do not have cake flour, add an extra 1 1/4 cups all-purpose flour (in addition to the 1 3/4 cups you’re already using). Then add in 3 tablespoons of cornstarch (AKA cornflour in the UK and Australia).
- Cocoa: For red velvet recipes, natural cocoa powder is better than using Dutch process because you want a mild chocolate flavor.
- Freezing: Cookie dough balls can be baked frozen for up to 3 months. Bake from frozen as directed in the recipe. Baked and cooled cookies can be wrapped tightly then placed in a freezer bag or freezer container and frozen for up to 2 months. Thaw in the fridge then bring to room temperature before enjoying.
- Nutrition: Details are an estimate only and based on 1 cookie, assuming the recipe yields 16 very large cookies.