Pumpkin Chocolate Chip Bars
I may receive compensation in the form of payment or products to supplement my posts, but all opinions remain my own. Read our disclosure policy.
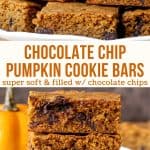
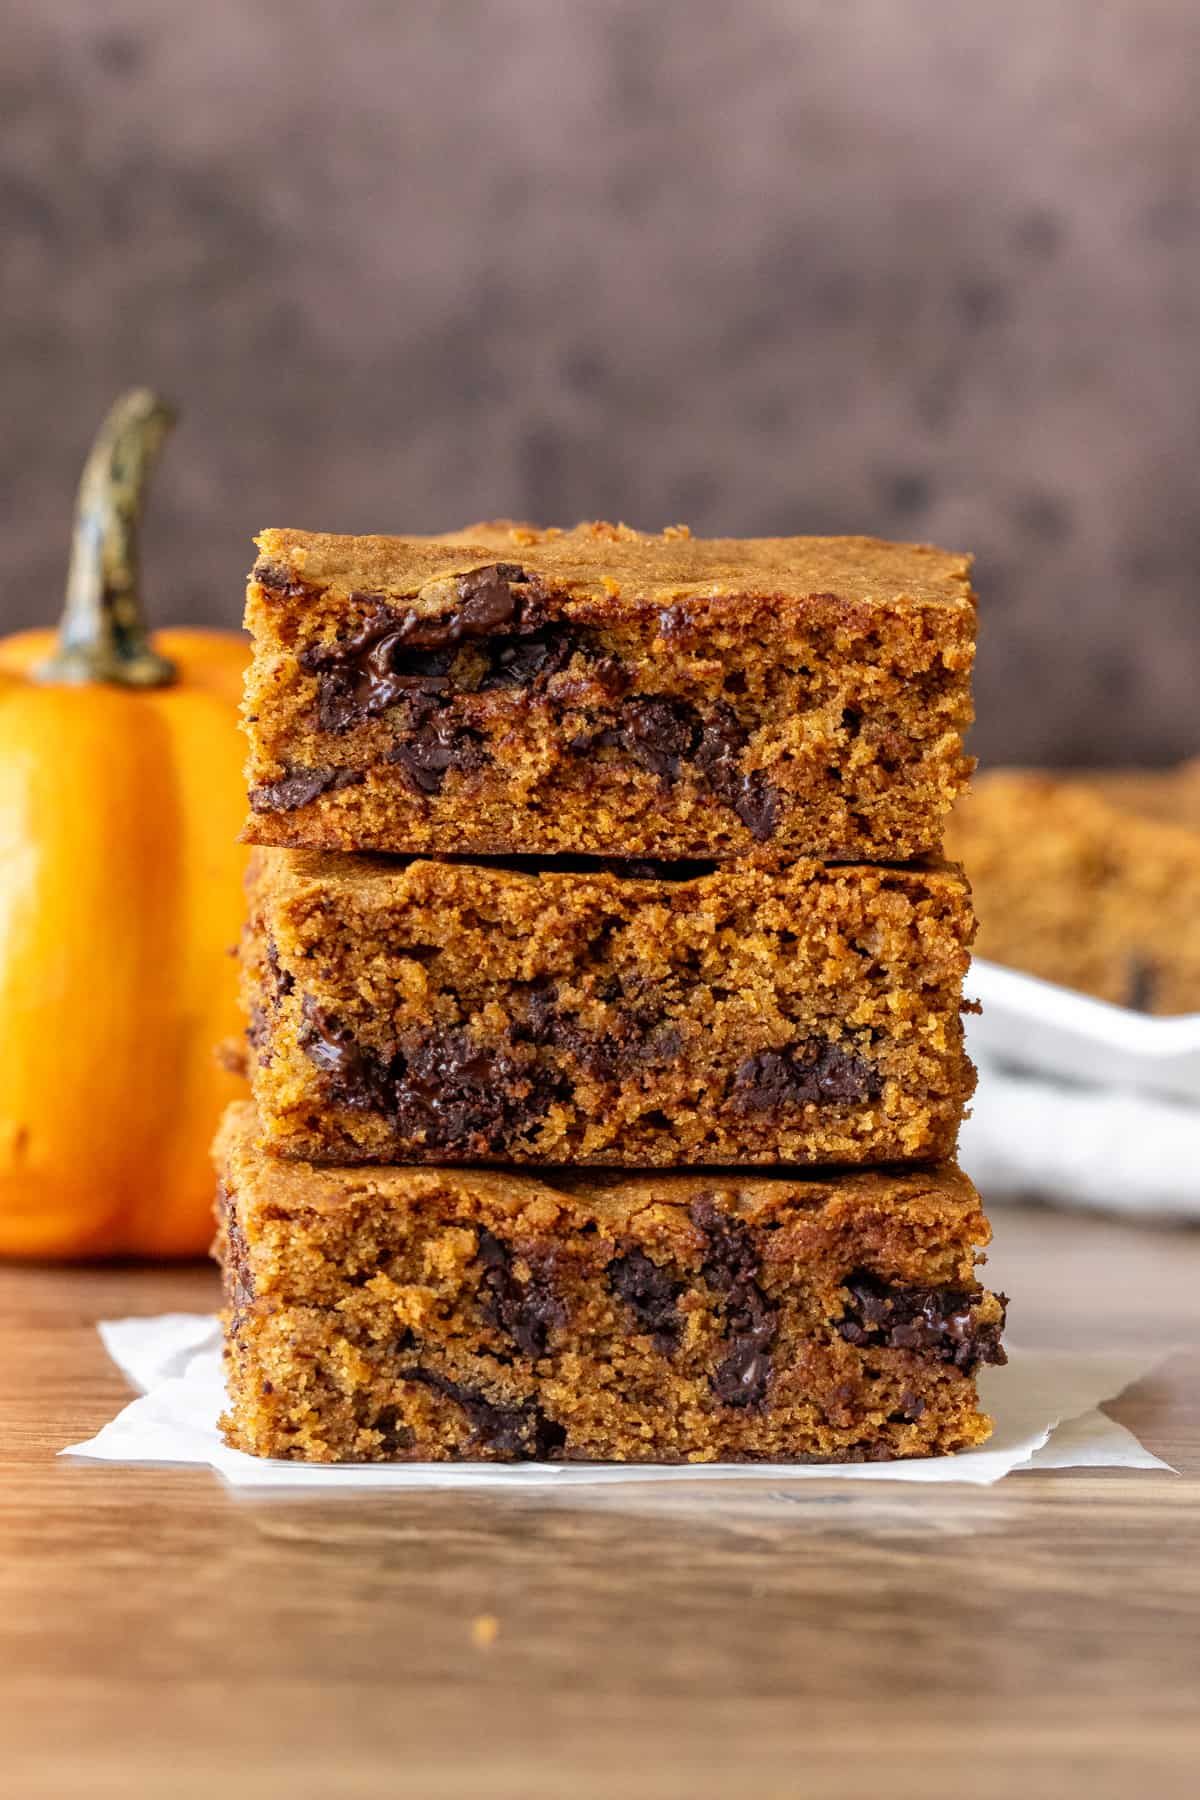
These pumpkin chocolate chip bars are moist and chewy with a delicious pumpkin spice flavor and tons of chocolate chips. They’re an easy fall treat that’s perfect for a crowd! 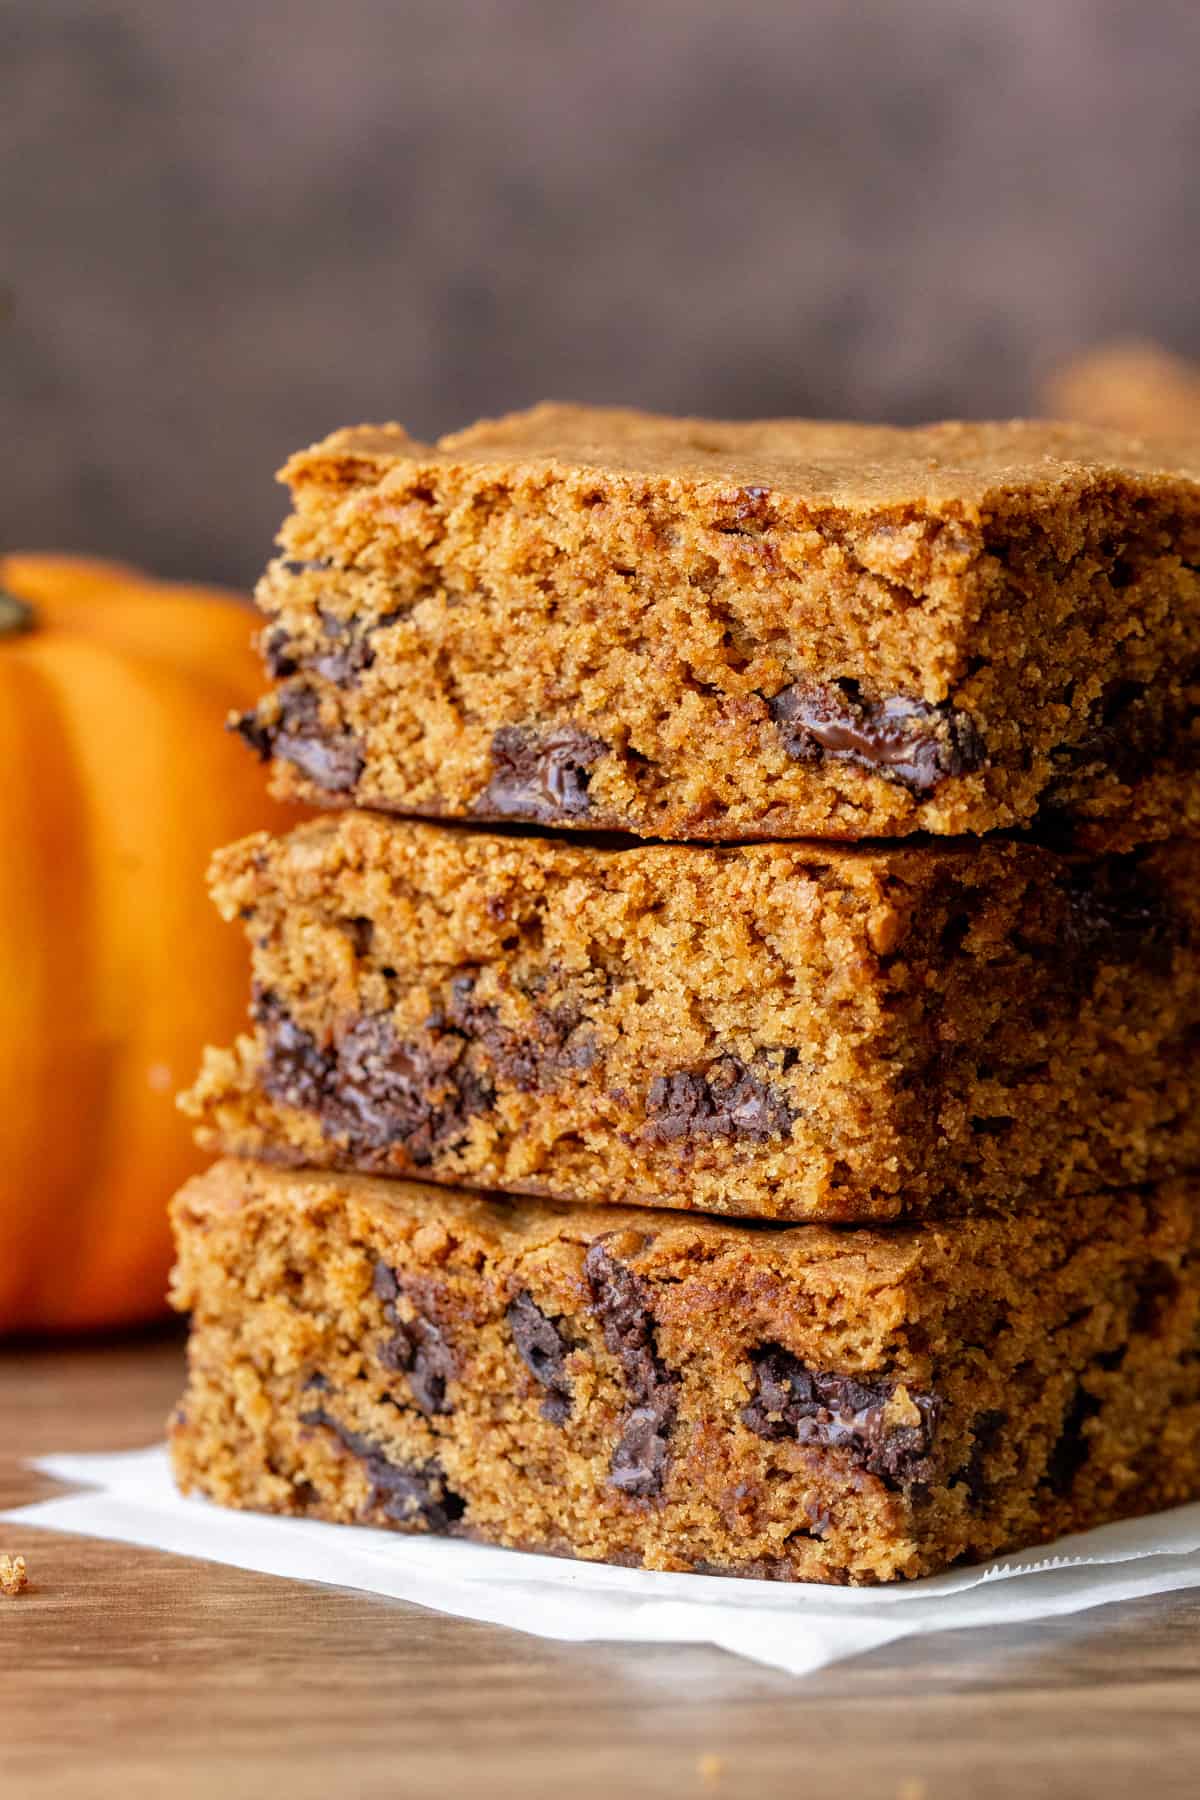
The Best Pumpkin Chocolate Chip Bars
These pumpkin chocolate chip bars are somewhere in between a blondie and a cookie bar. They’re moist and chewy with slightly crispy tops – like you’d expect from a blondie. In addition to the pumpkin, they’re made with pumpkin pie spice, brown sugar and vanilla for the perfect fall flavor. Then they’re dotted with chocolate. I actually used chocolate chunks as opposed to chocolate chips in the photos – but don’t hold my poor recipe naming against me.
Chewy vs. Cakey Pumpkin Cookie Bars

Pumpkin adds a lot of moisture to baked goods. This is great when making pumpkin cakes, muffins and breads – but if you want a pumpkin cookie or pumpkin blondie – it makes things a bit tough. Too often pumpkin cookies taste too much like cake, which I didn’t want to have happen in this recipe. Therefore, to get the perfect pumpkin cookie bar texture, this recipe is made without any eggs. Don’t worry – that’s not a typo.
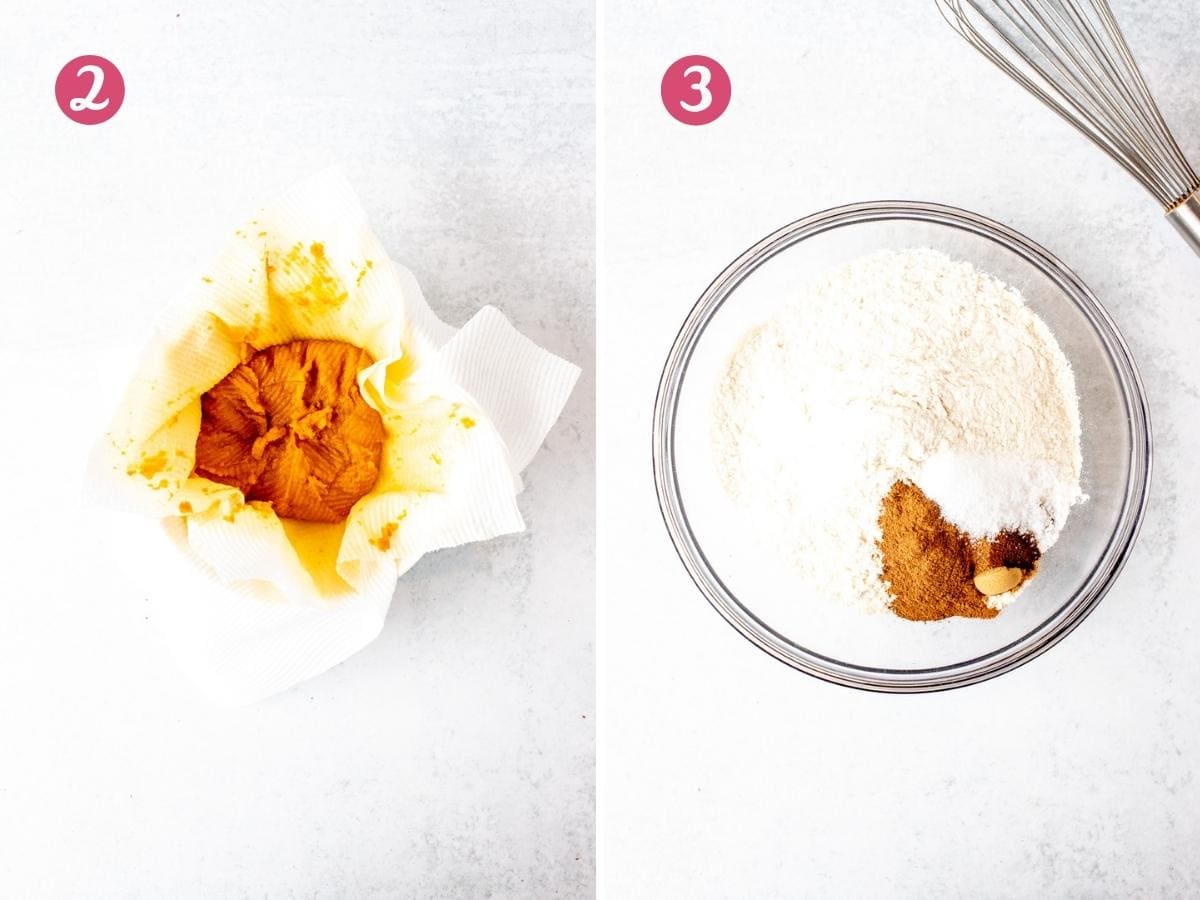
You’ll also squeeze the moisture out of the pumpkin using paper towel. Again, this is to remove that excess moisture that makes the bars cakey.
Making Pumpkin Chocolate Chip Bars
- Start by preheating the oven to 350F (180C). Then prepare a 9×13 inch (23×33 cm) pan – either by lightly greasing or by lining with parchment paper. If you choose to line the pan with parchment paper, be sure to leave an overhang around the edges.
- Measure out your pumpkin puree (be sure to use canned pure pumpkin and not canned pumpkin pie filling). Then squeeze out the excess moisture from the pumpkin using paper towel. This step is very important to remove the excess liquid. If you do not remove the excess moisture, the bars will end up more cakey in texture. Set aside.
- In a medium bowl, whisk together the flour, cinnamon, ground ginger, ground nutmeg, ground cloves, baking soda and salt. This step ensures that the spices are evenly distributed throughout the batter.

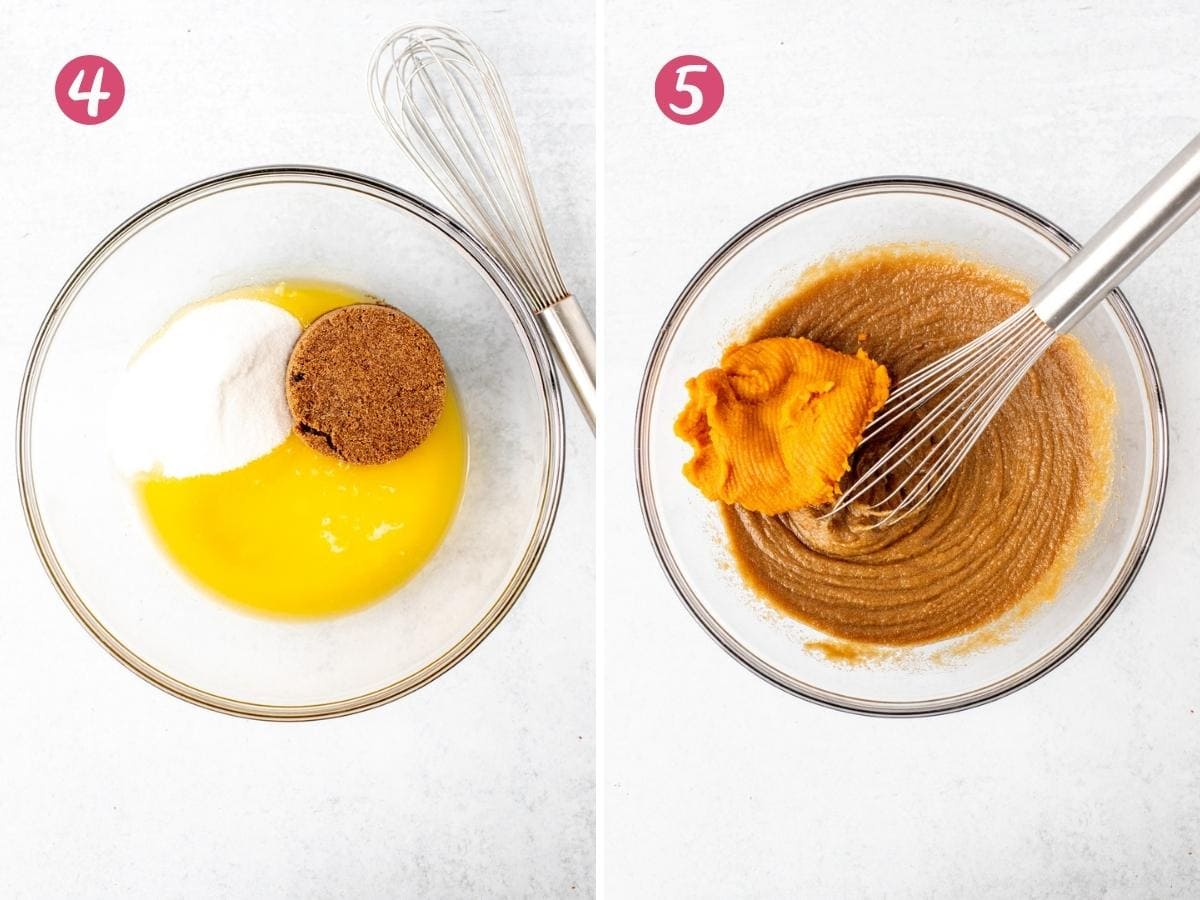
- Then in a separate large bowl, whisk together the melted butter, brown sugar and granulated sugar until smooth. There should be no more lumps of brown sugar and you should no longer see pools of melted butter sitting on top of the sugar.
- Then whisk the pumpkin puree and vanilla extract into the butter and sugar mixture. Note – that you won’t add in any add in any eggs.
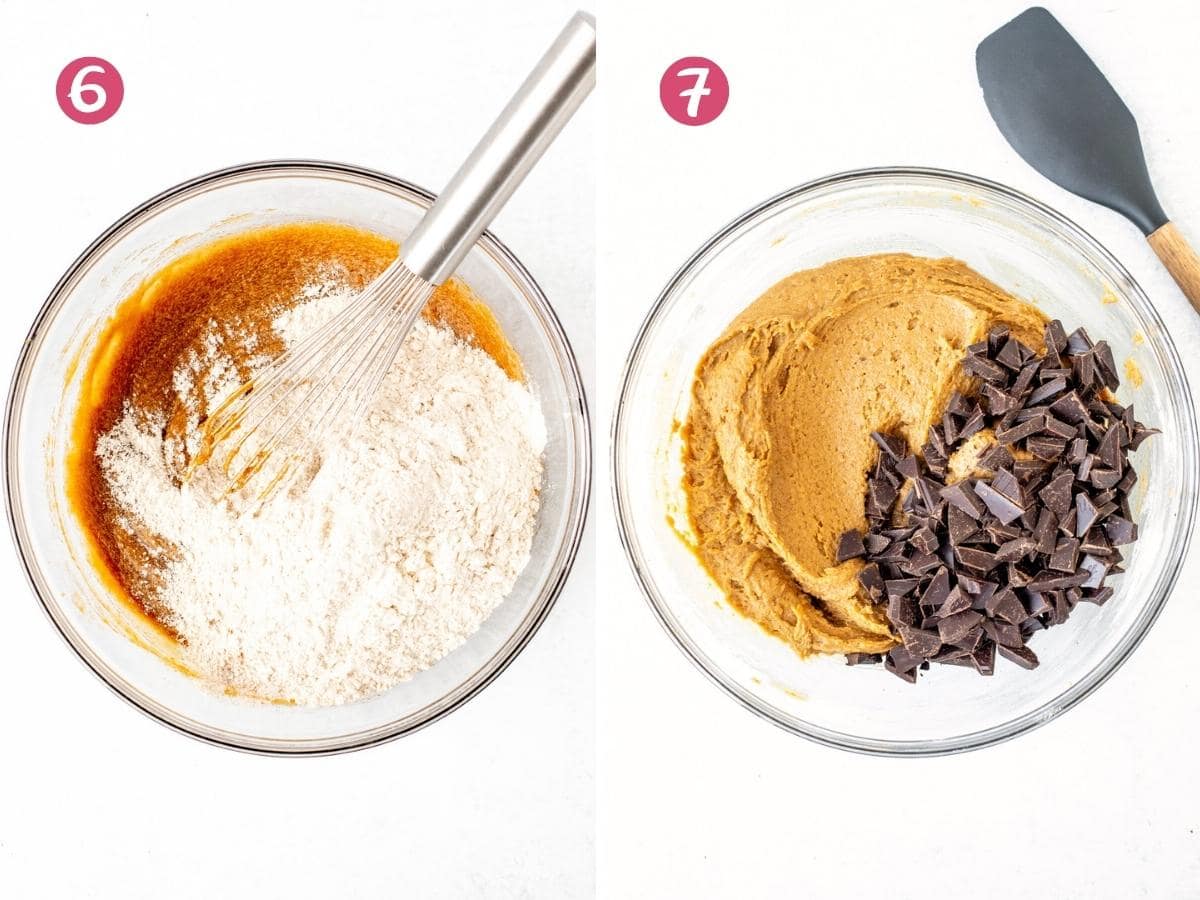
- Carefully add the dry ingredients into the pumpkin mixture and stir until you no longer see lumps of dry ingredients. I usually do a few stirs with a rubber spatula and whisk by hand to remove any lumps.
- Fold in the chocolate chips or chunks. Sometimes I use chocolate chips, and sometimes I’ll cut up baking chocolate to use chocolate chunks. I prefer to use dark or semi-sweet chocolate in this recipe because I find that it pairs better with the pumpkin thank milk chocolate.
- Spoon the batter into the prepared pan and smooth the top.
- The bars will bake in the preheated oven for about 30-40 minutes. The bake time will vary depending on your oven and depending on how gooey you like your bars. For a slightly gooier, more blondie like texture – they’ll bake for about 30-35 minutes. For a less gooey texture, they’ll bake for 35-40 minutes.
Be sure to let the bars cool for at least 30 minutes before slicing. The will still be very warm and gooey – even after 1 hour of cooling. If you’d like your bars to slice with cleaner cuts, then I’d recommend waiting for them to cool fully – until the pan no longer feels warm to the touch.
And if you love pumpkin and chocolate, then be sure to try:

Pumpkin Chocolate Chip Bars
Equipment
- 9x13 Inch Pan
Ingredients
- 3/4 cup pumpkin puree (180 ml) , be sure to use pure pumpkin and not pumpkin pie filling
- 2 1/2 cups all-purpose flour (313 grams)
- 1 teaspoon cinnamon
- 1/2 teaspoon ground ginger
- 1/4 teaspoon ground nutmeg
- 1/4 teaspoon ground cloves
- 1 teaspoon baking soda
- 1/2 teaspoon salt
- 3/4 cup unsalted butter (168 grams) , melted
- 1 cup brown sugar (210 grams) , light or dark, I used dark
- 3/4 cup granulated sugar (150 grams), use 1/2 cup (100 grams) for a less sweet cookie bar
- 2 teaspoons vanilla extract
- 1 1/2 cups chocolate chips (270 grams) , or chocolate chunks
Instructions
- Preheat the oven to 350F (180C). Lightly grease a 9x13 inch (23x33 cm) pan, or line with parchment so that there is an overhang around the edges.
- Using a few sheets of paper towel, squeeze out the excess moisture from the pumpkin. Set aside.
- In a medium bowl, whisk together the flour, spices, baking soda and salt. Set aside.
- In a large bowl, whisk together the melted butter, brown sugar and granulated sugar until no lumps of sugar remain.
- Whisk the pumpkin and vanilla into the butter and sugar mixture.
- Stir the dry ingredients into the pumpkin mixture until you no longer see lumps or streaks of dry ingredients. I typically do a few stirs with a rubber spatula and then whisk by hand with a wire whisk.
- Fold the chocolate chips/chunks into the batter.
- Spoon the batter into the prepared pan and smooth into an even layer.
- Bake in the preheated oven for 30-40 minutes. Baking closer to 30 minutes will give you a gooier, more blondie-like texture. Baking closer to 40 minutes will make the bars less gooey and a little more cookie-like.
- Cool the bars in the pan for at least 30 minutes. For clean cuts, cool until the pan is no longer warm.
Notes
- Pumpkin: Make sure to use pumpkin puree and not canned pumpkin pie filling. I highly recommend using canned pumpkin puree as opposed to making your own because homemade versions have varying amounts of moisture and can lead to results that are different than the recipe as written.
- Spices: The spices can be substituted with 1 tablespoon of pumpkin pie spice.
- Storage: Store baked and cooled bars in an airtight container at room temperature for up to 3 days, or in the fridge for up to 5 days. Baked and cooled bars can be wrapped tightly and frozen for up to 2 months. Thaw in the fridge.
- Nutrition: Details provided are an estimate only and based on 1 bar, assuming the pan is sliced into 18 uniform pieces.