Red Velvet Muffins – Filled with Chocolate Chips!
I may receive compensation in the form of payment or products to supplement my posts, but all opinions remain my own. Read our disclosure policy.
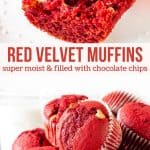
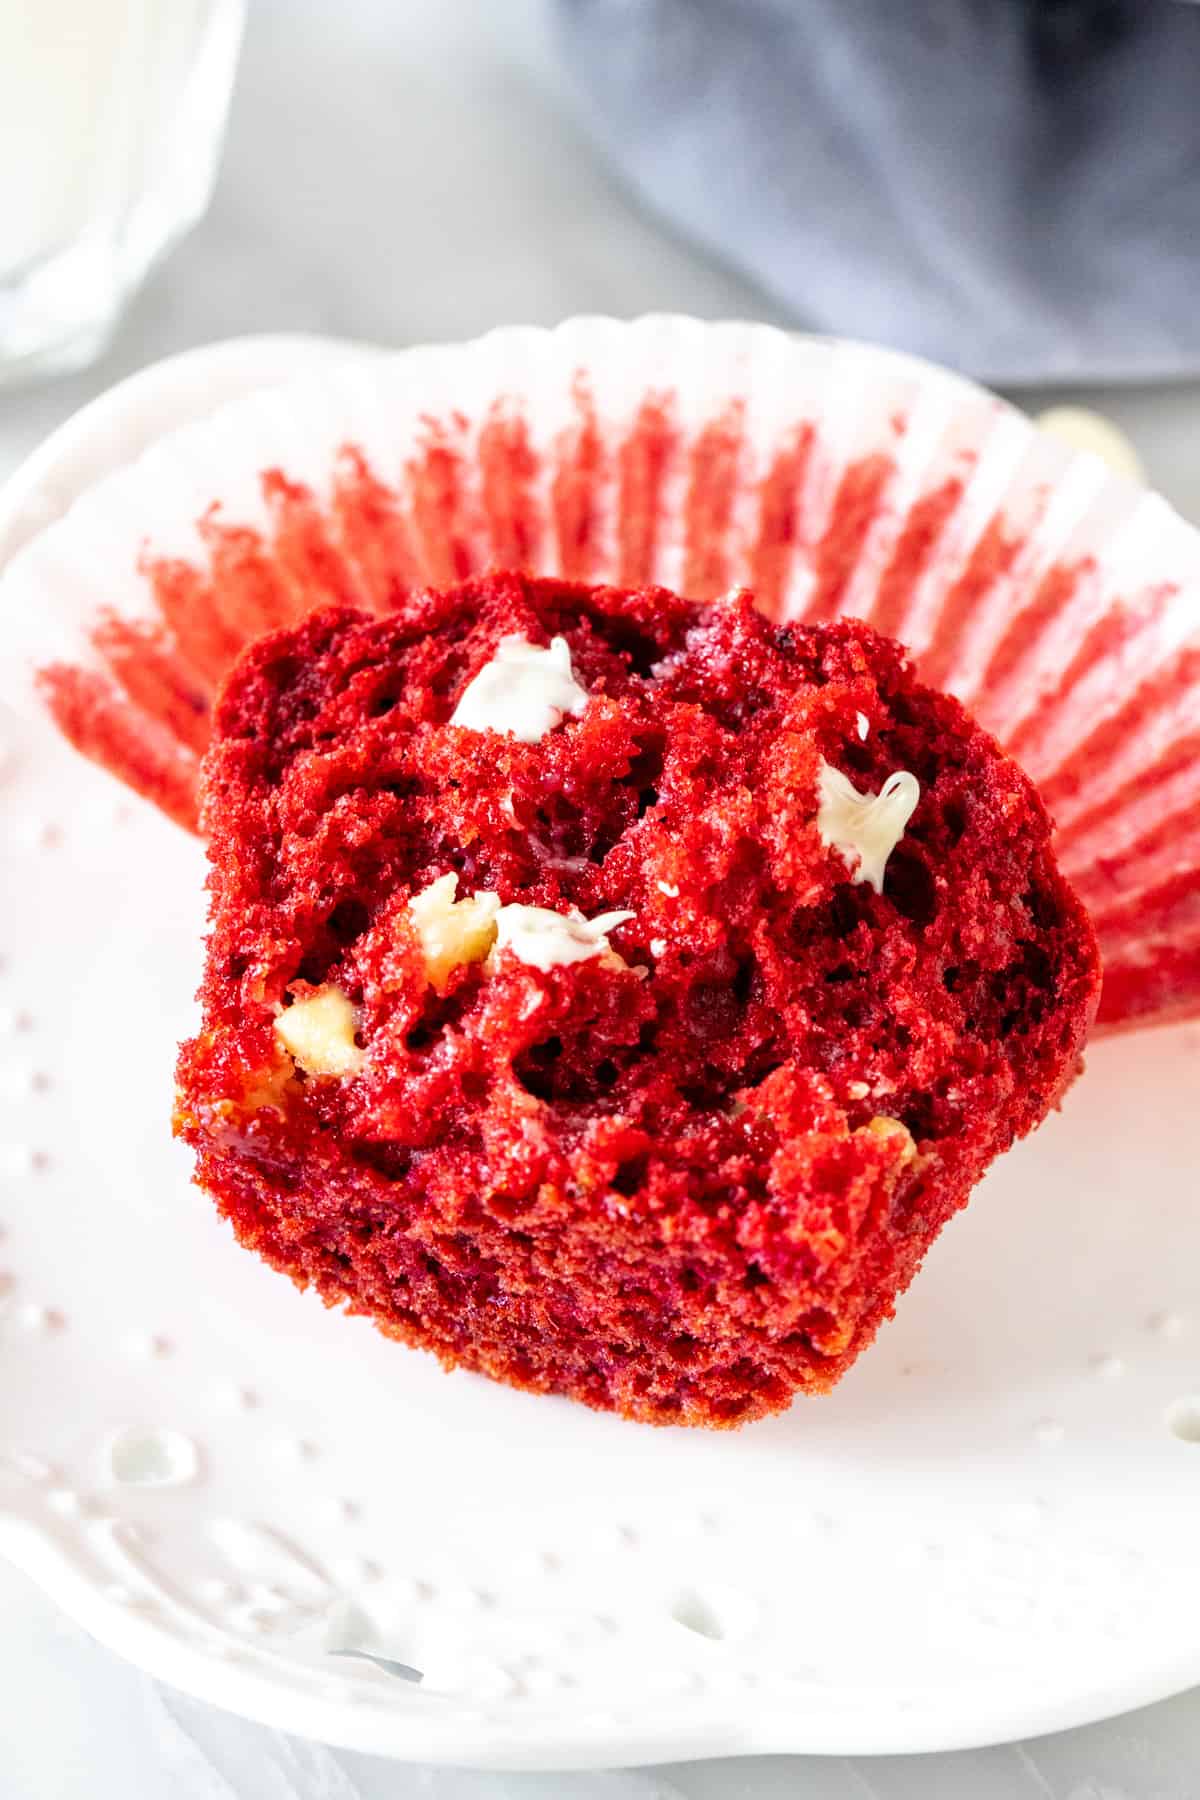
These red velvet muffins are super moist with the perfect red velvet flavor and tons of chocolate chips. They’re a delicious breakfast or treat for Valentine’s day – or for anyone who loves red velvet!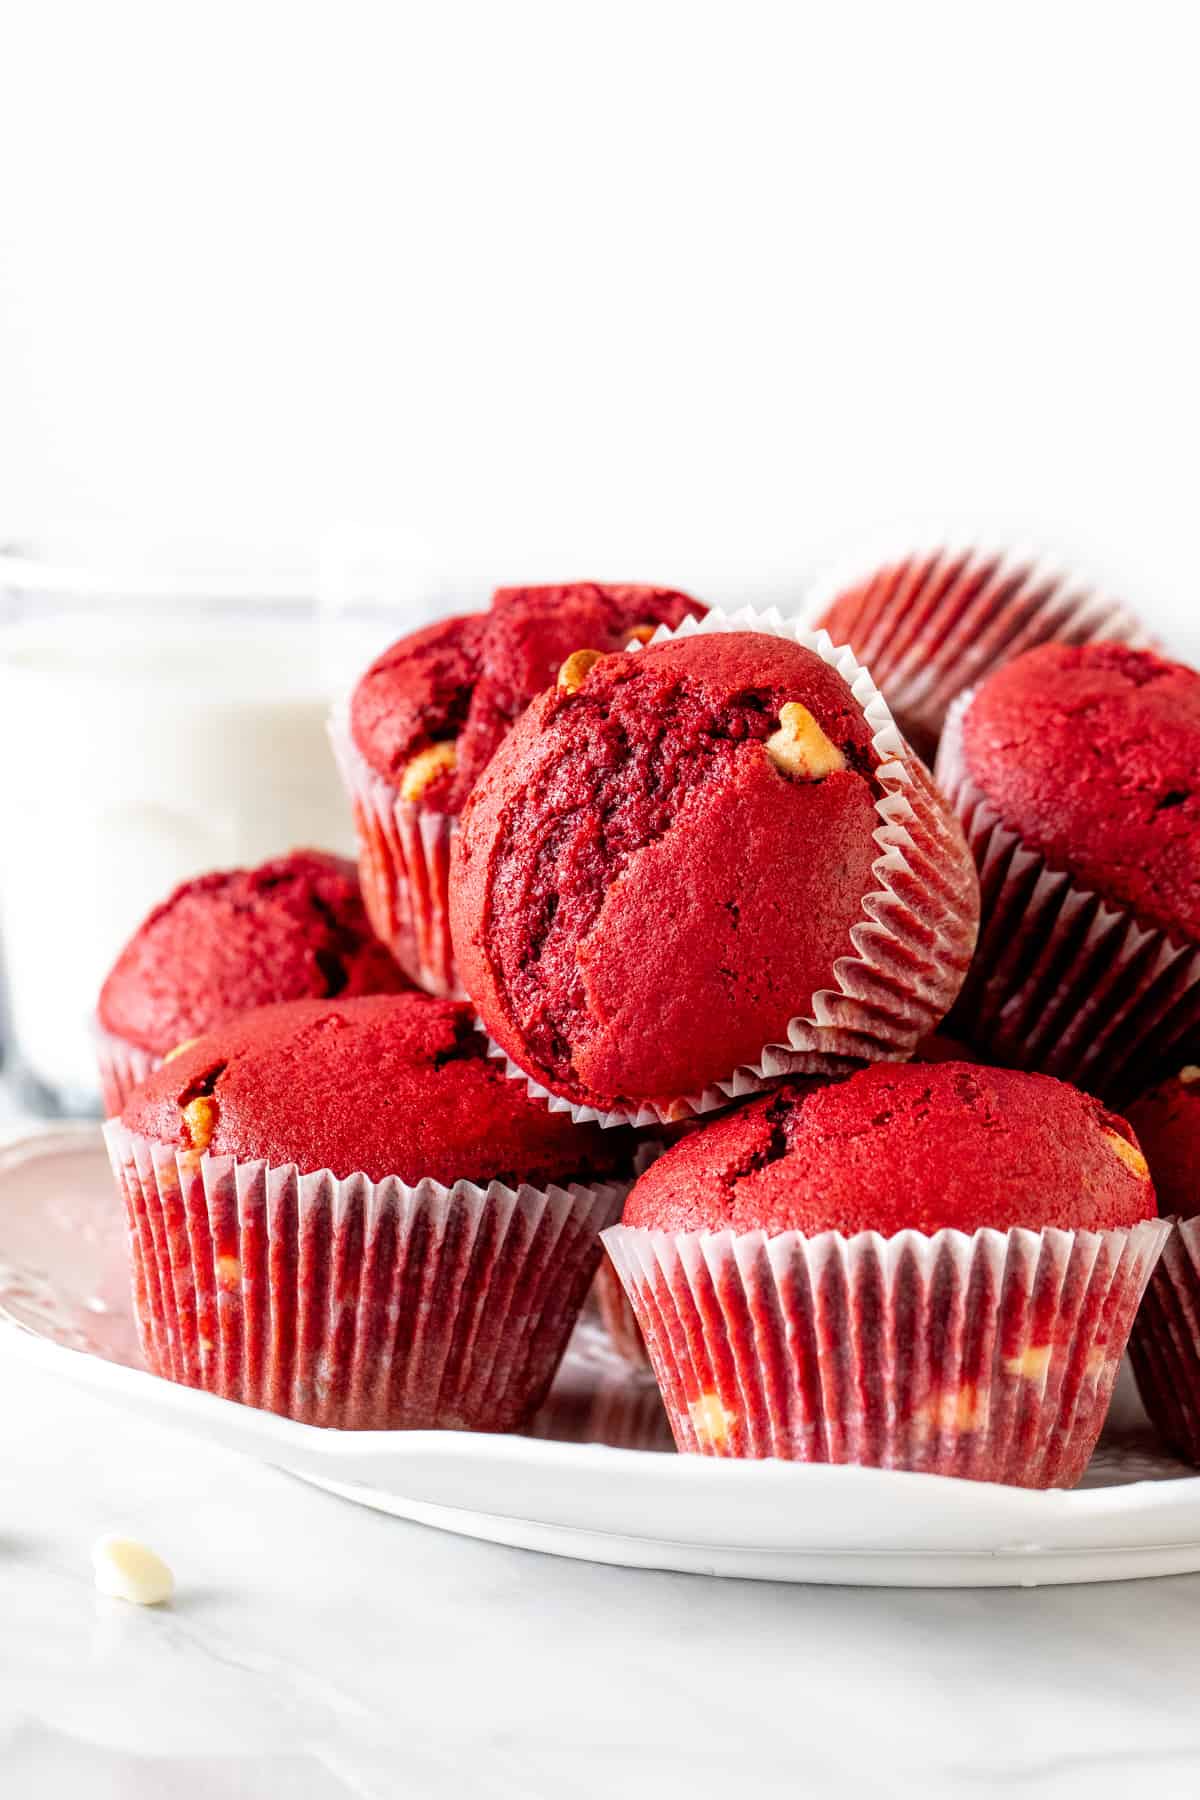
Delicious Red Velvet Muffins
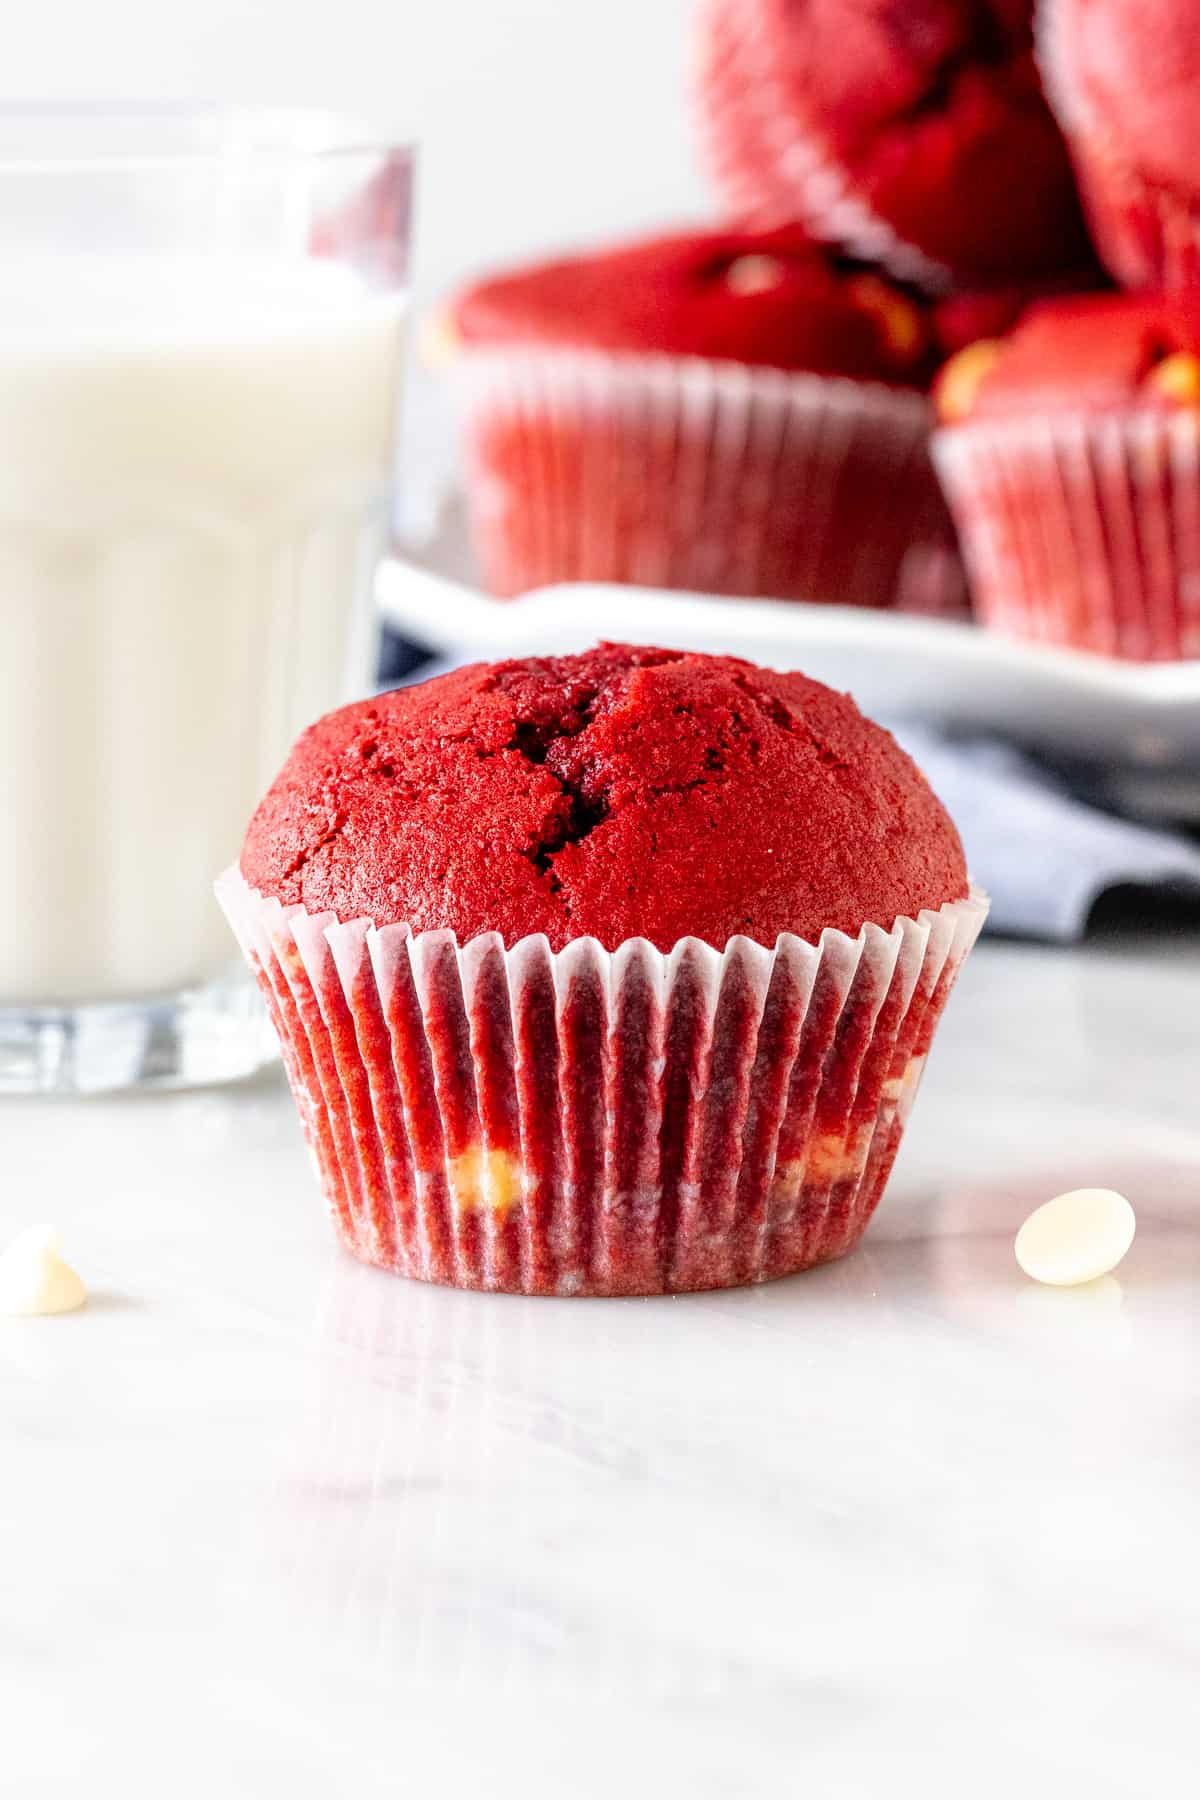
These red velvet muffins make for a delicious breakfast treat, or anytime when you’re look for a more decadent muffin recipe. They have a beautiful deep red color and the classic red velvet flavor that you’d expect from red velvet cupcakes or red velvet cake, only not quite as sweet! You can make them with either chocolate chips or white chocolate chips – and they’re definitely best warm from the oven when the chocolate and melty.
When it comes to red velvet, there are a few key ingredients to give you that classic flavor.
- Just a hint of cocoa powder. Red velvet is in between chocolate and vanilla in flavor, so we’re just using a tiny bit of cocoa. I prefer to use natural cocoa in red velvet instead of Dutch-processed cocoa because it’s not quite as dark in color.
- Buttermilk. Not only does it keep the muffins extremely tender, but it also contributes to the classic tang of the flavor.
- Vinegar adds to the acidity. It also helps to create the slight tanginess of the flavor and reacts with the baking soda to help the muffins rise.
- Red food coloring for the classic red color. The amount you use is really up to you and how vibrant you’d like your muffins to be. I used 2 teaspoons of red gel food coloring for a very vibrant color.
You’ll notice that the recipe uses both melted butter and oil. The butter adds flavor and the oil keeps them moist for longer.
Making the Muffins – Step by Step Photos
This recipe is very straight forward and made entirely by hand.
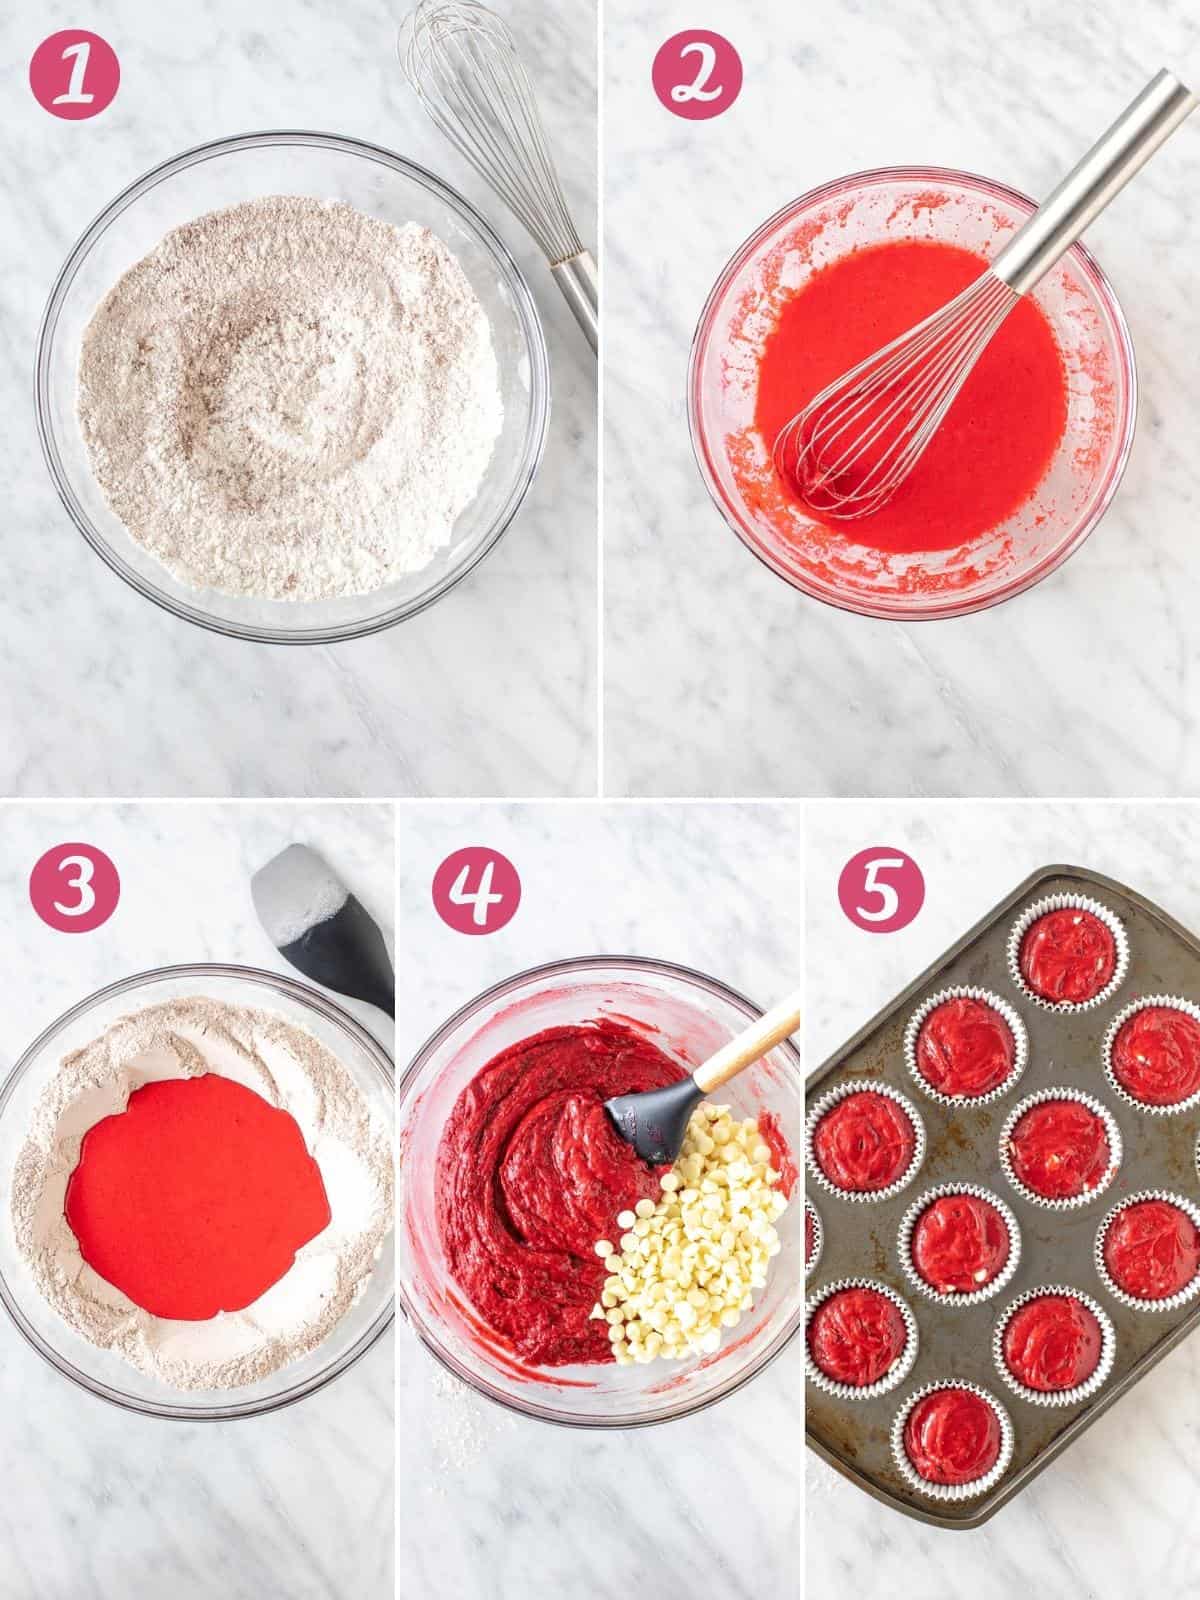
- First, you’ll whisk together the dry ingredients: flour, sugar, baking powder, baking soda, cocoa and salt. This ensures that the cocoa and leaveners are evenly distributed throughout the batter.
- In a separate bowl, whisk together the wet ingredients: melted butter, oil, eggs, vanilla extract, red food coloring, buttermilk and vinegar. It will look very bight red, but the color will soften in the next step.
- Then make a well in the middle of the dry ingredients and pour the wet ingredients into the well. Carefully stir the wet ingredients into the dry ingredients.
- Fold the chocolate chips into the batter. Note that having a few lumps in the batter is totally ok. You want to ensure that you stop mixing as soon as everything is combined. Otherwise, the muffins can get dry and tough.
- Spoon the batter evenly between 12 muffin papers. Then pop the muffins in the oven to bake.
The muffins will bake for 5 minutes at a high temperature. Then you’ll keep the muffins in the oven and turn down the temperature for them to continue baking. The initial high temperature gives them beautifully domed muffin tops just like a bakery. However, it’s absolutely necessary to turn down the oven – otherwise, they’ll burn.
Muffins are always best if they’re enjoyed when they’re still warm from the oven. I love making these for breakfast on Valentine’s Day – or any morning when you want a sweet treat!
For more decadent muffin recipes, then be sure to try:
- Bakery-Style Chocolate Chip Muffins
- Double Chocolate Muffins
- Cappuccino Chocolate Chip Muffins
- Blueberry Chocolate Chip Muffins

Red Velvet Muffins
Equipment
- 12-cavity muffin pan
- muffin papers
Ingredients
- 2 1/4 cup all-purpose flour (281.25 grams)
- 1 cup granulated sugar (200 grams)
- 1 1/2 tablespoons cocoa powder, I used natural, instead of Dutch-processed
- 2 teaspoons baking powder
- 1/2 teaspoon baking soda
- 1/4 teaspoon salt
- 1/4 cup unsalted butter (56 grams), melted and cooled
- 1/4 cup vegetable oil (60 ml) , or canola oil
- 2 large eggs, room temperature is best
- 1 teaspoon vanilla extract
- 1 teaspoon distilled vinegar, or white vinegar
- 2 teaspoons red velvet food coloring, feel free to use a little less for a less vibrant color
- 3/4 cup buttermilk (180 ml)
- 1 cup white chocolate chips (180 grams), or your favorite kind
Instructions
- Preheat the oven to 400F (200C). Line a 12-cavity muffin tin with muffin papers.
- In a large bowl, whisk together the flour, sugar, cocoa, baking powder and baking soda.
- In a separate large bowl, whisk together the melted butter, oil, eggs, vanilla, vinegar, food coloring, and buttermilk.
- Create a well in the middle of the dry ingredients, then pour the wet ingredients into the well.
- Using a rubber spatula, carefully fold the wet ingredients into the dry ingredients. It will be a little lumpy, which is expected. Do not overmix, or the muffins will get tough and dry.
- When the ingredients look almost combined, fold in the chocolate chips.
- Spoon the batter evenly between the 12 muffin papers. They will be filled close to the top.
- Bake in the preheated oven for 5 minutes (at 400F). Leaving the muffins in the oven, turn the oven down to 350F (180C). Continue baking for 12-15 minutes, or until an inserted toothpick comes out clean.
- Cool the muffins in the pan for at least 5 minutes, then continue cooling on a wire rack. Muffins are best when enjoyed warm from the oven.
Notes
- Flour: Make sure to measure the flour properly. Too much flour and the muffins will be dry. If not using a kitchen scale, whisk the flour first. Then spoon into dry measuring cups and level off the top.
- Sugar: If you'd like your muffins to taste a little more like dessert, feel free to use 1 1/4 cups granulated sugar. I found they're plenty sweet enough with 1 cup.
- Food Coloring: I used gel food coloring. Liquid works too. Feel free to use a little less or a little more, depending on how vibrant of color you'd like.
- Storage: Muffins are always best warm from the oven. Store leftovers in an airtight container at room temperature for up to 3 days. Cooled muffins can be frozen for up to 2 months.
- Nutrition: Details provided are an estimate only and based on 1 muffin, assuming the recipe yields 12 equal-sized muffins.


These were excellent. Very moist and just the right about chocolate flavor. They are great at room temperature but even better warmed up.