Buckeye Brownies

I may receive compensation in the form of payment or products to supplement my posts, but all opinions remain my own. Read our disclosure policy.
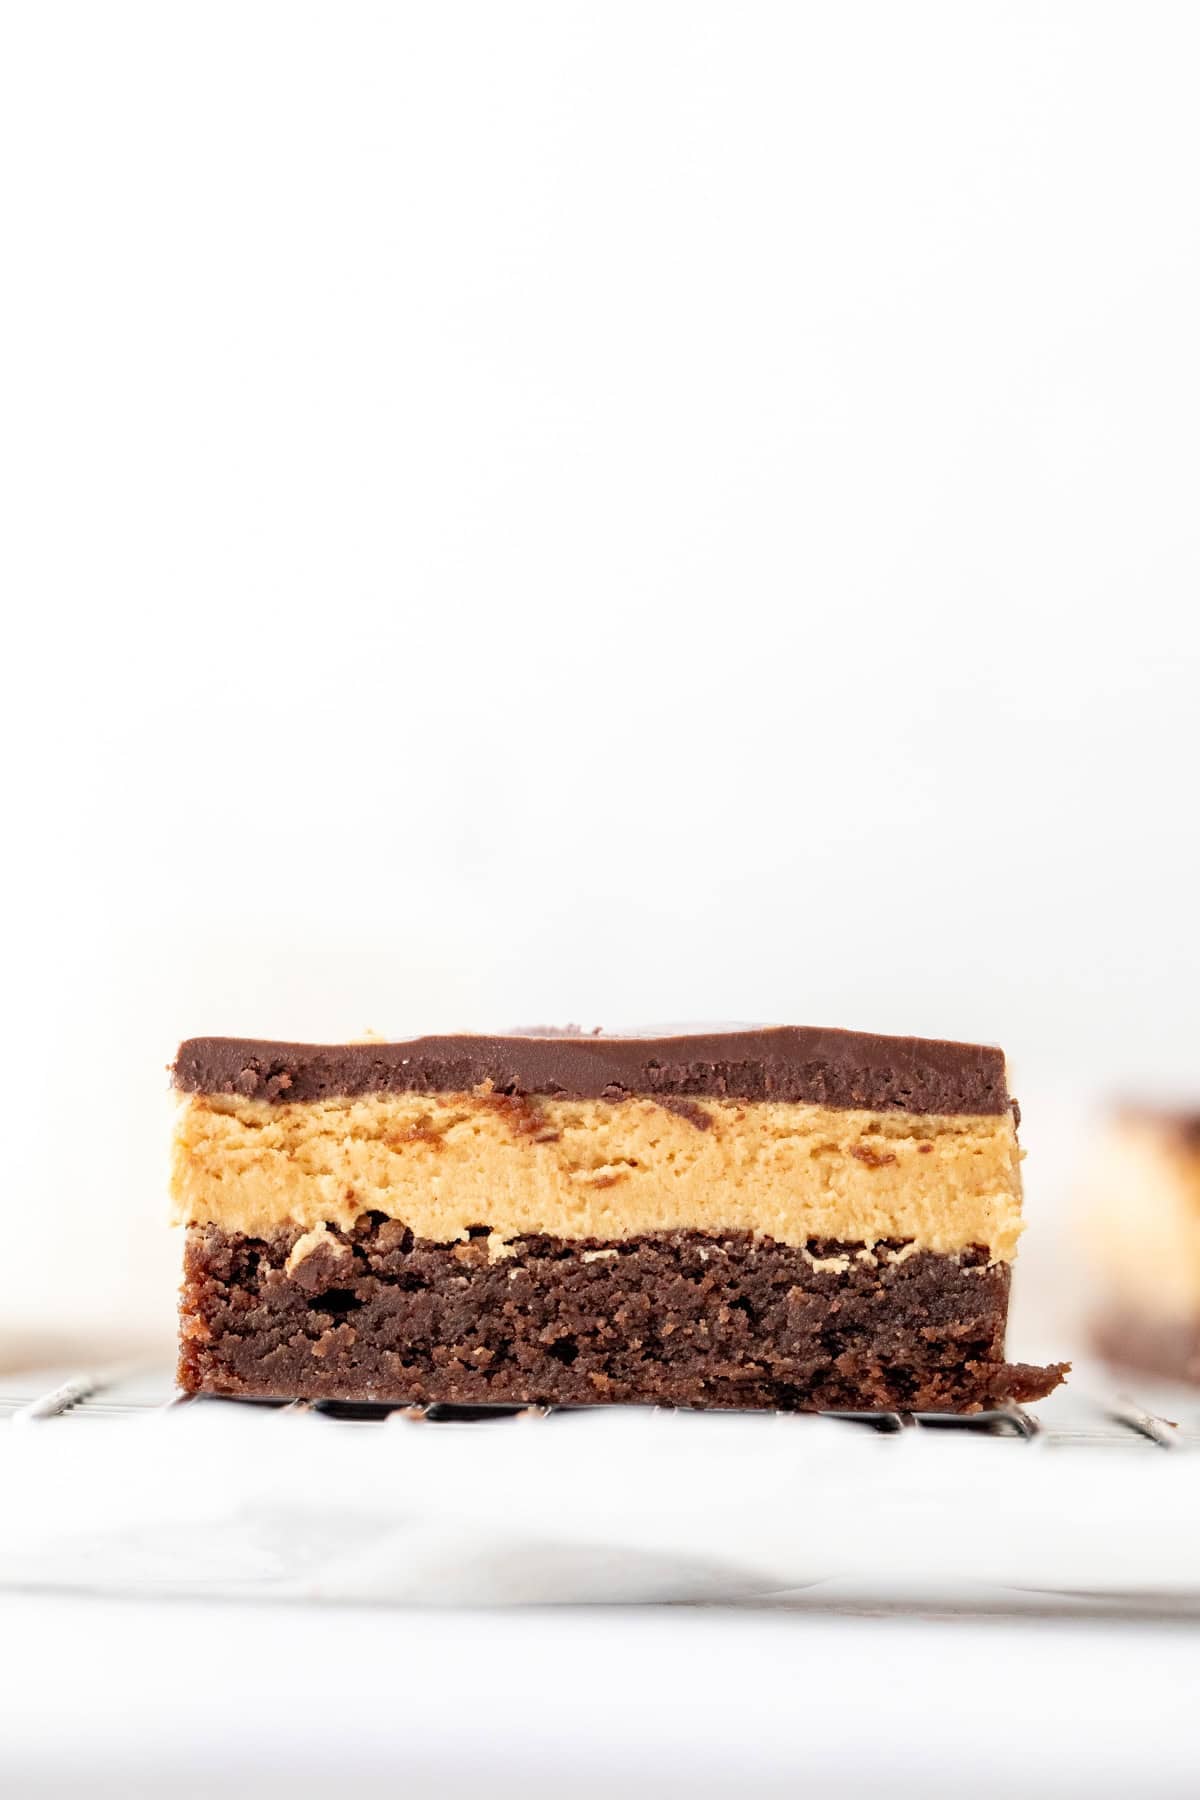
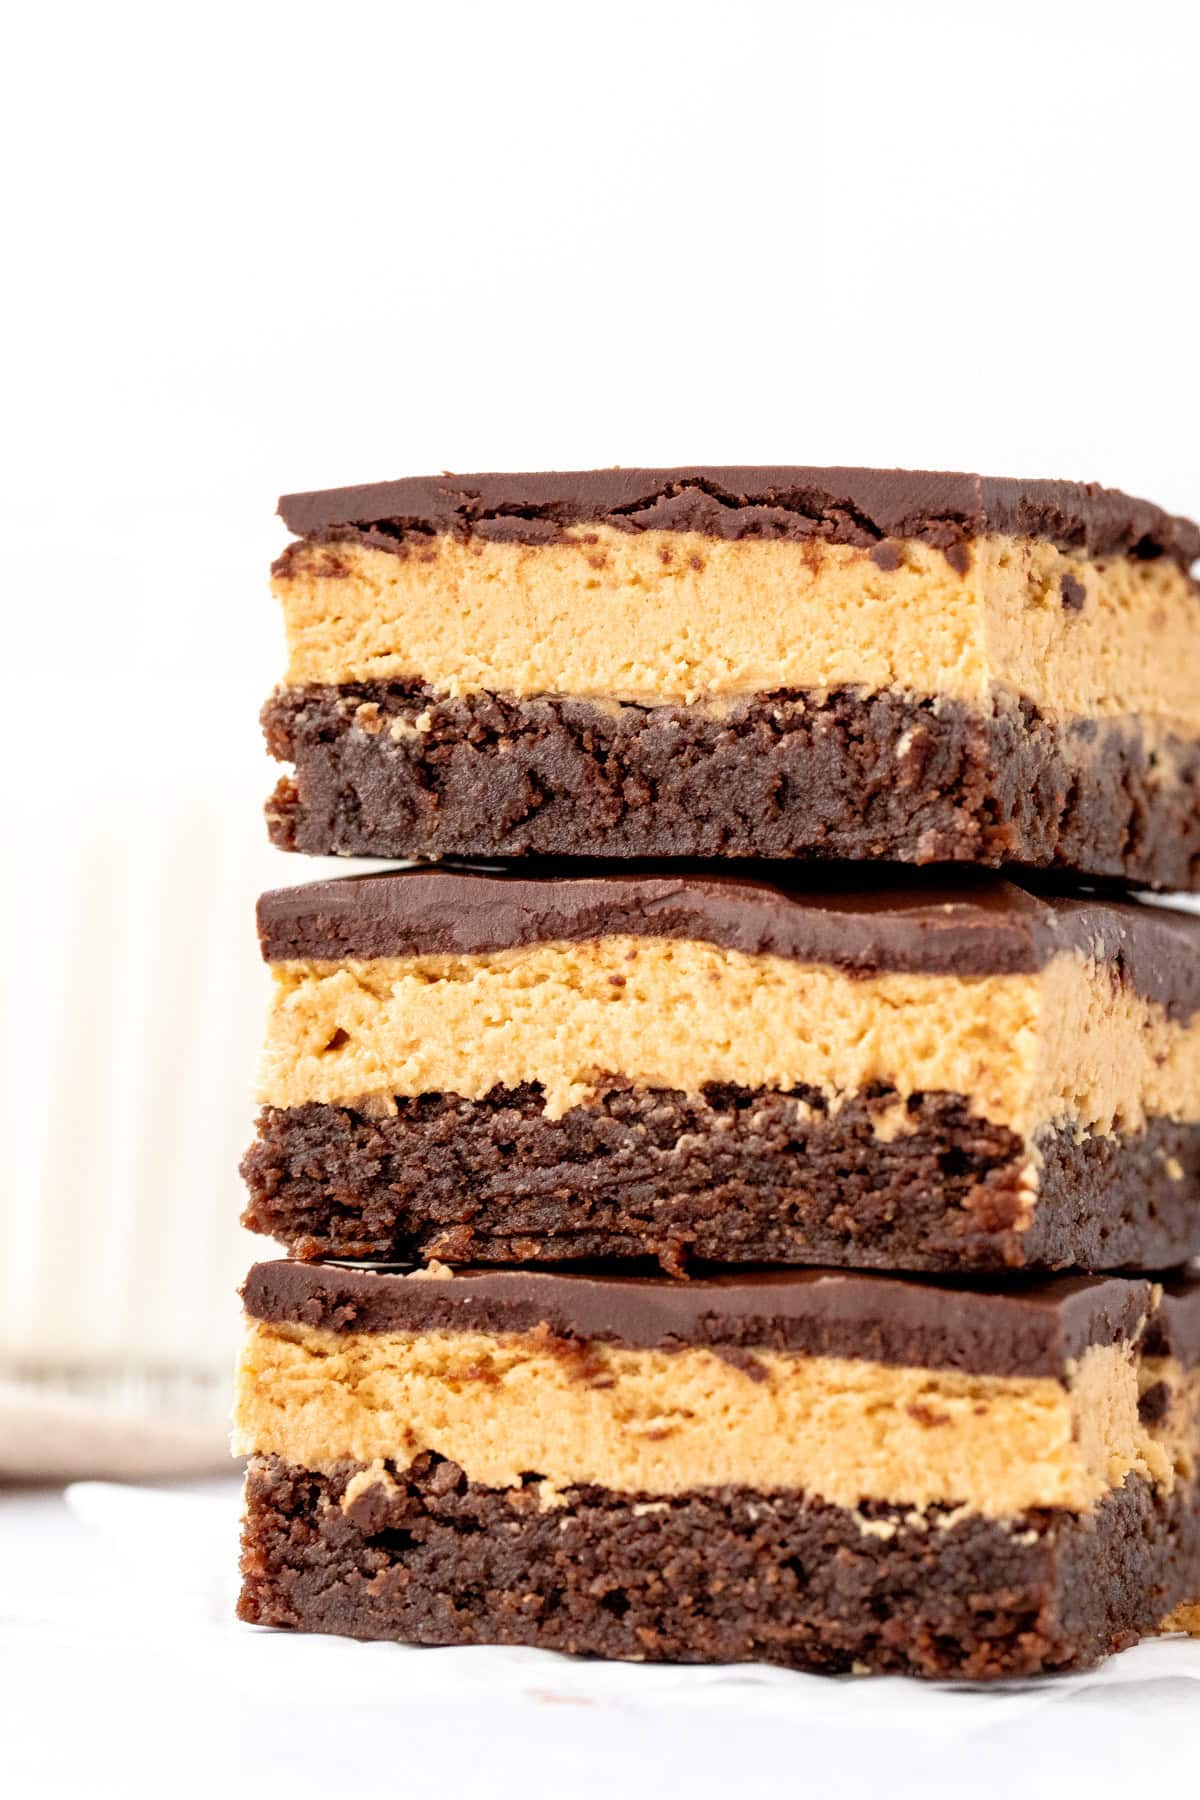
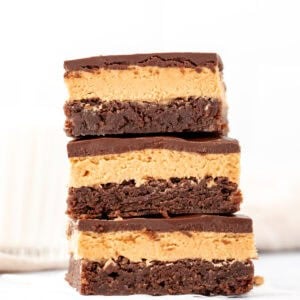
Inspired by buckeye candy, these buckeye brownies are a triple layer peanut butter brownie that’s perfect for anyone who loves peanut butter and chocolate. The base layer is a fudgy, chewy brownie. Then there’s peanut butter buckeye filling and a layer of chocolate ganache on top.

These buckeye brownies taste like a peanut butter cup on top of a brownie. The brownie bottom is fudgy, chewy and not too rich. Then the peanut butter middle is sweet, salty and creamy – just like buckeye candies. An easy chocolate ganache goes on top to finish them off.
This recipe is made from scratch instead of using box mix brownies. While it does require a little more work because of the 3 layers, the recipe is very easy and straight forward. These buckeye brownies are totally worth the effort.
What Are Buckeyes?
Buckeye candies are a homemade confection – typically very popular around the holidays. They’re a ball of peanut butter candy that tastes almost in between peanut butter fudge and the middle of a peanut butter cup. Then each peanut butter ball is dipped in chocolate. Buckeye candies are named after the nuts that fall from buckeye trees, because of their similar appearance.
Making Buckeye Brownies
You’ll start with the brownie layer. These brownies have a delicious chocolate flavor without being too rich. I aimed for these brownies to be chewy, as opposed to gooey, so that they can support the buckeye filling that goes on top. Here’s the rundown:
- Prep. Preheat the oven and line the pan.
- Melt the Butter & Chocolate. Always go slowly and gently so that the chocolate doesn’t become grainy.
- Whisk in the Eggs, Sugar and Vanilla. Allow the chocolate and butter to cool slightly first so that you don’t curdle the eggs due.
- Fold in the Flour, Cocoa and Salt. I definitely recommend sifting the cocoa first to avoid lumps.
- Bake. Pour the batter into the prepared pan and bake. The brownies will take about 25 minutes.
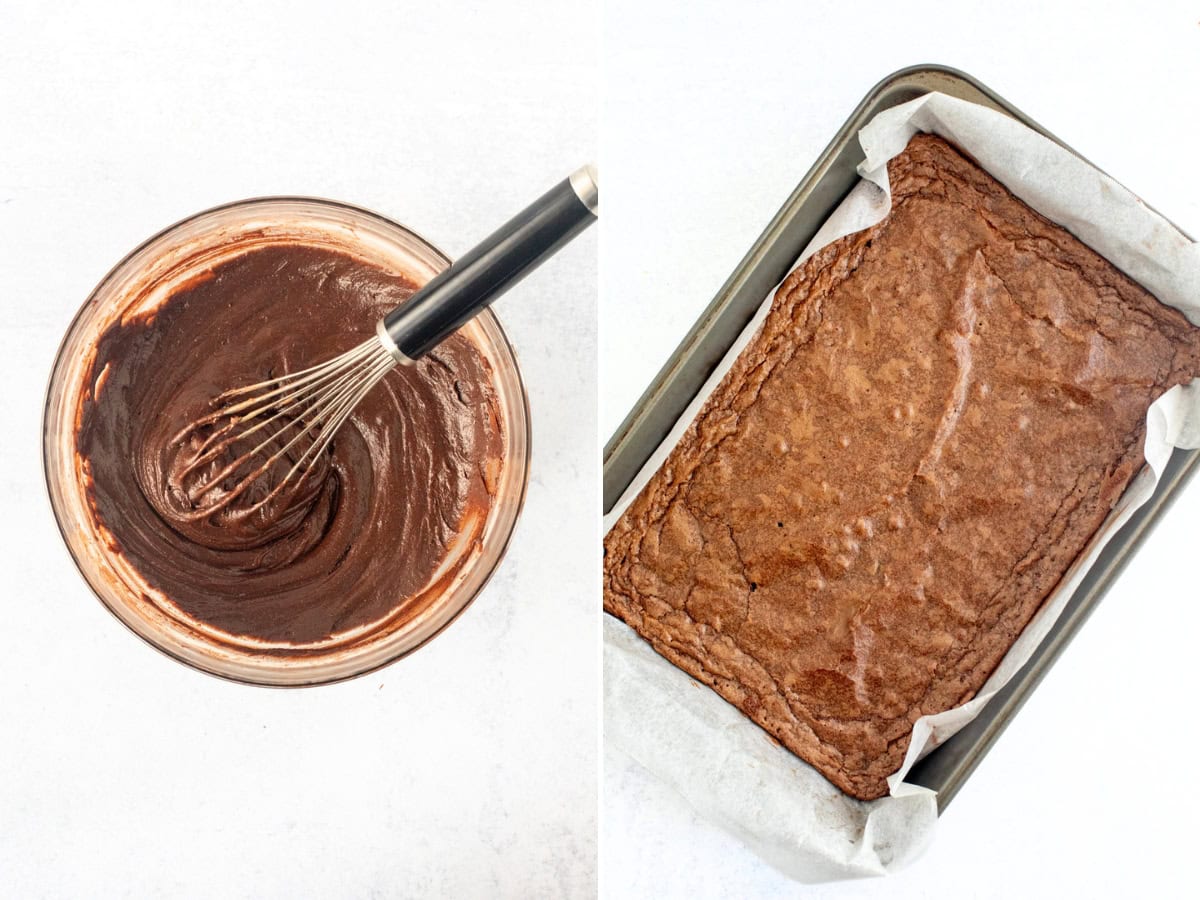
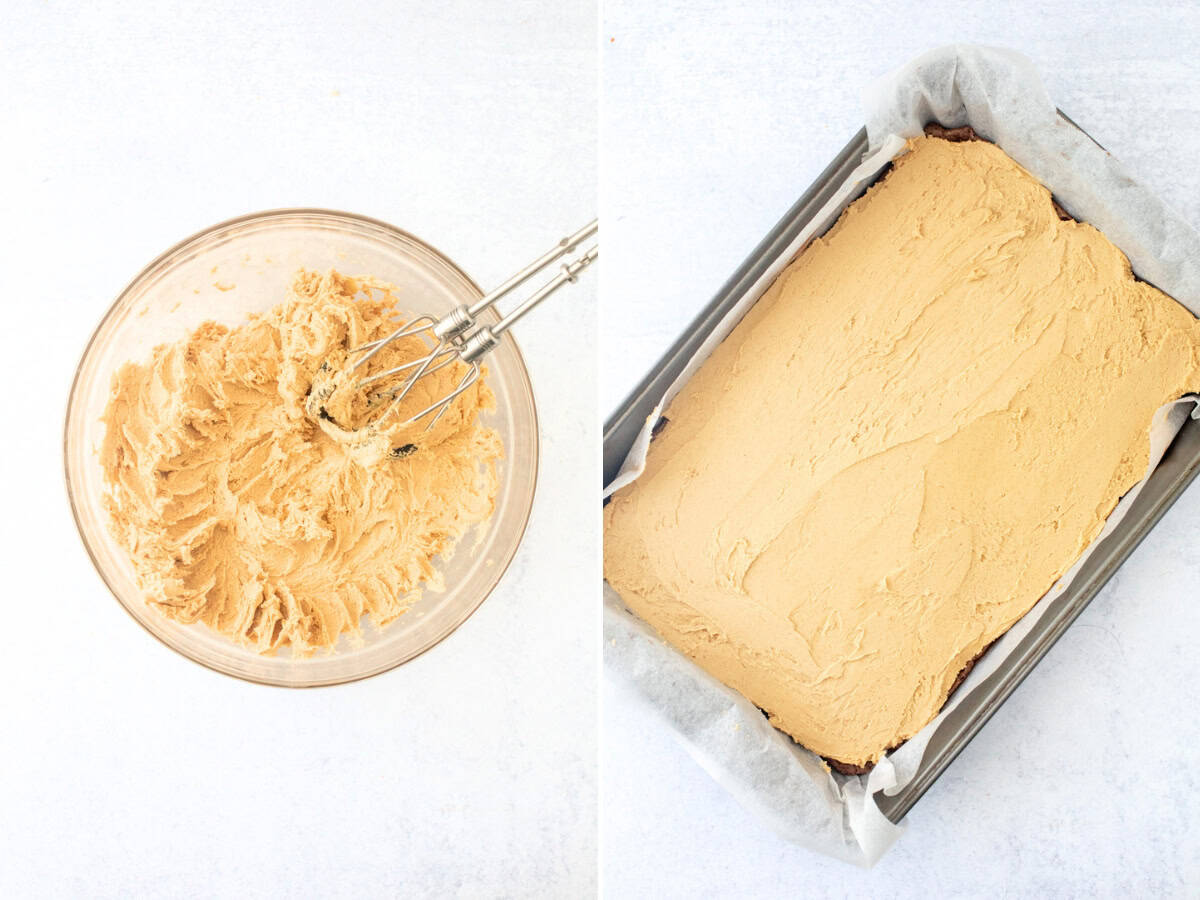
Once the brownies have baked and cooled, then it’s time for the peanut butter filling.
- Beat the Butter. I always beat the butter first so that it’s very soft.
- Mix in the Peanut Butter, Powdered Sugar, Salt and Vanilla. I always recommend sifting the powdered sugar first to get rid of lumps.
- Top the Brownies. I recommend using an offset spatula to spread the peanut butter filling on top of the brownie layer.
The chocolate topping is an easy chocolate ganache.
- Melt the Butter & Chocolate. Whenever melting chocolate, it’s important to go super slowly and gently. This is so that the chocolate doesn’t seize and become grainy.
- If using the microwave, use 20-second intervals on medium power. Stir between each interval. After the first couple of intervals, there won’t be much melting – do not be tempted to increase the length or power!
- You can also melt them together in a double boiler over a pan of gently simmering water. Be sure that the water below isn’t touching the bowl containing the chocolate and butter!
- Pour & Smooth. Pour the topping over the peanut butter layer and smooth into an even layer.
Recipe Tip
Let the brownies set fully before slicing. You can let them set on the counter at room temperature for about 1 hour, or in the fridge to speed up the process. Lift the brownies out of the pan using the overhang of the parchment paper and place on a cutting board (always lift from the long edges). Peel back the paper and slice with a thin, sharp knife. Do not use a table knife or serrated knife.
Storage
These brownies can be stored in an airtight container at room temperature for up to 4 days, or in the fridge for up to 7 days.
Brownies can be frozen for up to 2 months. I recommend wrapping tightly first, then placing in a freezer bag or container. Always thaw in the fridge – not on the counter.
More Peanut Butter & Chocolate Treats to Try
- Chewy Brownies with Peanut Butter Frosting
- Chocolate Peanut Butter Cake
- Chocolate Sandwich Cookies with Peanut Butter Frosting
- Peanut Butter Cheesecake Brownies
Buckeye Brownies
Equipment
- 9×13 inch (23 x 33 cm) baking pan*
Ingredients
Brownie
- 12 tablespoons unsalted butter (168 grams)
- 3 ounces semi-sweet chocolate (85 grams), about 1/2 cup chocolate chips
- 1½ cups granulated sugar (300 grams)
- 3 large eggs, room temperature
- ¼ cup cocoa powder (22 grams)
- 1 cup all-purpose flour (125 grams)
- ½ teaspoon salt
Peanut Butter Middle
- ½ cup unsalted butter (112 grams), softened, but not starting to melt
- 1½ cup smooth peanut butter
- 2 cups powdered sugar (220 grams), sifted
- 1 teaspoon vanilla extract
- ¼ teaspoon salt
Chocolate Topping
- 10 ounces semi-sweet chocolate (283 grams), about 1½ cups chocolate chips
- ½ cup unsalted butter (112 grams), cut into cubes
Instructions
Brownies
- Preheat the oven to 350℉ (180℃). Line a 9×13 inch (23×33 cm) pan with parchment paper, leaving an overhang around the sides.
- In a large bowl, melt together the butter and chocolate. If using a microwave, melt together on medium power (do not use high power, which is often the default) for 20 second intervals. Between each interval, stir. Alternatively, you can use a double boiler over low heat while gently stirring. If using a double boiler, ensure that the bottom of the bowl containing the chocolate and butter isn't touching the hot water below.
- Allow the melted chocolate and butter to cool for about 5 minutes. Then whisk the sugar into the mixture, followed by the eggs and vanilla extract. Keep whisking until there are no visible pieces of eggs.
- Sift the flour, cocoa and salt into the bowl. Then gently stir together until smooth.
- Pour the batter into the prepared and and smooth the top. Bake in the middle of the preheated oven for about 23-30 minutes, or until the top is set and an inserted toothpick comes out clean or with a few moist crumbs.
- Cool the brownies fully. Do not remove form the pan.
Peanut Butter Middle
- In a large bowl, beat the butter until smooth.
- Mix the peanut butter, sifted powdered sugar, vanilla and salt into the butter. Keep mixing until there are no lumps of powdered sugar or butter.
- Spoon the peanut butter filling onto the fully cooled brownies. Spread into an even layer using an offset spatula or the back of a spoon.
Chocolate Topping
- Ensure the chocolate is finely chopped (if not using chocolate chips). Place the chocolate and butter (cut into cubes) into a large heatproof bowl. Melt together. If using a microwave, melt together on medium power (do not use high power, which is often the default) for 20 second intervals. Between each interval, stir. Alternatively, you can use a double boiler over low heat while gently stirring. If using a double boiler, ensure that the bottom of the bowl containing the chocolate and butter isn't touching the hot water below.
- Pour the chocolate topping on top of the peanut butter layer. Moving quickly, spread into an even layer using the back of a spoon or offset spatula.
- Allow the bars to set completely before slicing. They will need about 2 hours to set on on the counter, or about 1 hour in the fridge. When ready to slice, lift the bars out of the pan using the overhang of the parchment (lifting from the long sides). Place on a cutting board and peel back the sides of the brownies. Slice with a sharp knife and wipe off the knife after each cut.
Notes
- Chocolate: For the brownies and chocolate topping, feel free to use semi-sweet chocolate or 50-60% dark chocolate.
- Peanut Butter: Be sure to use smooth peanut butter. Do not use any variety of peanut butter where the oil sits on the top, as this can cause the peanut butter middle to separate and become oily.
- Storage: Store in an airtight container at room temperature for up to 4 days, or in the fridge for up to 7 days. If your kitchen is warm, then I recommend storing in the fridge.
- Nutrition: Details provided are an estimate only based on 1 brownie, assuming that the pan is sliced into 18 uniform pieces.