Gingersnaps – The Perfect Recipe for Crispy, Snappy Cookies
I may receive compensation in the form of payment or products to supplement my posts, but all opinions remain my own. Read our disclosure policy.

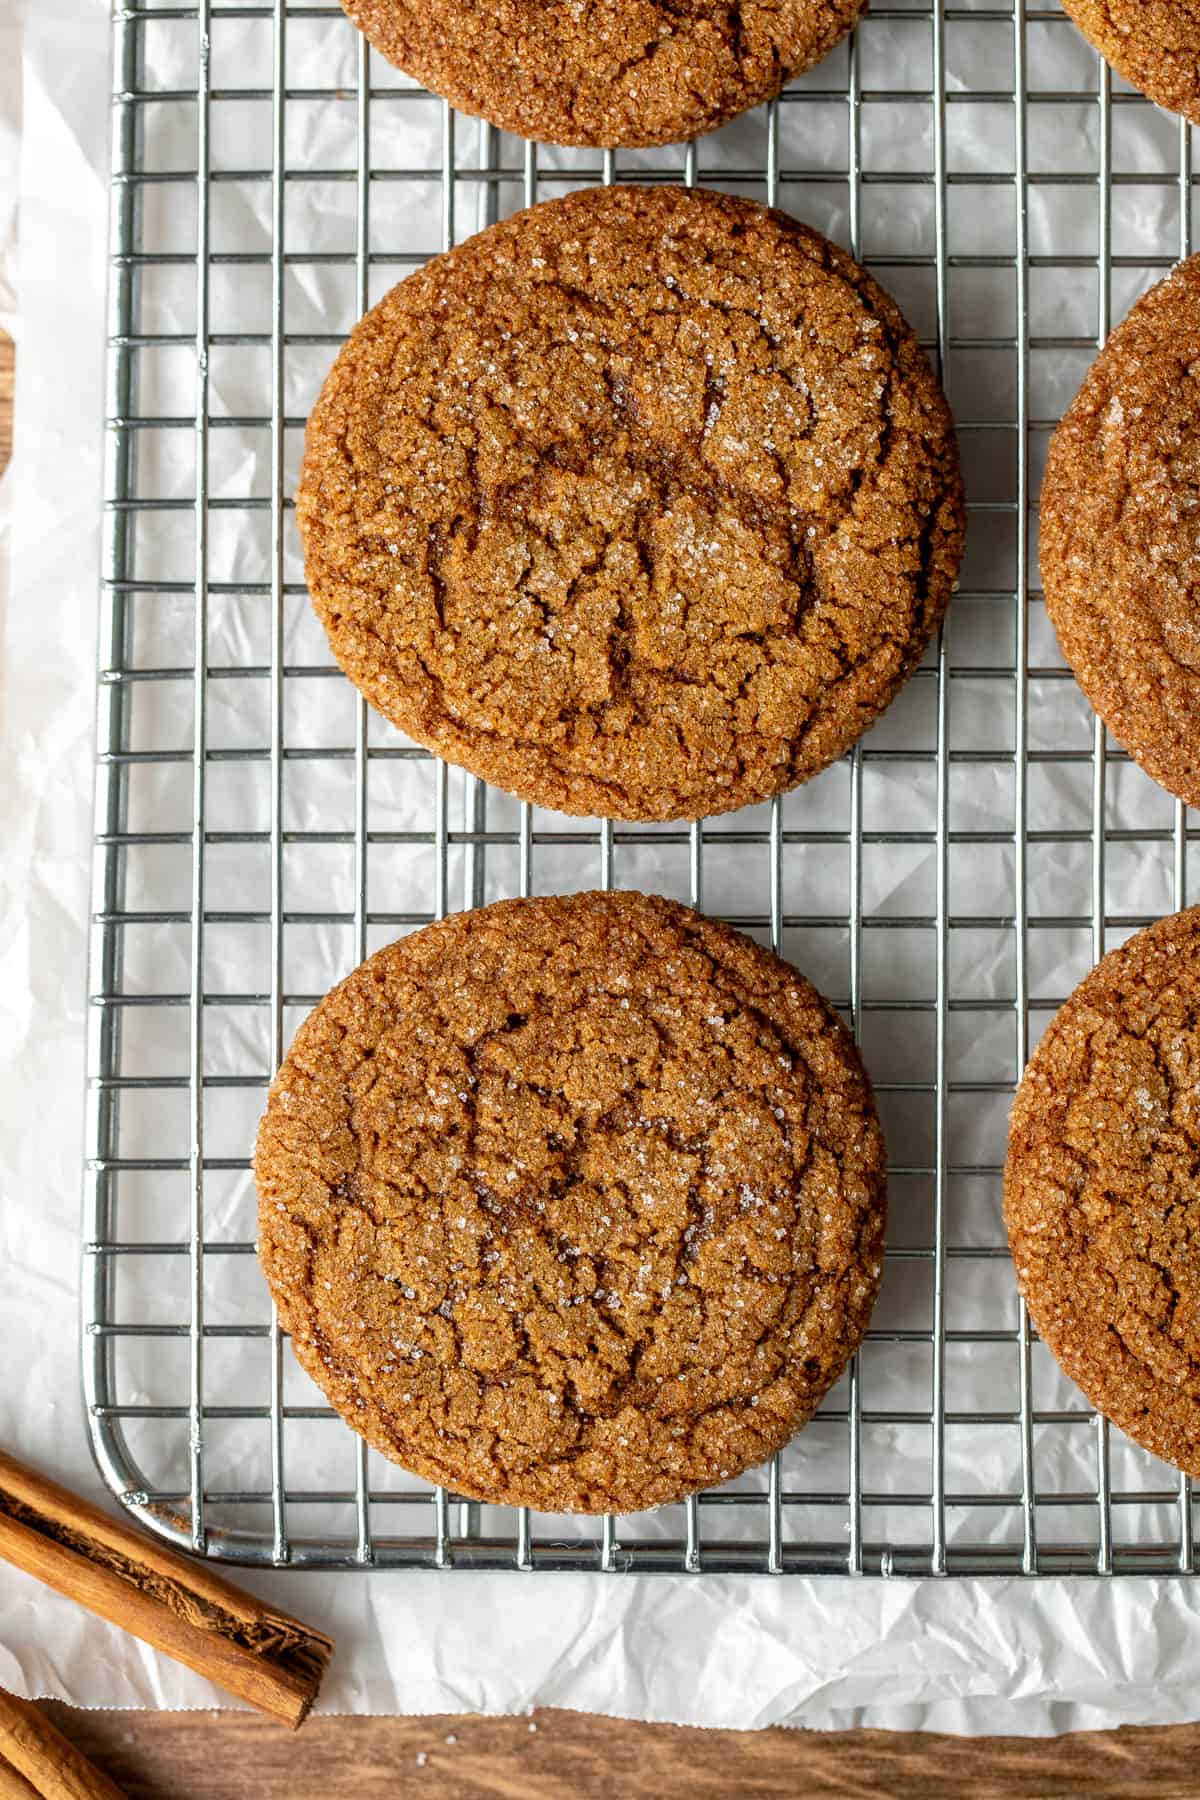
These classic gingersnap cookies have a delicious ginger molasses flavor with crinkly tops and a nice crunch. The recipe can be made from start to finish in very little time, thanks to the fact that there’s no need to chill the dough. They’re also a great make ahead cookie because the dough freezes beautifully. These gingersnaps are perfect for making around the holidays and gifting to friends and family, but they’re equally delicious all year round dipped in your favorite coffee or tea.
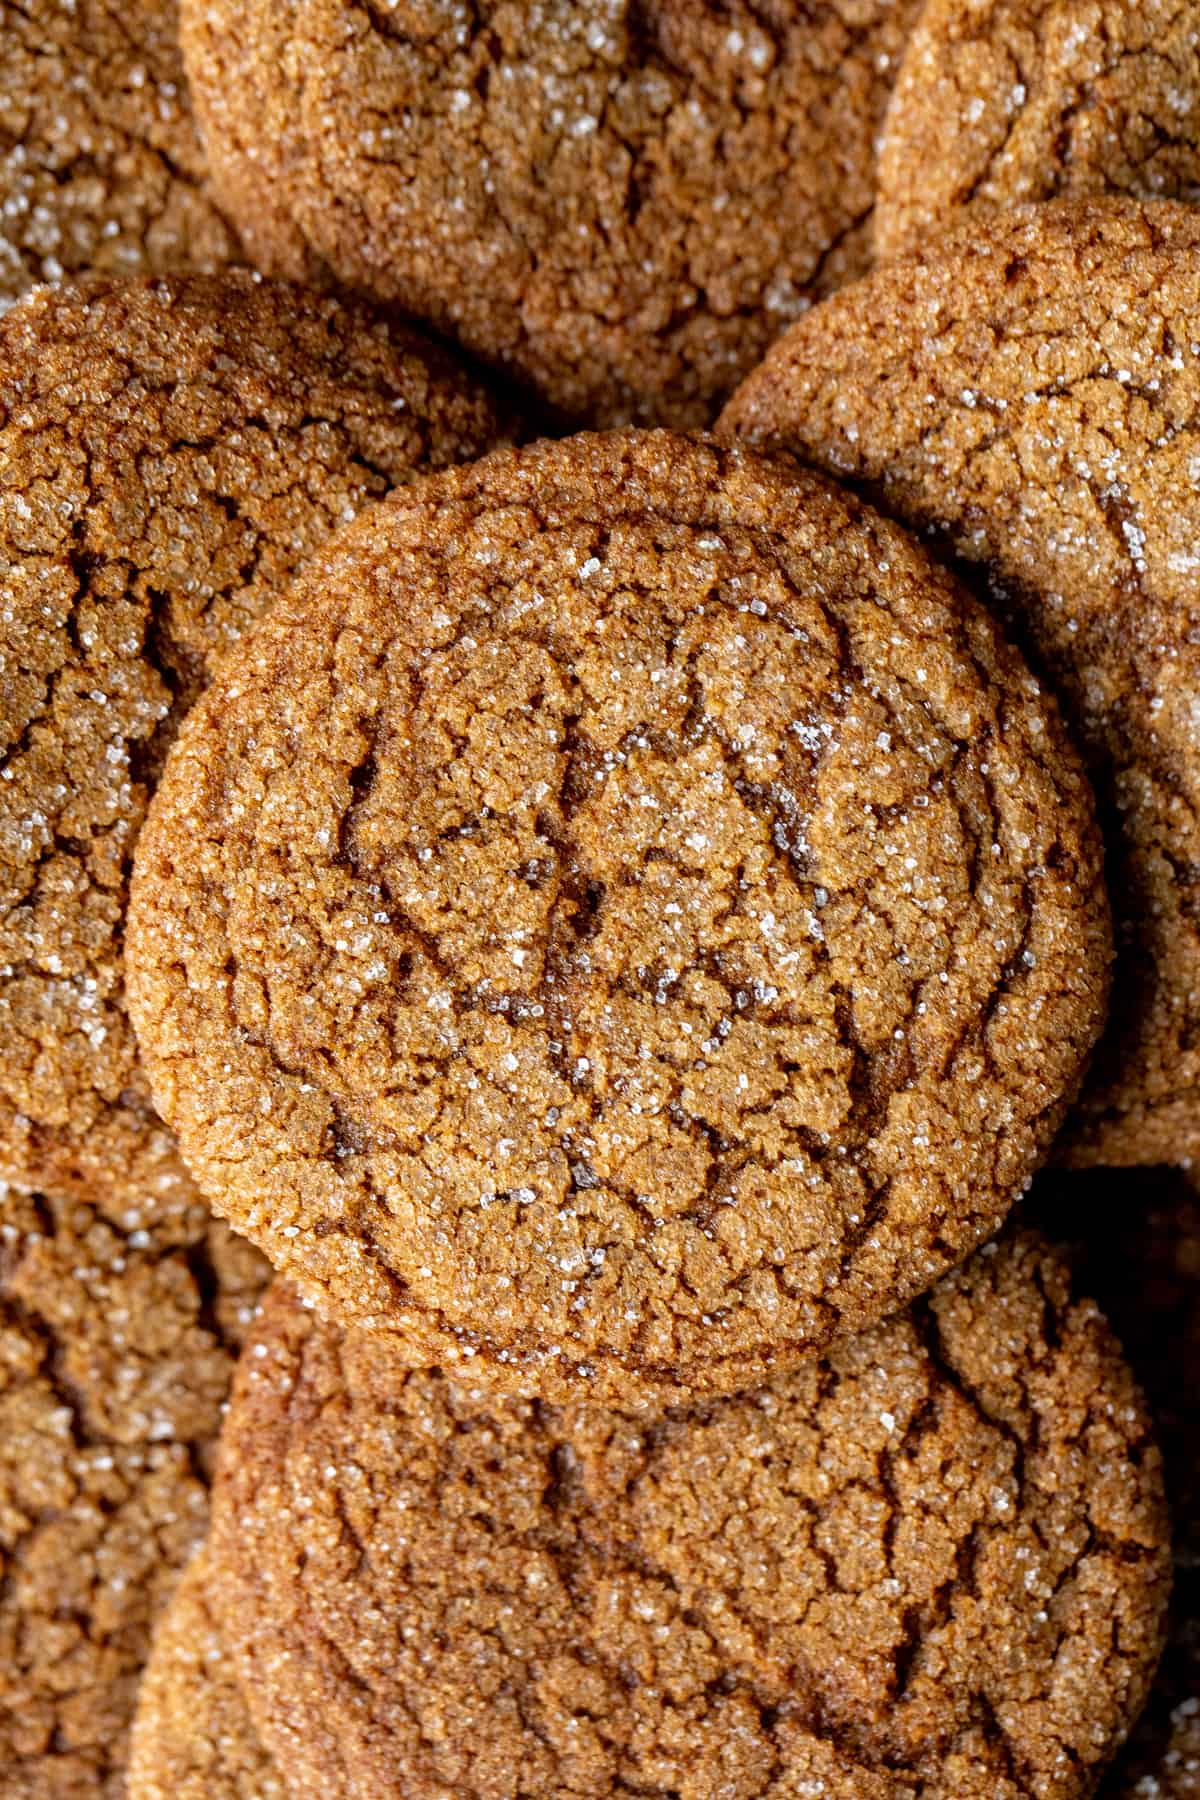
Gingersnap cookies are one of my favorite Christmas cookies. They’re filled warm spices and have beautifully crinkly tops. They have the perfect crunch and are rolled in a sugar coating. This recipe makes cookies that are thin and crispy – just like the cookie name suggests.
Now – I love soft and chewy ginger molasses cookies. But if you love the snap of a gingersnap – then this is the recipe for you.
Getting the Perfect Crinkly Tops
The crinkly tops in gingersnaps are due to using more baking soda than is typically used in cookie recipes. The baking soda reacts with the molasses to give you these crinkly top cookies.
Soft & Chewy vs Crispy Ginger Cookies
For this gingersnap cookie recipe, there are a few key differences compared to my soft and chewy ginger molasses cookies:
- For thinner, snappier cookies – we’re using less flour. Less flour means the cookies will spread thinner.
- More baking soda – as mentioned earlier, to give you crinkly tops.
- Using only granulated sugar in the dough, as opposed to a combo of brown sugar and granulated sugar. Brown sugar has more moisture than granulated sugar. More moisture leads to softer and chewier cookies, so by only using granulated sugar, you get a crunchier cookie.
- A longer bake time. For soft cookies, I always recommend taking the cookies out of the oven when the tops look just set. However, baking for a few extra minutes will give you crispier, snappier cookies.
How to Make Gingersnap Cookies
Here’s the rundown, along with step-by-step photos and recipe tips.
- Start by preheating the oven to 375F (190C) and lining your cookie sheets. These cookies are baked at a slightly higher temperature to help the cookies spread and create crunch.
- In a medium bowl, whisk together the dry ingredients: flour, ginger powder, cinnamon, cloves, baking soda and salt. I like quite a prominent ginger flavor – so I use 3 teaspoons of ginger powder. For a less prominent flavor, you can use 2 teaspoons.
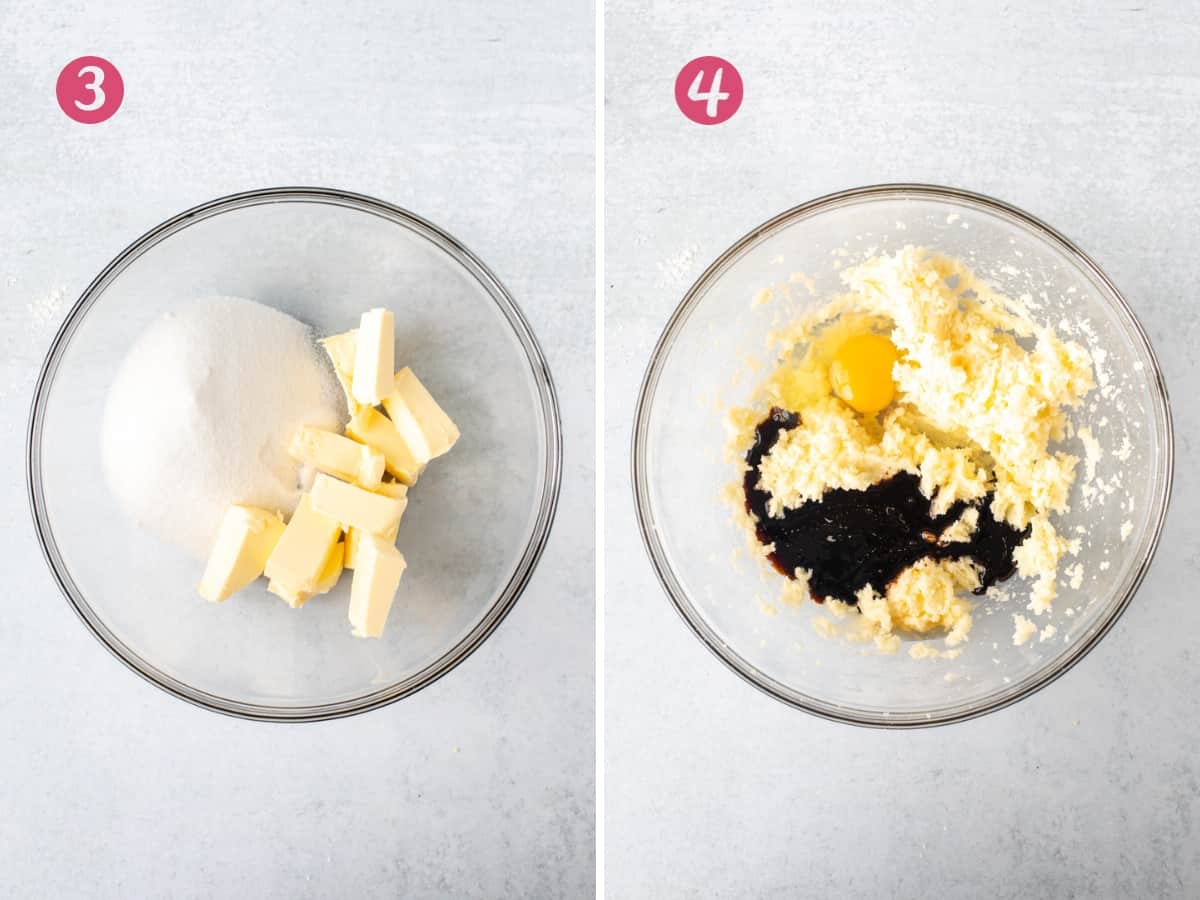
- Then in a large bowl beat together the butter and sugar until combined. The butter should be softened but not starting to melt.
- Then mix in the molasses, egg and vanilla extract. Note that blackstrap molasses is not appropriate for baking – it will create cookies that are too dry and bitter.

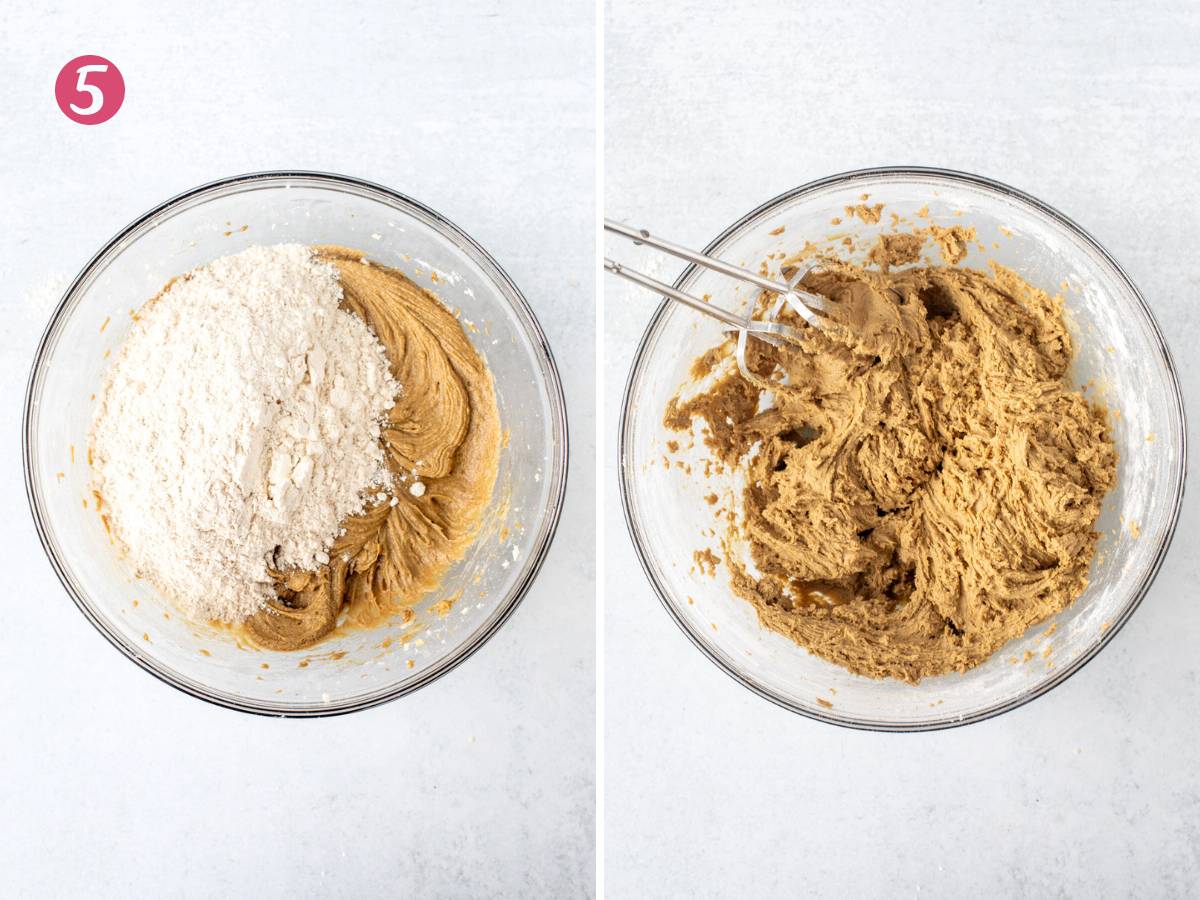
- Sift the dry ingredients into the butter mixture. Then slowly mix together starting with the mixer on a low speed. When you’re finished the dough will be sticky. This is expected. If you want slightly thicker cookies, feel free to mix in 1/4 cup more flour.
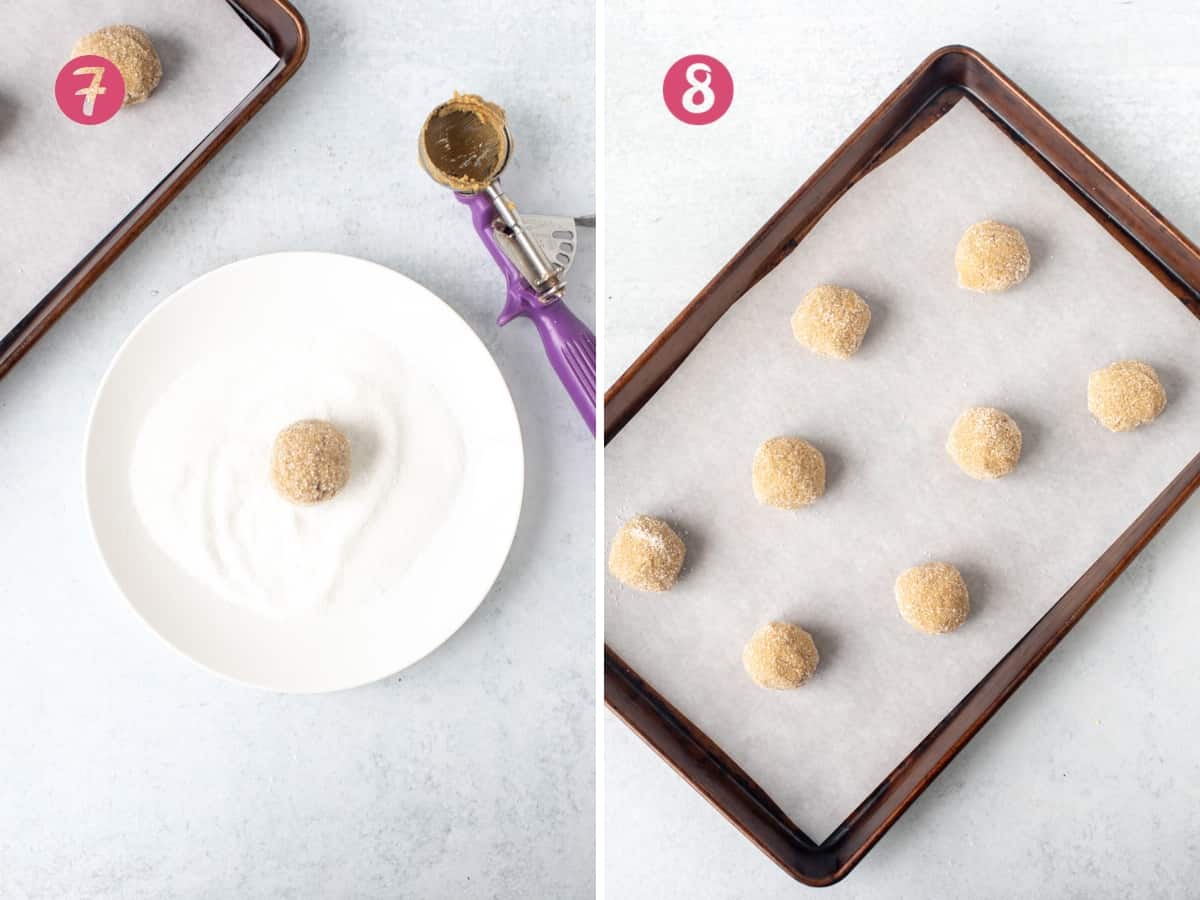
- Pour a little sugar onto a small plate – this will be for rolling each cookie dough ball.
- Scoop the dough into balls with about 1 to 1.5 tablespoons of dough each. I use a cookie scoop for this. It makes the process much easier because the dough is sticky. Roll each cookie in granulated sugar.
- Place the dough balls about 2 – 2.5 inches (about 5-7 cm) apart on your lined cookie sheets. Because these cookies are designed to spread, it’s important to give lots of room between each cookie.
- Bake 1 cookie sheet at a time in the middle of your preheated oven. Bake for anywhere from 10-14 minutes. When done baking, the cookies should have spread thin and have crinkly tops. If you want cookies that still have a little chew, bake for 10-12 minutes. If you want crispier, snappier, crunchier cookies, then bake for 12-14 minutes.
Freezing Gingersnaps
Baked and cooled cookies can be frozen in an airtight container for up to 2 months. I always recommend placing sheets of parchment paper or wax paper between each layer of cookies. This prevents them from sticking together when frozen.
To freeze the dough:
- For the dough into balls and roll each dough ball in sugar.
- Place the cookie dough balls on a plate, cover with plastic and refrigerate until firm. I find about 60 minutes is usually enough, but you can keep them in the fridge for up to 48 hours as long as they’re tightly covered.
- Then place the firm dough balls in a freezer bag, remove any air, and freeze for up to 2 months.
- Bake the cookies from frozen, as directed in the recipe. They’ll likely need 1-2 more minutes.
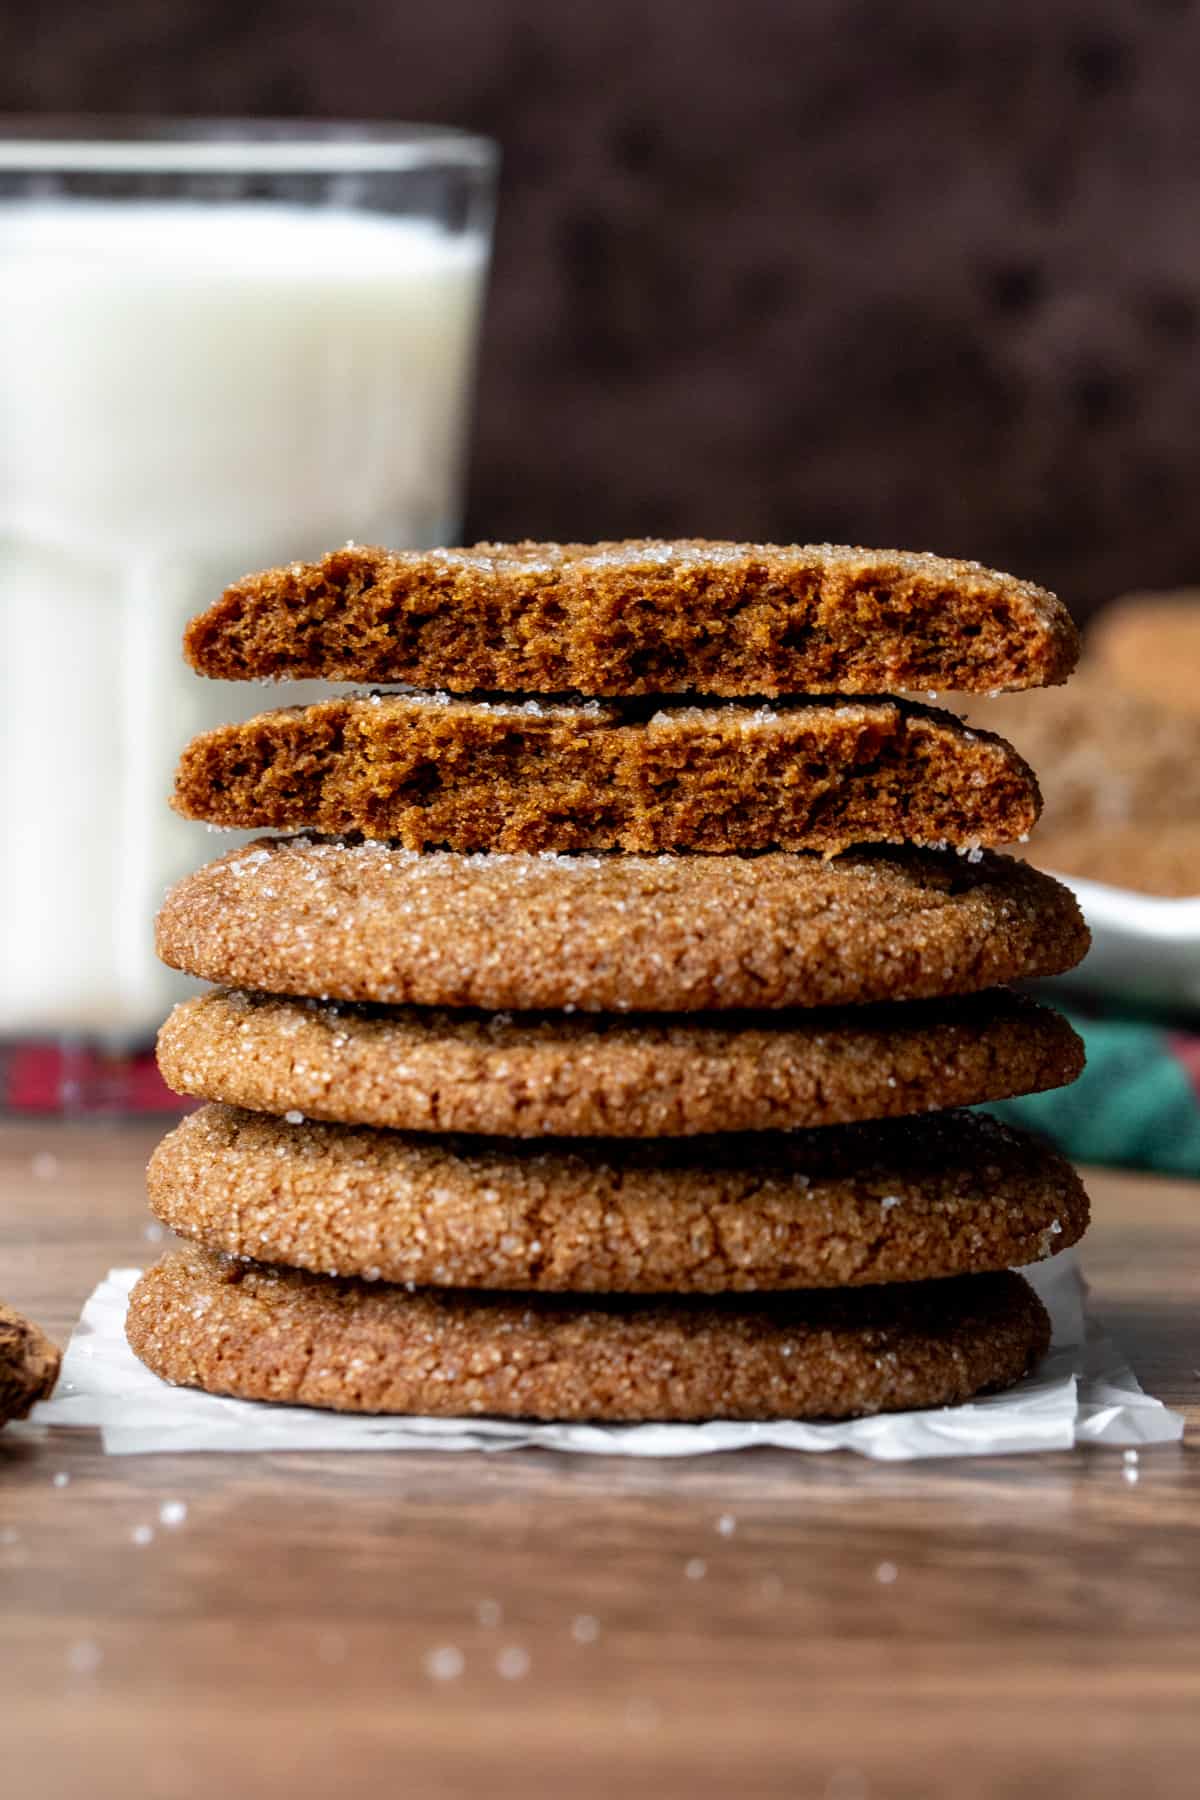
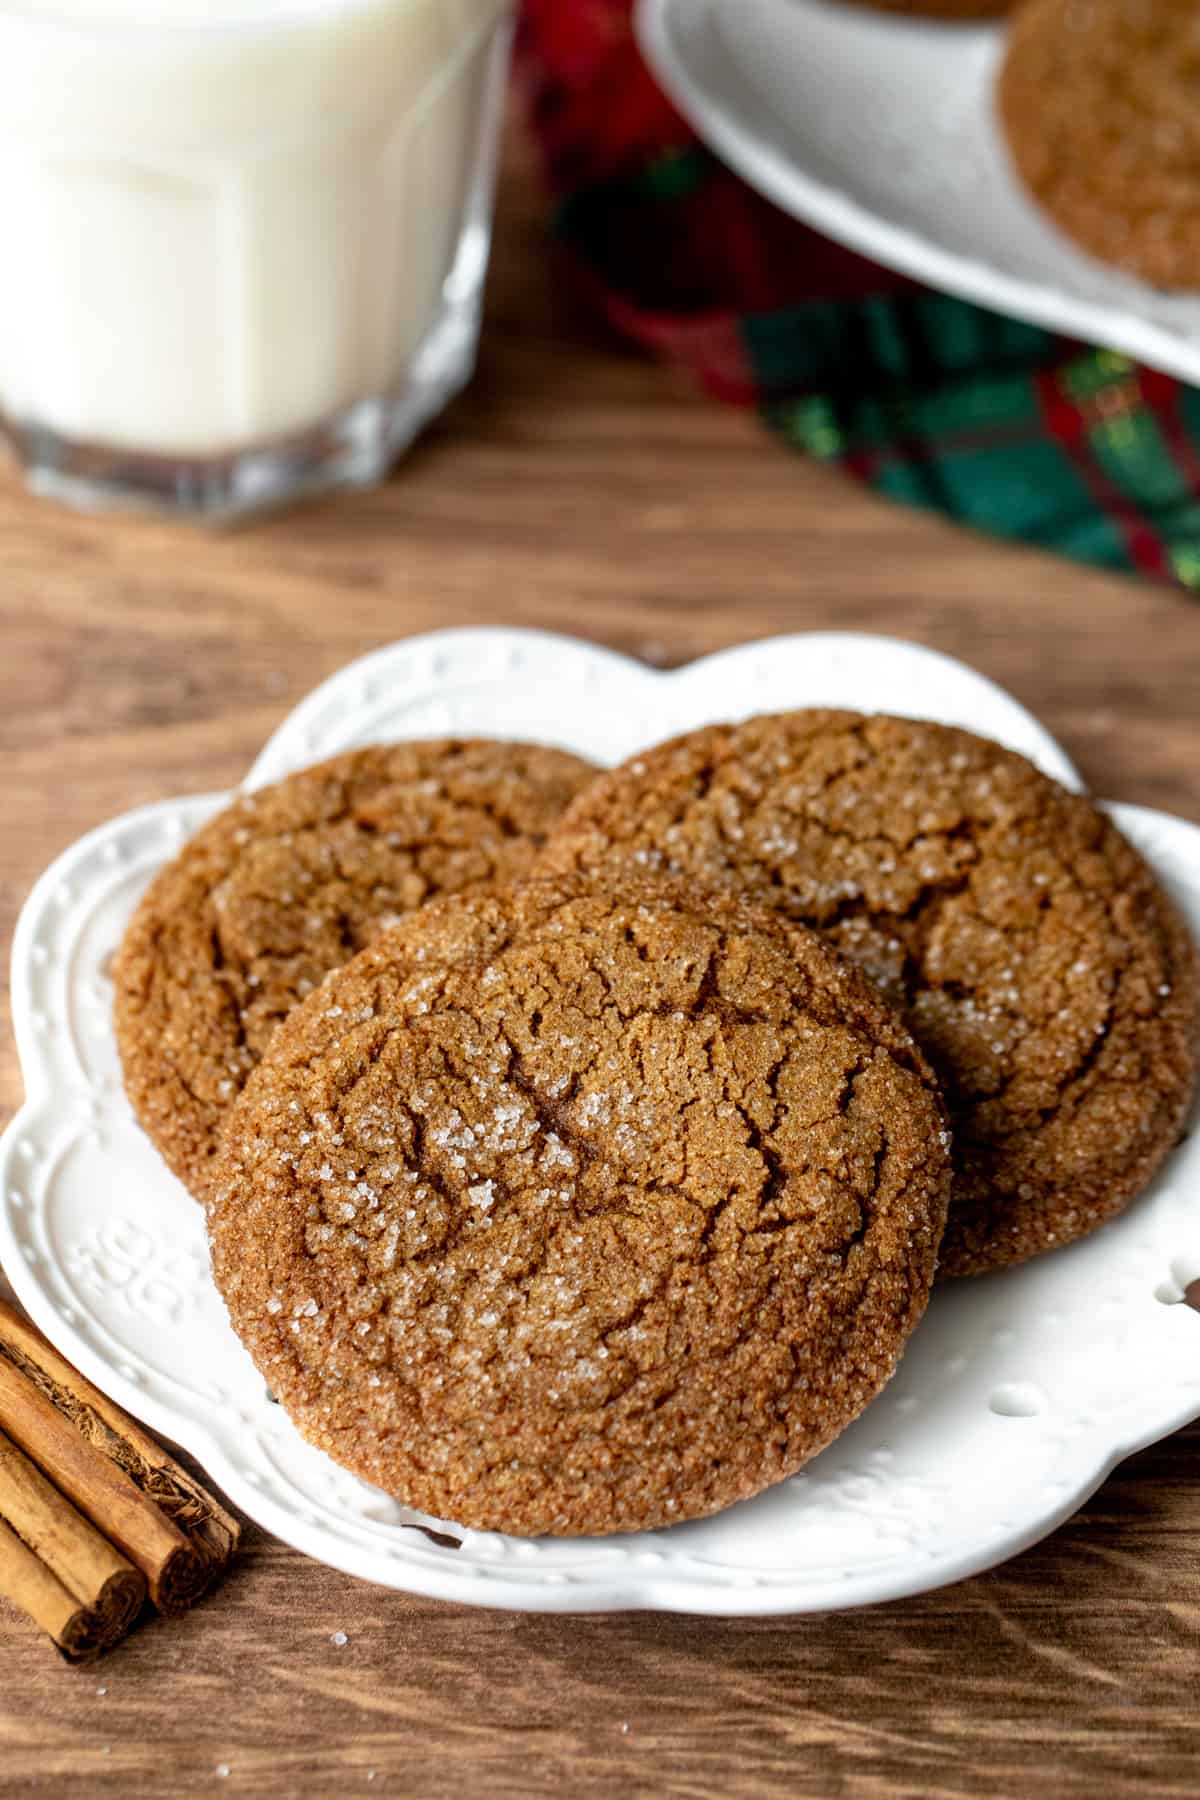
I think ginger cookies are a requirement for any holiday cookie tray, and these gingersnaps are the perfect recipe if you like crinkly, snappy, crispy cookies. Equally delicious all year round with a hot coffee or cold glass of milk – the warm ginger molasses flavor makes these cookies perfectly comforting.
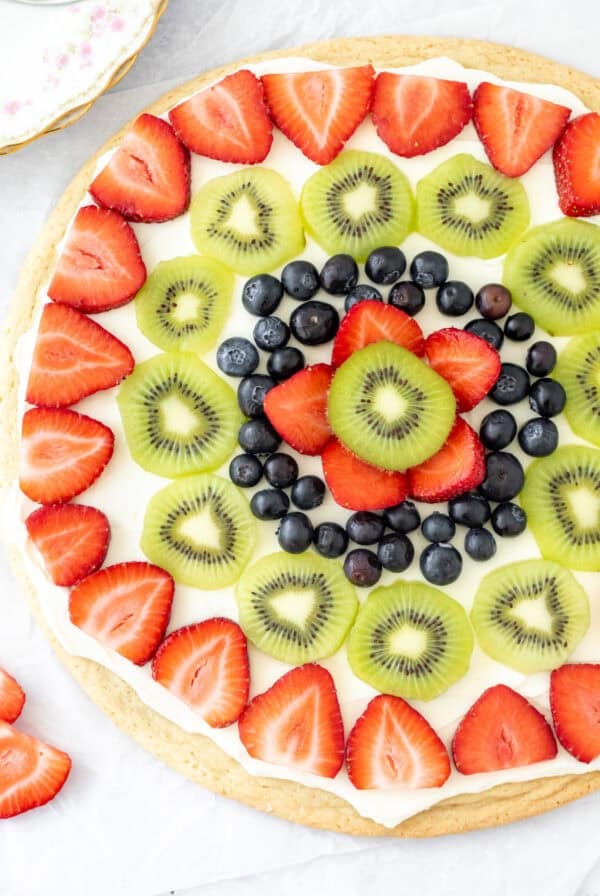
For more classic, Christmas cookies, be sure to try:

Gingersnap Cookies
Equipment
- Cookie Sheets
Ingredients
- 2 cups all-purpose flour (250 grams) , for thicker cookies, use 2 1/4 cup all-purpose flour
- 2 teaspoons baking soda
- 2-3 teaspoons ginger powder
- 1 teaspoon cinnamon
- 1/4 teaspoon ground cloves
- 1/2 taspoon salt
- 3/4 cup unsalted butter (168 grams) , softened but not starting to melt, it should still feel slightly cool to the touch
- 1 cup granulated sugar (200 grams)
- 1 large egg
- 1 teaspoon vanilla extract
- 1/4 cup molasses (60 ml) , see recipe notes for measuring tips
- 1/3 cup granulated sugar (67 grams) , for sugar coating
Instructions
- Preheat the oven to 375F (190C). Line cookie trays with parchment paper or baking mats.
- In a medium bowl, whisk together the flour, baking soda, ginger, cinnamon, cloves and salt. Set aside.
- In a separate large bowl, beat together the butter and 1 cup sugar until combined. You should no longer see lumps of butter.
- Then mix in the egg, vanilla and molasses. Continue mixing until combined and you no longer see pieces of egg. The mixture shouldn't look curdled.
- Sift the dry ingredients into the butter mixture. Beat the ingredients together, starting with the mixer on a low speed and gradually increasing to medium speed. If you want slightly thicker cookies, mix in up to 1/4 cup more flour. The dough will be sticky either way.
- Pour the 1/3 cup sugar for the sugar coating onto a small plate.
- Scoop the dough into balls with about 1 to 1.5 tablespoons of dough each (I use a cookie scoop). Drop each dough ball onto the plate of sugar and roll the dough ball in the sugar so that it's evenly coated.
- Place the dough balls 2 to 2.5 inches (about 5-7 cm) apart on the lined cookie sheets.
- Bake 1 sheet at a time in the middle of the oven. Bake for 10-12 minutes for slightly chewy cookies or 12-14 minutes for crispier cookies.
- Cool cookies on the cookie sheets for at least 5 minutes before transferring to a cooling rack to continue cooling.
Notes
- Molasses: Be sure to use unsulphured cooking molasses. Molasses labeled light, fancy or cooking molasses is perfect for this recipe. Do not use blackstrap molasses. It is far too bitter for baking. To measure molasses, lightly grease a liquid measuring cup. Pour molasses into the cup until you reached the 1/4 cup line when looking at eye level. By greasing the cup, the molasses will easily pour out, instead of sticking to the cup.
- Storage: Store cookies in an airtight container at room temperature for up to 5 days. Baked and cooled cookies can be frozen in an airtight container for up to 2 months. Thaw in the fridge. Cookie dough balls can be frozen in a freezer bag for up to 2 months. Bake from frozen, as directed in the recipe.
- Nutrition: Details provided are an estimate only and based on 1 cookie, assuming the recipe yields 34 uniform cookies.
I followed this recipe to the letter but they didn’t turn out great. I wanted the crispy ones so I cooked for 13 minutes and they were a bit overdone. I used an oven thermometer to make sure the temperature was right.