How to Make White Frosting
I may receive compensation in the form of payment or products to supplement my posts, but all opinions remain my own. Read our disclosure policy.
Learn all the tips and tricks for how to make white buttercream frosting that’s thick and creamy. This recipe is perfect for dying with food coloring too. If you’ve ever wanted to make bright, white buttercream for cakes or cupcakes, then this is the tutorial for you! 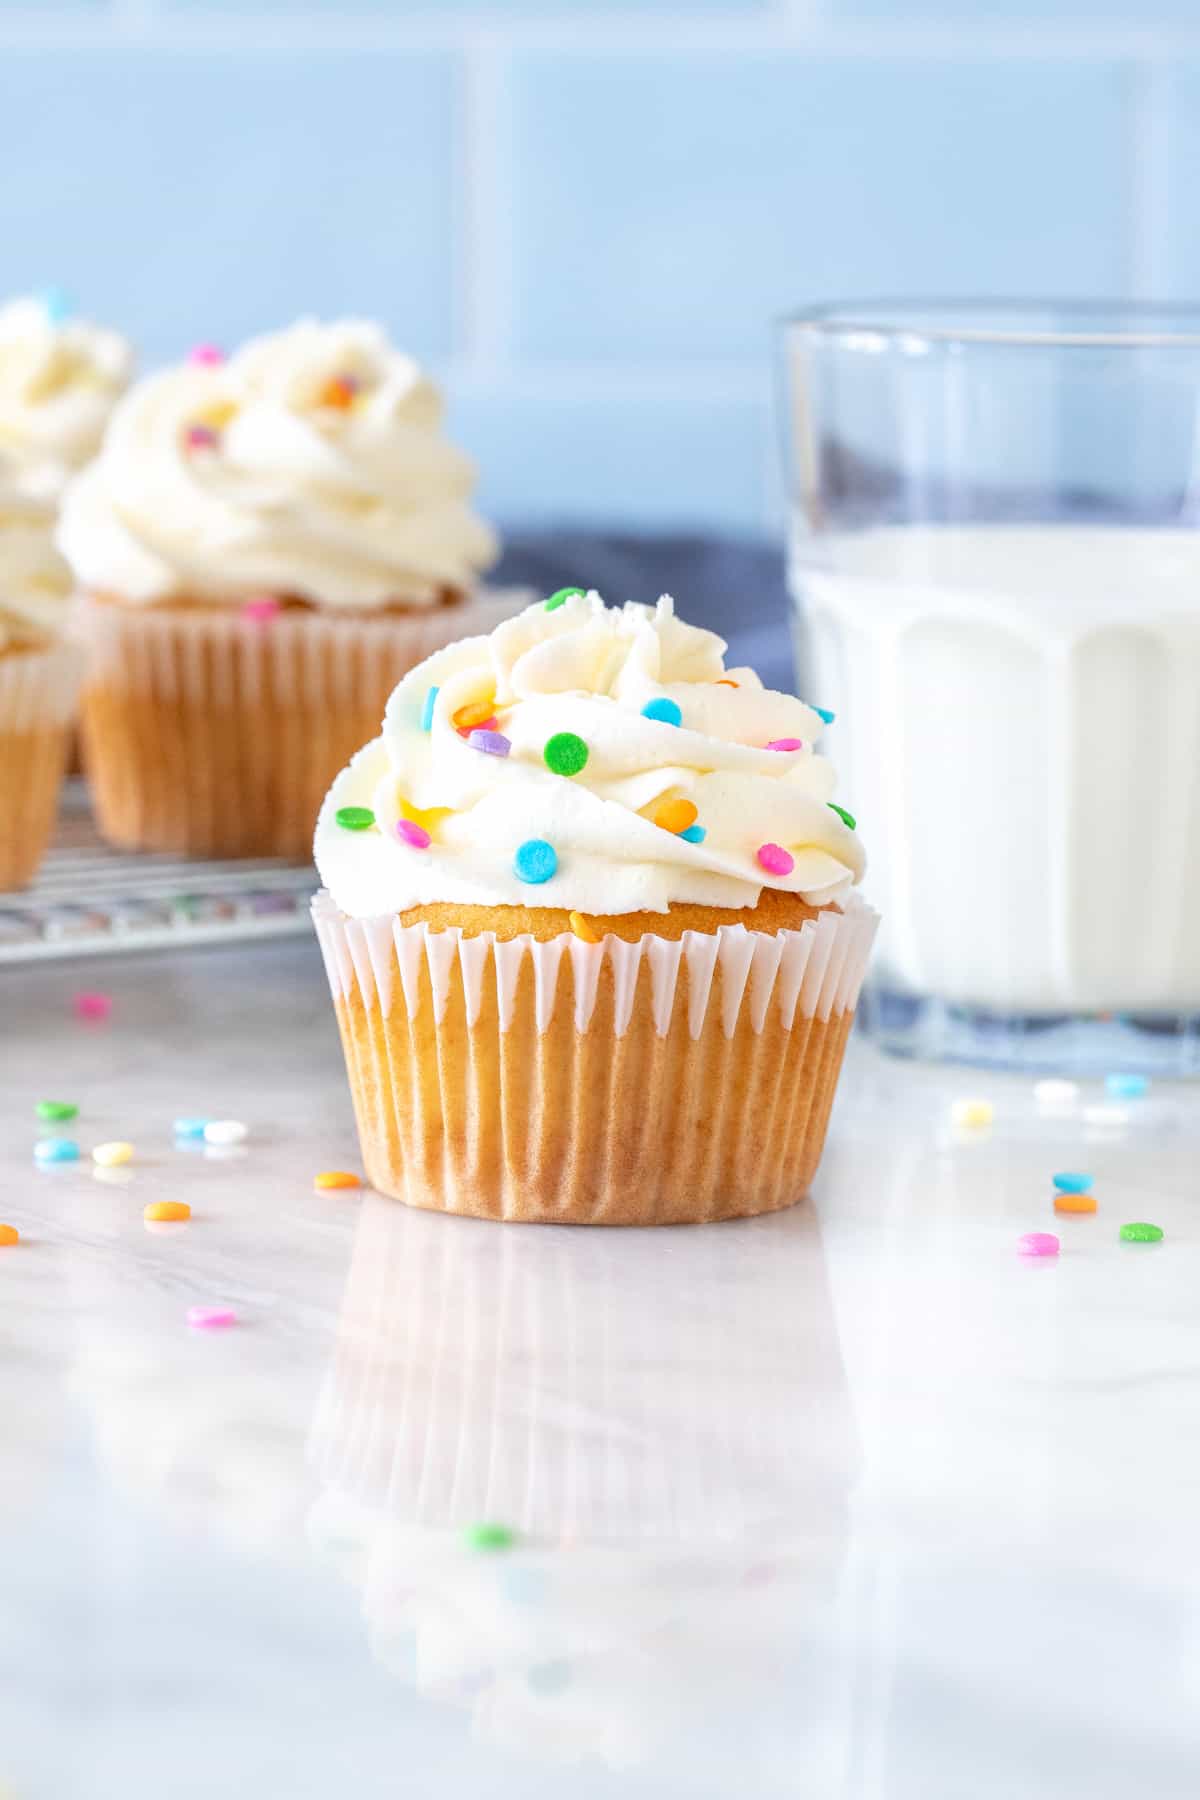
American-style vanilla buttercream is typically a very pale yellow or cream colored due to the butter and vanilla extract. But if you want bright white frosting there are a few tips and tricks that can get you there. White frosting is perfect for wedding cakes and cupcakes, or if you’re a perfectionist.
Bright white frosting is also much better for tinting with food coloring, because you get much closer to the intended color. For example, let’s say you want pale blue frosting. If you add blue food coloring to vanilla frosting that’s slightly yellow, you’ll end up with a greenish-blue shade, since yellow and blue combine to make green.
The simplest way to make bright-white frosting is to use shortening instead of butter. This is typically what grocery stores do. However, using shortening won’t give you the same creamy, buttery flavor. It also leaves a weird oily feeling in your mouth.
To make beautiful white frosting, without shortening, here are my best tips:
Choose Butter that’s Very Pale
Some brands of butter have a stronger yellow color than other brands. This depends on the diet of the cows. Starting with butter that is as light as possible will yield the best results. Here’s 4 examples of butter to show you what I mean:
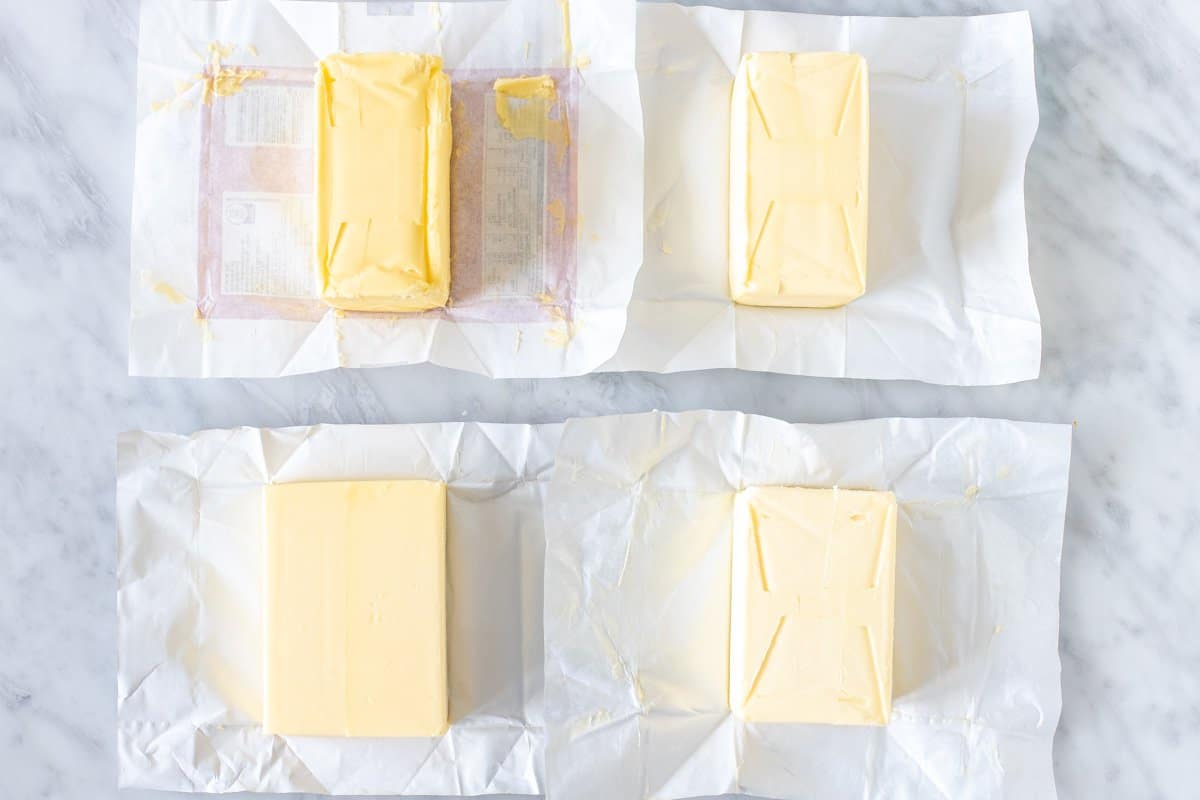
Note: It’s hard for me to give recommendations on the best brand to choose because every country has their own brands of dairy products.
Really Whip the Butter
As you beat the butter with an electric mixer, it will lighten in color. The longer you whip it for, the lighter it will become. This is my #1 tip for really white frosting. If you have a stand mixer, this process is much easier. I will beat the butter for typically close to 10 minutes before adding in any powdered sugar.
Choose Clear Flavorings & Extracts
Vanilla extract is brown in color, and will therefore darken your frosting. Opting for clear flavorings, or skipping flavorings altogether is the way to go. Some brands make clear vanilla extract that won’t impact the color of your frosting. Another option is to use a little almond extract (which is also clear), or other clear flavorings.
Use White or Violet Food Coloring
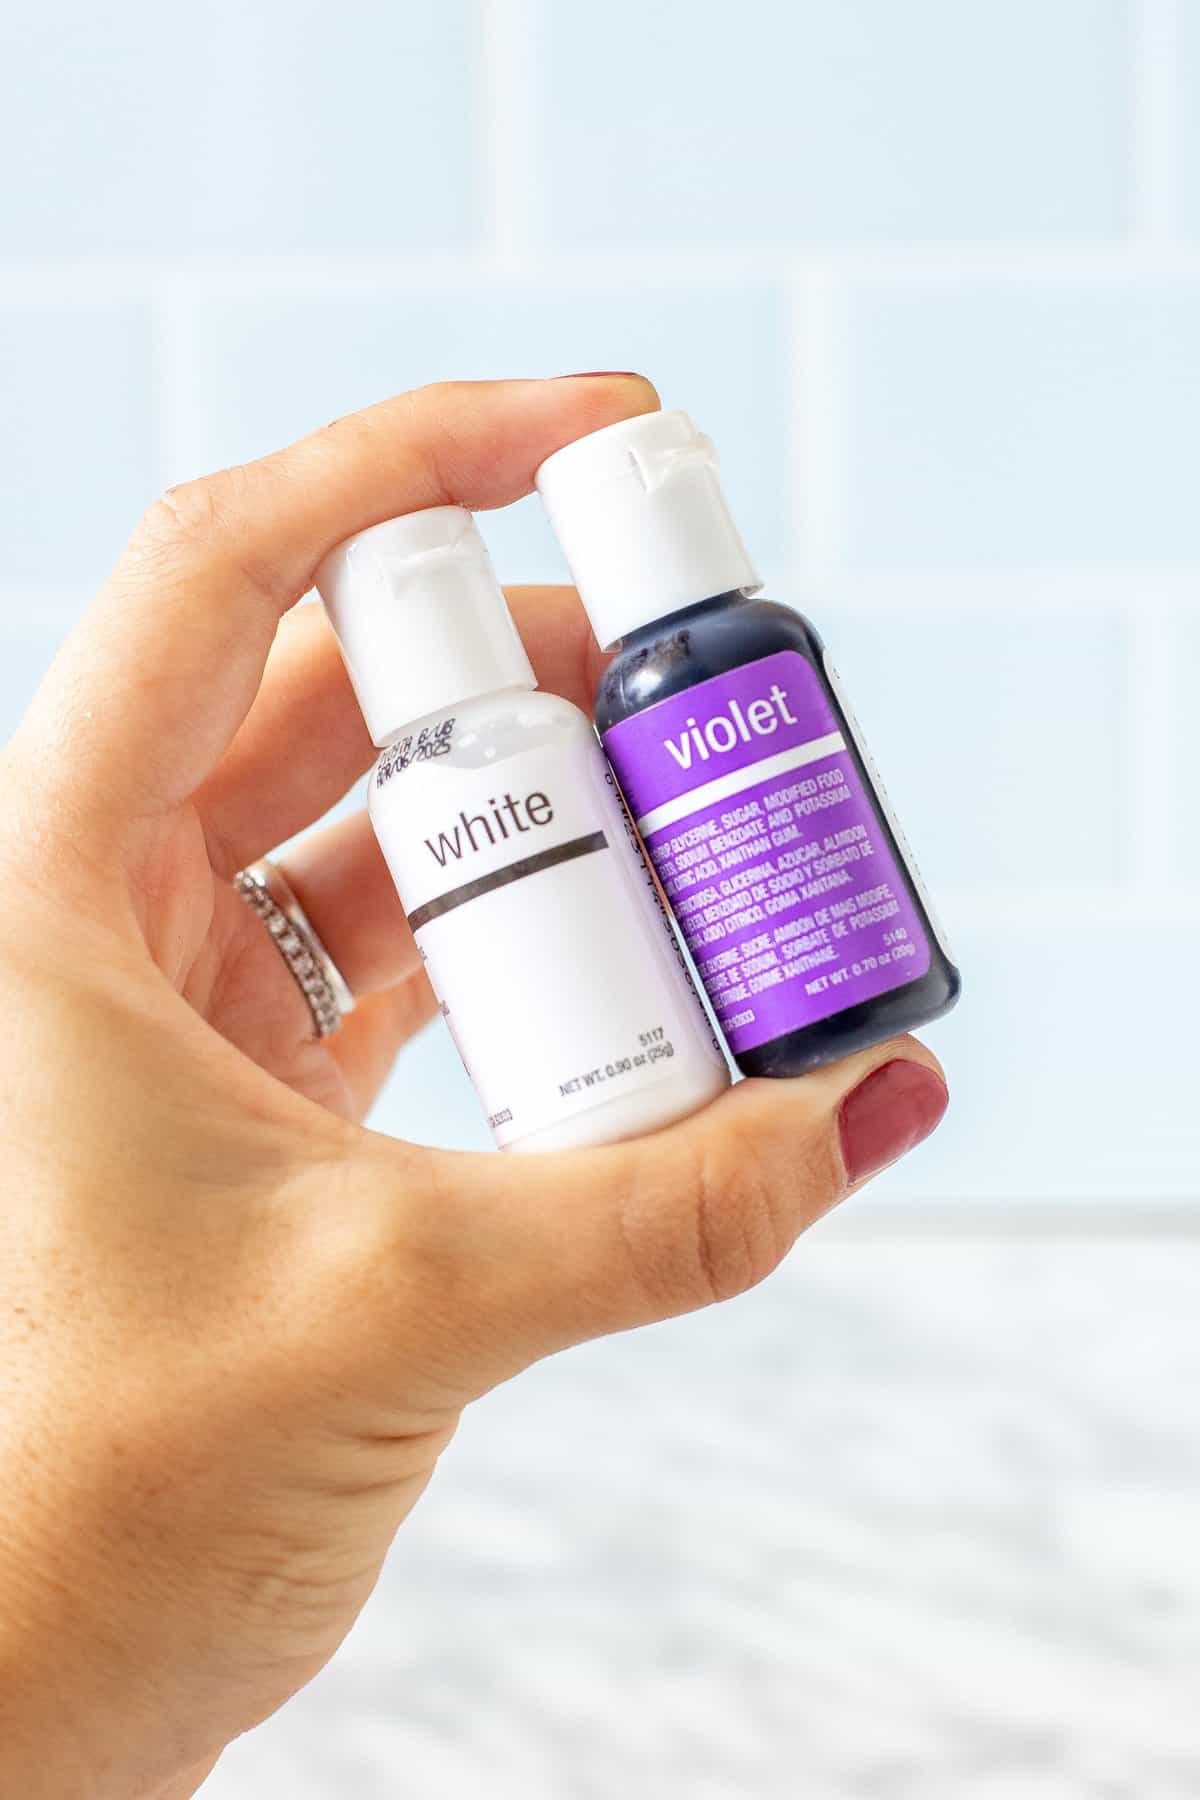
White food coloring can help dye your frosting a brighter white color. I purchased white food coloring at a specialty kitchen store.
Another option is to use the tiniest amount of violet food coloring. Because violet is opposite yellow on the color wheel, it helps cancel out any yellow tones. DO NOT squeeze drops of violet food coloring in your frosting, or it will end up purple. Instead, dip a toothpick or wooden skewer into your food coloring. Then just touch the beater with the toothpick. Do not scrape the toothpick along the beater, or it can be too much. Go very, very slowly with this.
Below, you can see 2 cupcakes I frosted. The cupcake on the right used the tips mentioned above – especially focusing on really whipping the butter. The cupcake on the left used the same buttercream recipe, but I didn’t select the best butter and I didn’t really whip the butter for 10 minutes first. You can easily see the difference. 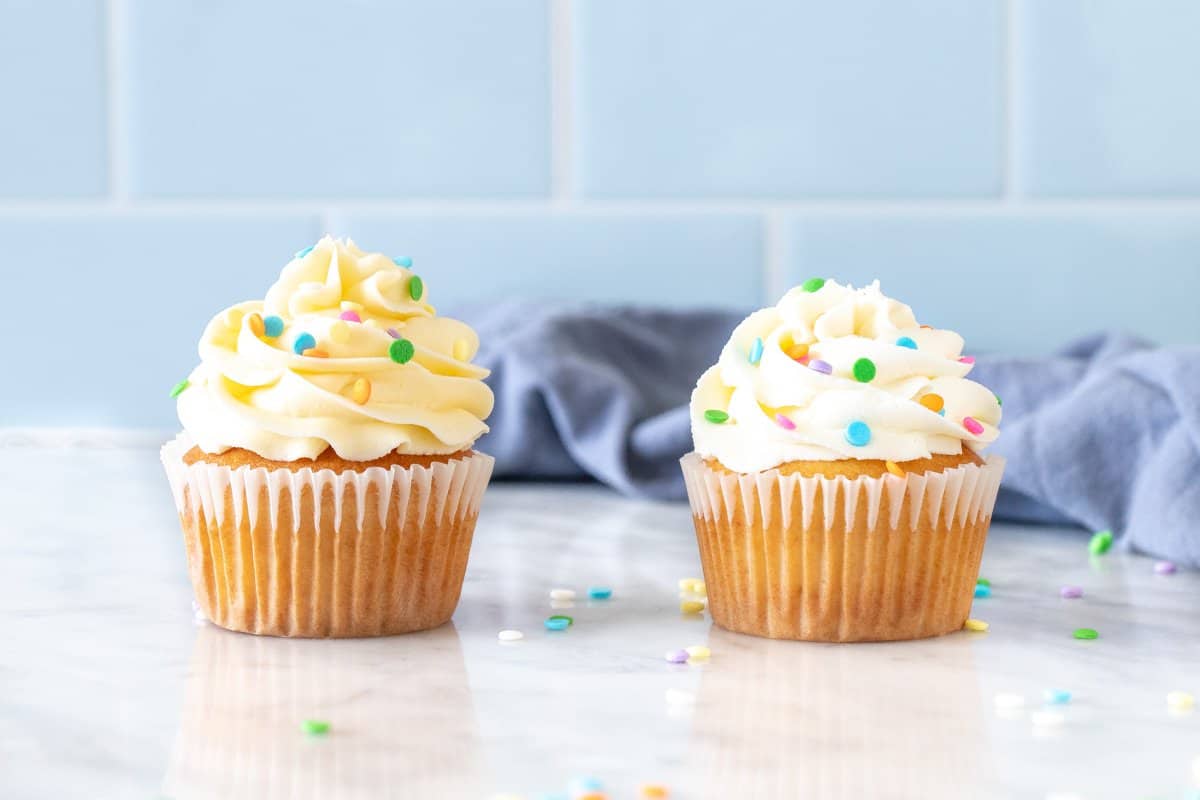
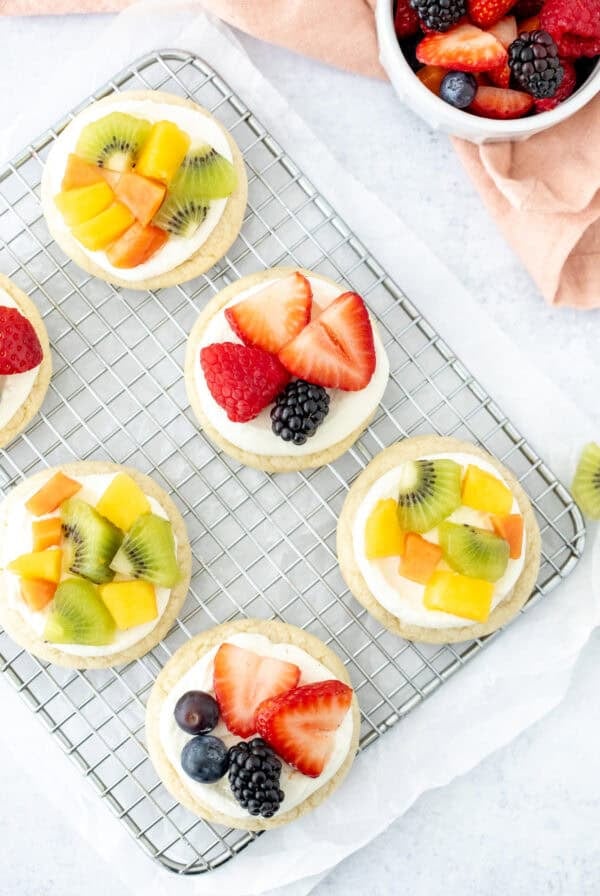
Delicious Cakes & Cupcakes for your Frosting

Bright White Vanilla Frosting
Equipment
- stand mixer or hand-held mixer
Ingredients
- 1 cup unsalted butter, softened slightly, but not starting to melt
- 4-5 cups powdered sugar
- 1/4 teaspoon salt
- 1/2 teaspoon clear vanilla extract, or another clear flavoring, such as almond extract
- 3-4 tablespoons cream, or milk
- white food coloring, optional
- violet food coloring, optional
Instructions
- In a very large bowl, beat the butter for 5-10 minutes on medium-high speed. As you continue to beat the butter, it will lighten in color.
- Once the butter is extremely pale and looks white and shiny, add in 2 cups powdered sugar.
- Start mixing in the powdered sugar with the mixer on a low speed, then gradually increase the speed.
- Add in the salt and flavorings.
- Beat in the rest of the powdered sugar about 1/2 to 1 cup at a time, alternating with 1 tablespoon of cream until the desired thickness and sweetness is reached.
- Optionally, beat in a few drops of white food coloring. If using violet food coloring (to cancel out any yellow color), dip a toothpick or wooden skewer into the food coloring. Then touch the beater or bowl (not while the mixer is going) with the toothpick. You only need the tiniest amount of violet food coloring. Do not squeeze drops of violet food coloring into the frosting.
- Once your food coloring is bright white, optionally stir in your chosen food colorings.
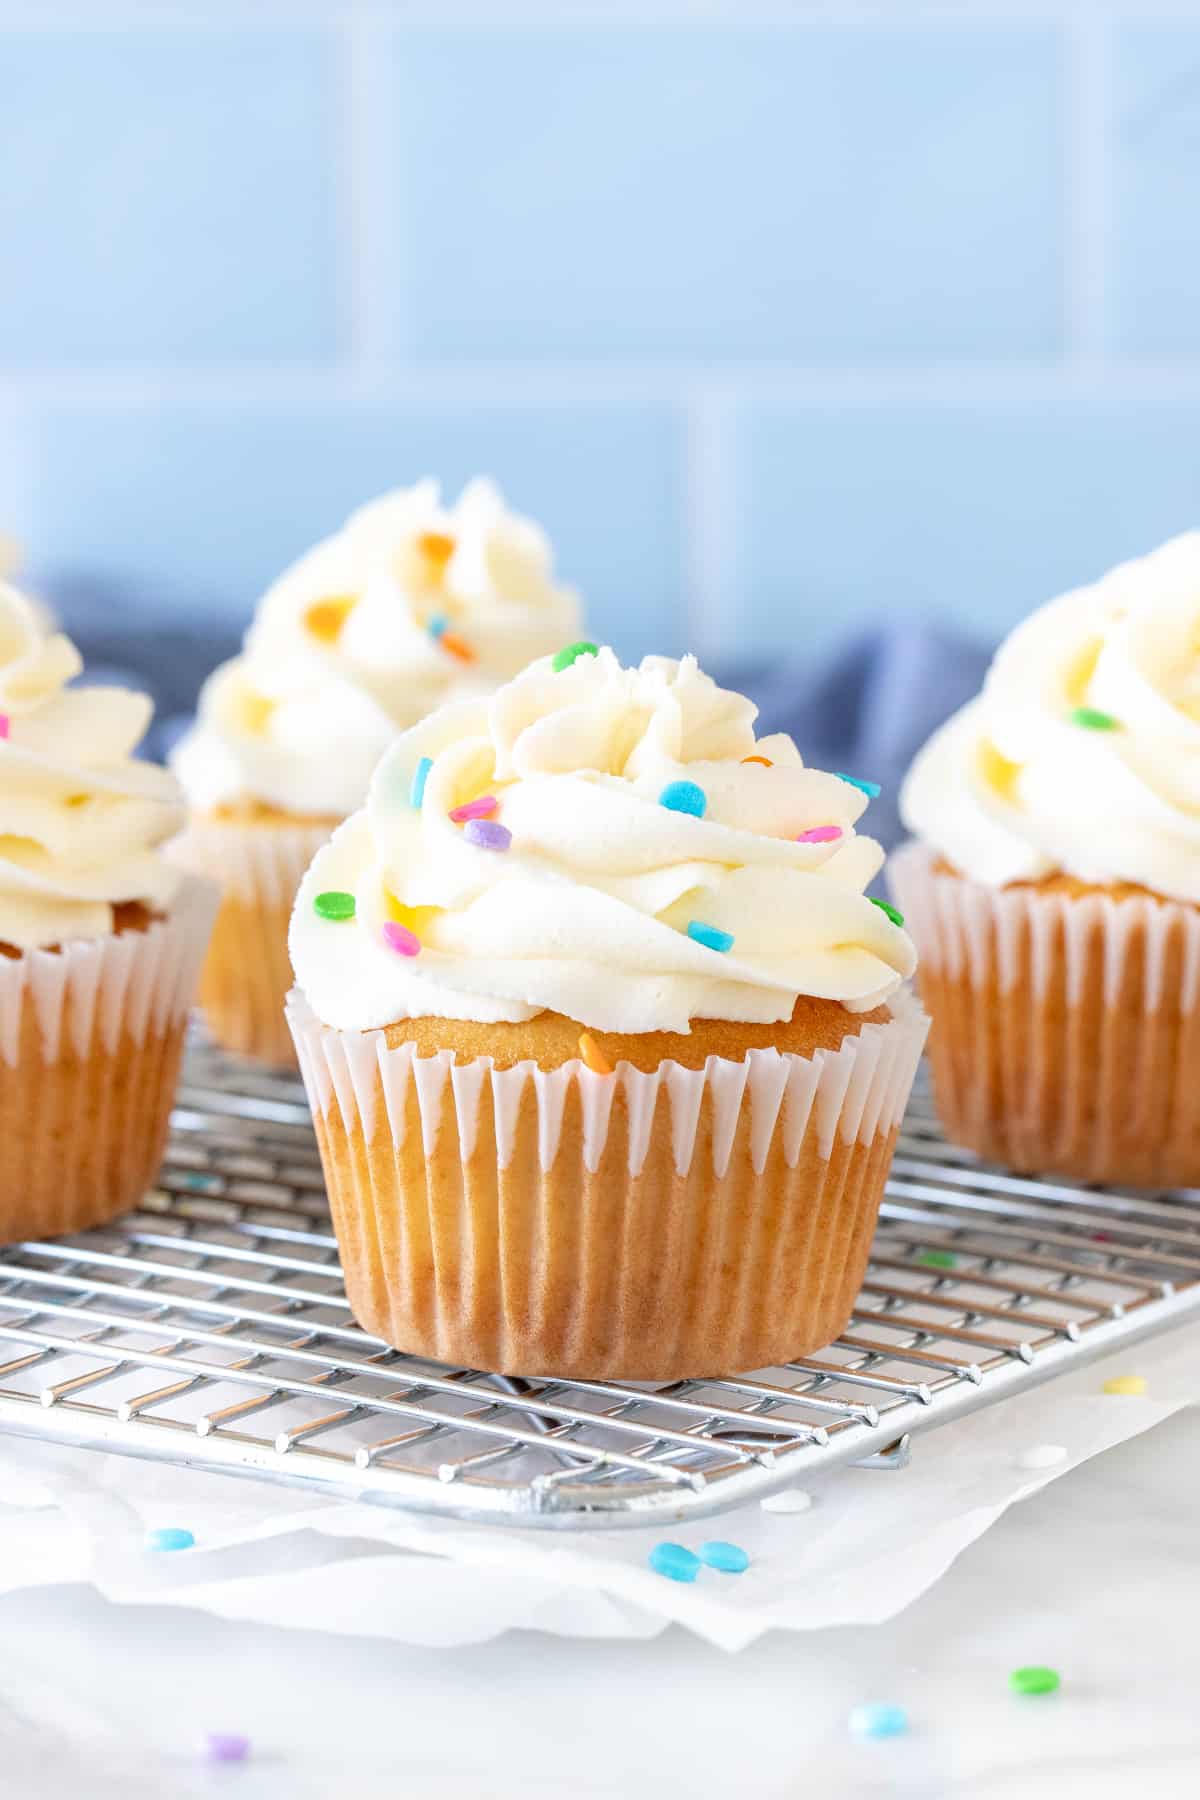
- Use this frosting to decorate cakes and cupcakes with a flat knife, or transfer to piping bags. For cupcakes, I use a 1M tip and piping bag.
Notes
- Butter: Choose a butter that is very pale in color instead of yellow. Salted butter is fine, simply remove the salt from the recipe.
- Cream: I use whipping cream. Milk or half-and-half cream works too.
- Yield: This recipe makes enough to frost:
- 12 cupcakes with a very generous amount, using a piping bag
- 18-24 cupcakes, if frosting cupcakes with a knife
- a 9x13 inch single layer cake
- a two-layer 8-inch cake with a thin layer of frosting
- multiply the recipe by 1.5 to make:
- a two-layer 8-inch cake with a thick layer of frosting, and extra for piping rosettes or designs
- a three-layer 8-inch cake
- a two- or three- layer 9-inch cake
- Storage: Frosted cakes and cupcakes can be stored in an airtight container at room temperature for 2-3 days, as long as your kitchen isn't too warm. The cream and butter in the frosting are stabilized by the sugar. Frosting can be kept in the fridge in an airtight container for up to 1 week.
- Nutrition: Details provided are an estimate only and based on the recipe being divided by 12. It only includes the frosting, and not any cake/cupcake.