Oreo Red Velvet Cookies
I may receive compensation in the form of payment or products to supplement my posts, but all opinions remain my own. Read our disclosure policy.

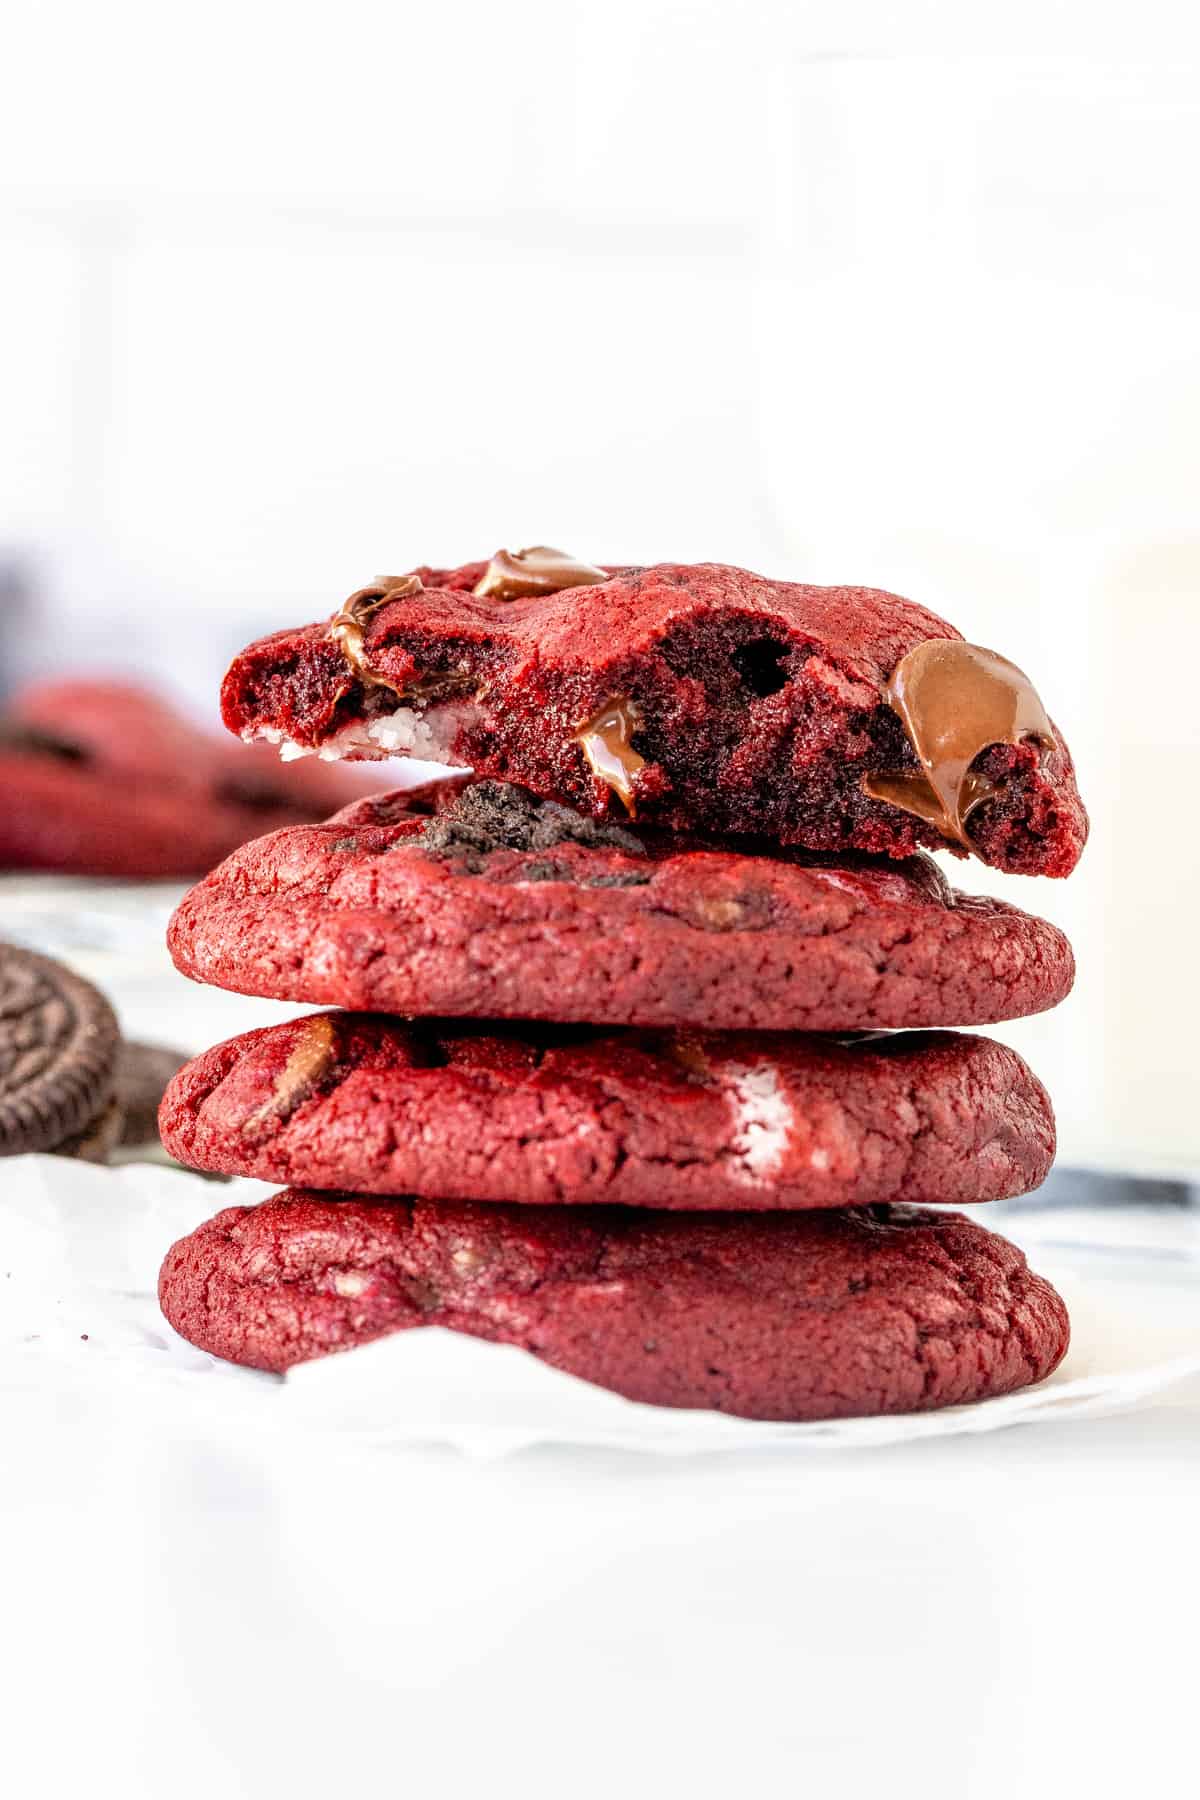
Thick, chewy, and loaded with Oreo pieces and chocolate chips – these Oreo red velvet cookies are perfectly addictive. It’s an easy, homemade cookie recipe that rivals anything from a fancy bakery! 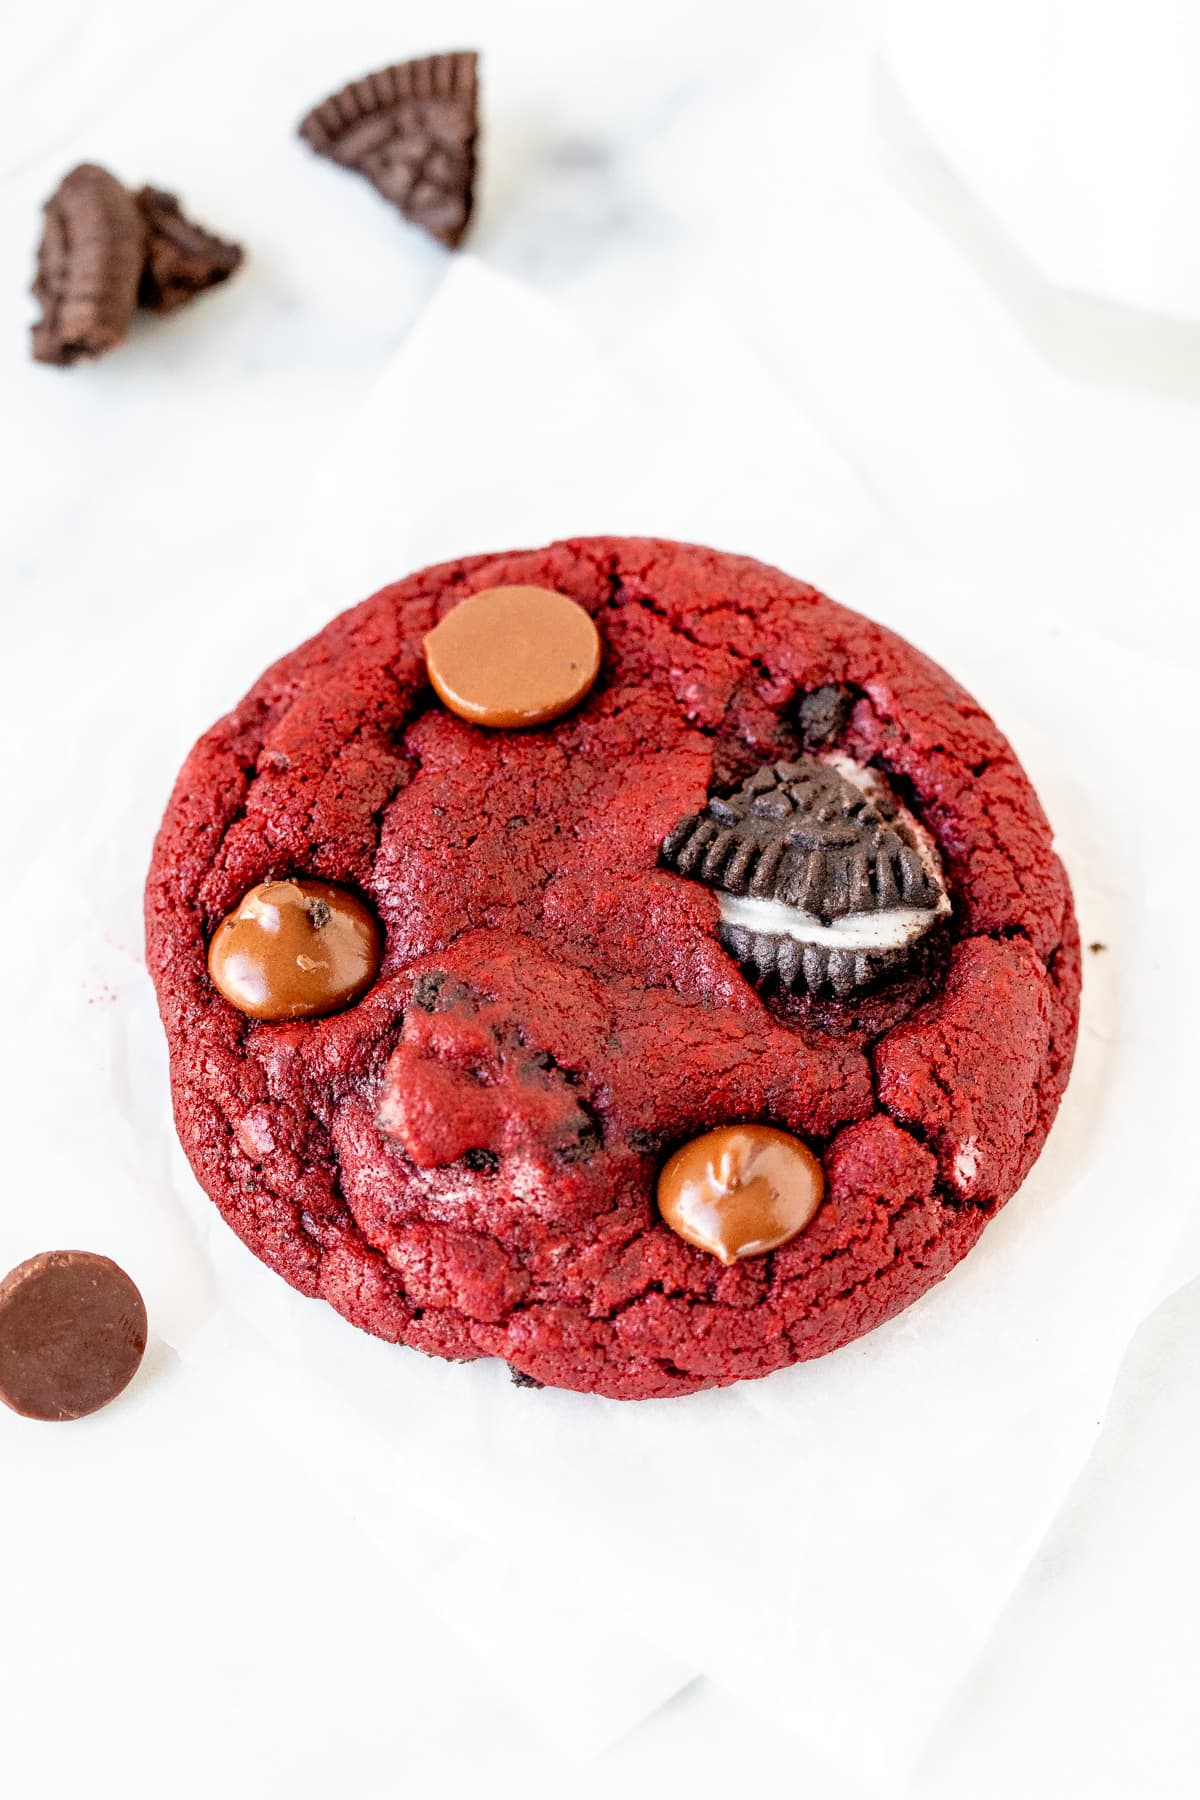
These Oreo red velvet cookies combine so many delicious desserts into one chewy, slightly gooey cookie recipe. Because why decided between red velvet, chocolate chip cookies and Oreos when you can have all three? You end up with a cookie that’s thick and chewy with a delicious red velvet flavor, tons of chocolate chips and big cookies and cream pieces.
These cookies are made from scratch and truly the perfect recipe if you’re looking for a cookie that verges on those fancy bakeries that you see all over Tik Tok and Instagram.
Making Red Velvet Oreo Cookies
Ok – let’s talk cookie baking specifics. There are a few key tips and steps that will ensure success with this recipe. Note that I highly recommend chilling the dough for at least 30 minutes to give you thicker cookies, so be sure to give yourself a little extra time.
- Start by whisking together the dry ingredients: flour, cocoa, baking soda and salt. Red velvet is in between chocolate and vanilla in flavor, so we aren’t using quite as much cocoa as my double chocolate cookie recipe. I used Dutch process cocoa for this recipe. Note that the darker in color your cocoa is, the deeper the color of your cookies will be.
- Then in a separate large bowl beat together the butter, brown sugar and granulated sugar until creamed. Note that softened butter vs melted butter perform very differently in cookie baking. Make sure that your butter is slightly softened but definitely not starting to melt.

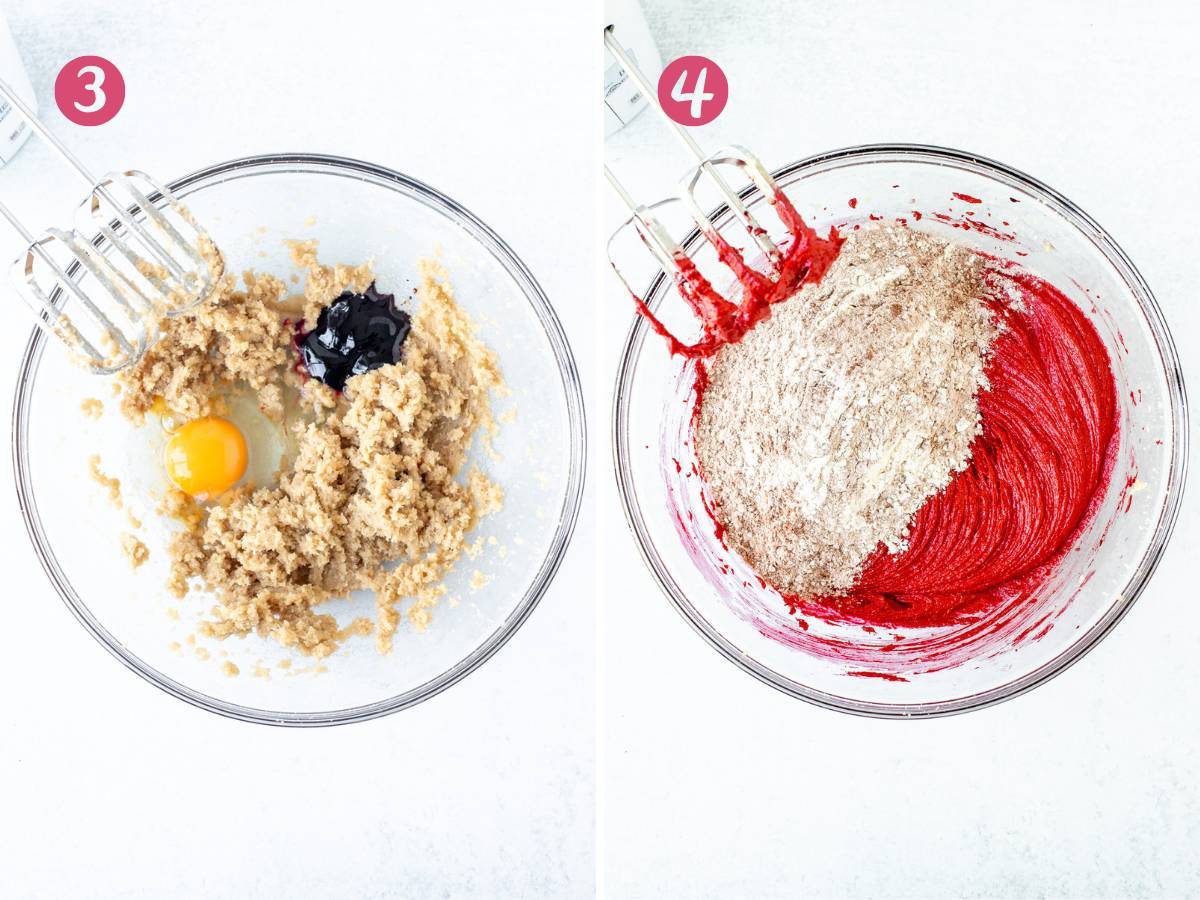
- Next, you’ll beat the egg, red food coloring, vanilla extract and vinegar into your butter and egg mixture.
- I used gel food coloring because it packs a punch when it comes to color, without adding as much liquid as a liquid food coloring would. Feel free to use a little more or a little less food coloring depending on how vibrant you want the red color to be.
- Vinegar is key in any red velvet recipe. It gives that hint of acidity which makes anything red velvet oh so addictive.
- Then carefully mix the dry ingredients into your butter mixture. I always do a few stirs by hand first so that the flour doesn’t fly up the second I turn on the electric mixer. When you’re done mixing you shouldn’t see any clumps of flour.
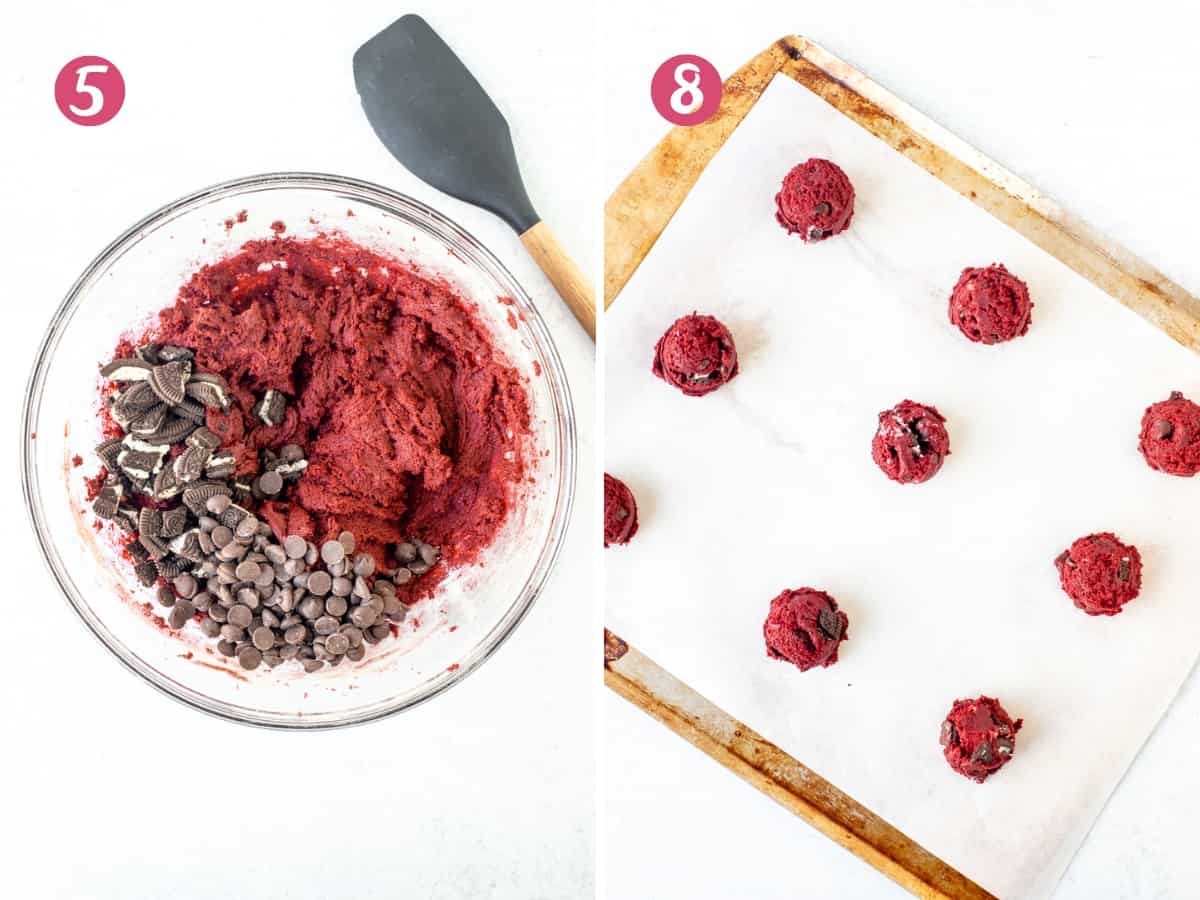
- Gently fold in the chopped Oreos and chocolate chips. It’s important to do this by hand so that you don’t crush the Oreos too much. If some of your Oreo pieces separate it’s totally OK – you’ll then end up with swirls of Oreo cream throughout the batter. YUM!
- Then it’s time to chill the dough. Cover the bowl and chill for 30 minutes or up to 48 hours.
- You’ll notice that the dough is very sticky for a cookie recipe – that’s because of the increased liquid added from the food coloring and vinegar. Chilling the dough makes it much easier to work with and makes the cookies thicker.
- When you’re ready to bake, you’ll preheat the oven to 350F (180C) and line your cookie sheets with baking paper or silicone baking mats.
- I always line my cookie sheets because it prevents my cookie bottoms from getting too crispy.
- Then scoop the dough to form cookie dough balls. I highly recommend a cookie scoop for this because it will give uniform cookies. I used a 1.5 tablespoon cookie scoop and slightly overfilled it each time. Place the cookies 2 inches apart on your lined cookie sheets.
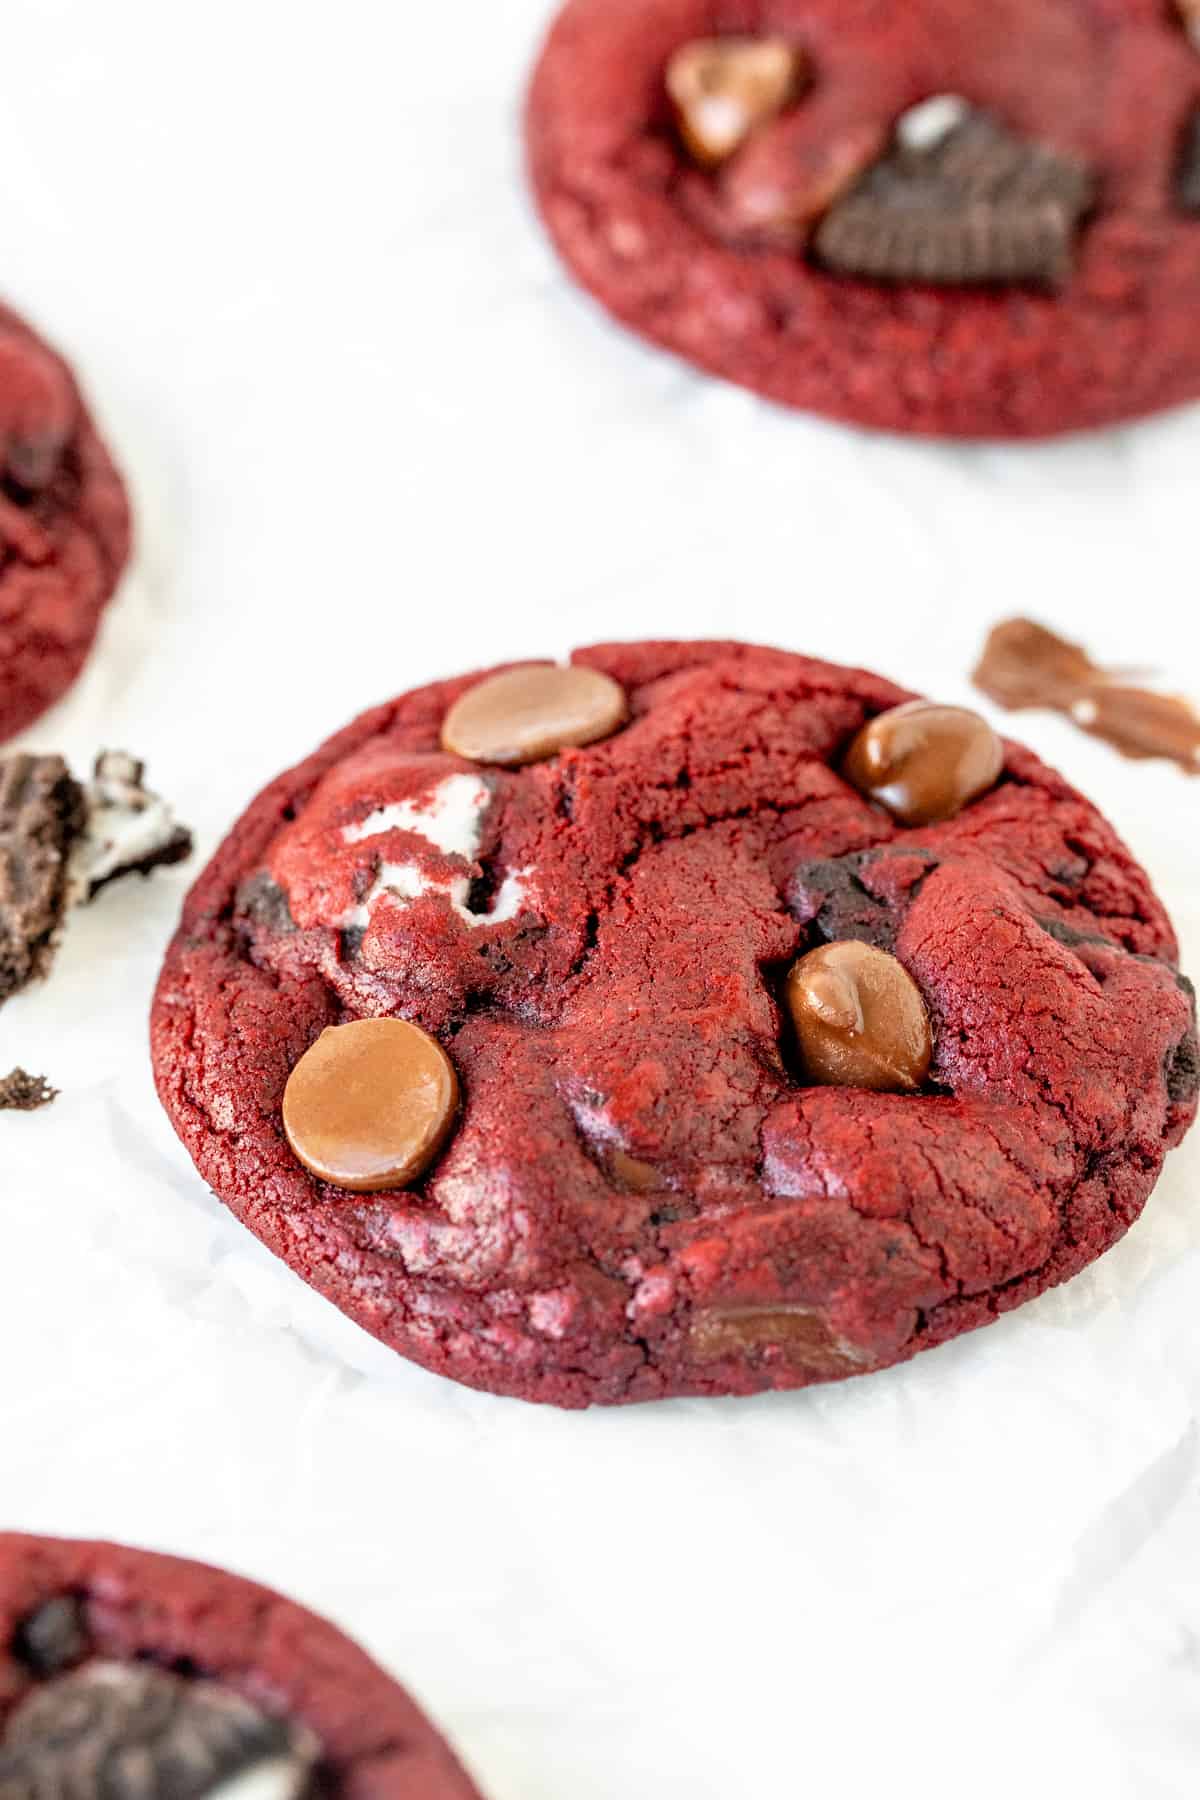
- Bake 1 sheet at a time in the middle of the oven for about 9-12 minutes or until the tops look just set. While the cookies are cooling, I recommend adding a few extra chocolate chips and/or small Oreo pieces to give you that irresistible cookie look.

Baking Tips and Tricks
Want extra large, big, bakery-style cookies? If you want extra thick, extra gigantic cookies – be sure to chill the dough for at least 4 hours. For the dough into balls with about 4 tablespoons of dough each (1/4 cup). Then bake in the preheated oven for about 13-16 minutes or until the tops look just set. Note that if the dough is really firm when you take it out of the fridge, let it sit on the counter for about 10 minutes before forming into balls.
Cookie dough freezes beautifully. Make the cookie dough and chill in the fridge for about 30 minutes (this just makes it easier to handle). Then form into balls. Place in a freezer bag, remove any excess air and freeze for up to 2 months. When you’re ready to bake, preheat the oven as directed and place cookie dough balls on your lined cookie sheets. Bake the cookies from frozen, as directed in the recipe. They’ll just need an extra minute or two in the oven (or two to three minutes if you made gigantic cookies.
And if you love Oreos and red velvet and cookies – then why not try:
- Oreo Red Velvet Cheesecake
- Oreo-Stuffed Red Velvet Brownies
- Oreo Chocolate Chip Cookies – the non red velvet version of this recipe

Red Velvet Oreo Cookies
Equipment
- Cookie Sheets
Ingredients
- 1 2/3 cup all-purpose flour (208 grams) , measured properly
- 3 tablespoons cocoa powder (17 grams)
- 1/2 teaspoon baking soda
- 1/4 teaspoon salt
- 1/2 cup unsalted butter (112 grams) , softened
- 1/2 cup brown sugar (105 grams) , light or dark
- 1/2 cup granulated sugar (105 grams)
- 1 large egg
- 2-3 teaspoons red food coloring (10-15 ml) , gel or liquid, I used 3 teaspoons of gel
- 1 teaspoon vanilla extract (5 ml)
- 1 teaspoon vinegar (5 ml) , distilled or white
- 8-10 Oreo cookies, chopped - I chop each Oreo into about 6 pieces
- 1/2 cup chocolate chips (90 grams), dark, milk, semi-sweet or white
Instructions
- In a medium bowl, whisk together the flour, cocoa, baking soda and salt. Set aside.
- In a large bowl, beat together the butter, brown sugar and granulated sugar until creamed.
- Beat in the egg, red food coloring, vinegar and vanilla into the butter mixture.
- Add the dry ingredients into the butter mixture. Do a few stirs by hand first, then mix together with an electric mixer until you no longer see any flour.
- Turn off the mixer. Carefully stir in the chopped Oreos and chocolate chips. I always mix in 8 chopped Oreos and reserve about 2 tablespoons of chocolate chips. (I use the rest for dotting on top of each cookie once I take them out of the oven).
- Cover the bowl and refrigerate the dough for about 30 minutes or up to 48 hours.
- When ready to bake, preheat the oven to 350F (180C). Line cookie sheets with parchment paper or silicone baking mats.
- Form the dough into balls with about 1.5 to 2 tablespoons of dough each. I recommend using a cookies scoop. If your dough has been in the fridge for over 4 hours, you may need to let it sit on the counter for 10 minutes before forming into balls. Place cookie dough balls about 1.5-2 inches apart on your lined cookie sheets.
- Bake 1 sheet at a time in the middle of your preheated oven for about 9-11 minutes, or until the tops look just set.
- Remove from the oven. Let the cookies cool on the cookie sheets for at least 10 minutes. Optionally, place a few extra chocolate chips and Oreo pieces on top of each cookie as soon as they come out of the oven.
Notes
- Flour: Be sure to measure the flour properly, otherwise the cookies can be dry and end up too thick. Whisk first, then scoop into a dry measuring cup and level off the top. For the most accurate results, measure using a scale in grams.
- Cocoa: I used Dutch process. The darker in color your cocoa powder is, the darker your cookies will be in color.
- Food Coloring: I prefer to use gel food coloring because it's more concentrated and therefore doesn't add as much liquid to the cookie dough. Either liquid or gel will work.
- Freezing Cookie Dough: Make the dough and chill in the fridge for 30 minutes. Then form the dough into balls. Place in a freezer bag and freeze for up to 2 months. Bake from frozen, as directed in the recipe. The cookies will need 1-2 extra minutes.
- Storage: Fresh cookies are always best. Store cooled cookies in an airtight container in the fridge for up to 5 days. Baked and cooled cookies can be frozen in an airtight container. Always thaw in the fridge.
- Nutrition: Details provided are an estimate only and based 1 cookie, assuming the recipe yields 22 uniform cookies.
Nutrition