Peppermint Bark Brownies
I may receive compensation in the form of payment or products to supplement my posts, but all opinions remain my own. Read our disclosure policy.
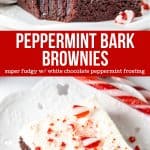
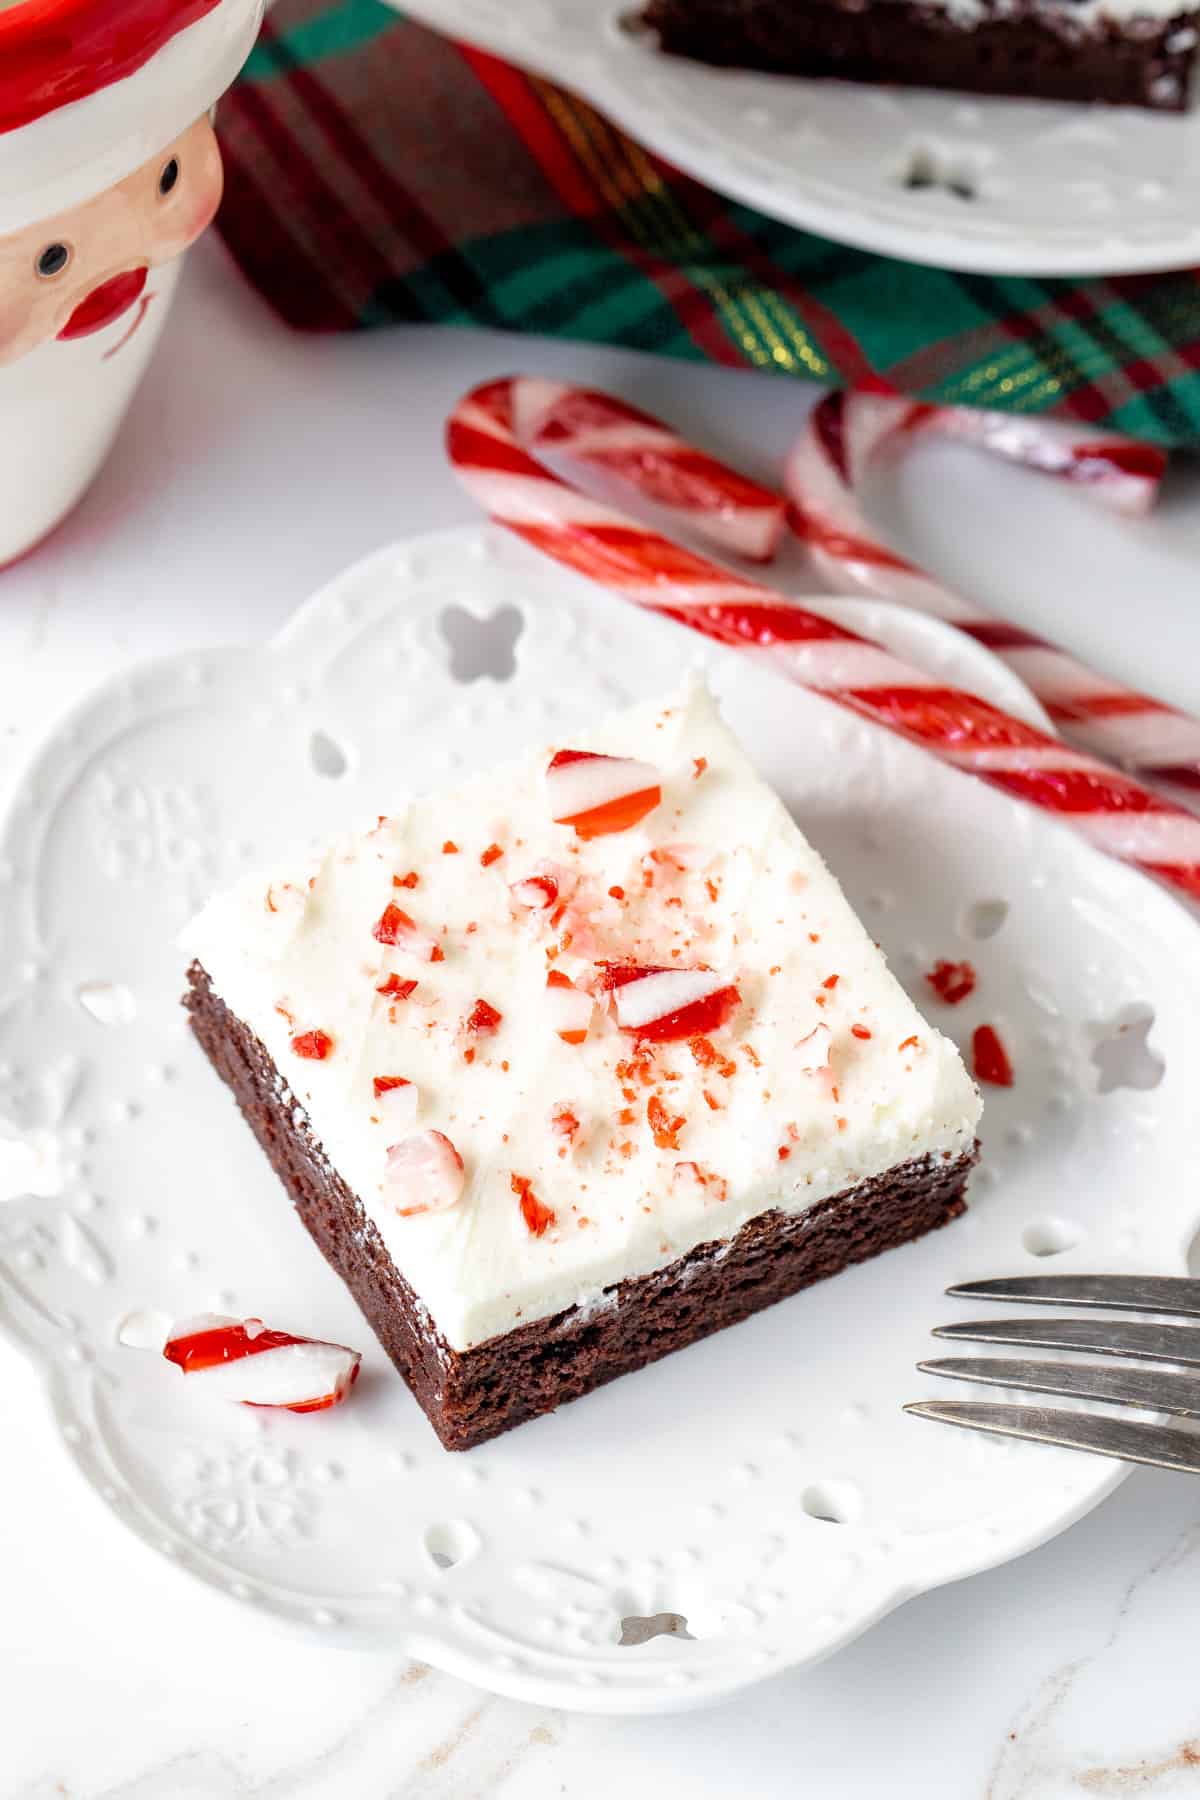
If you love peppermint bark – then you need to try these peppermint bark brownies. They have everything you love about the classic Christmas treat in fudgy brownie form. It’s a rich and fudgy chocolate brownie topped with white chocolate peppermint frosting and topped with candy canes! 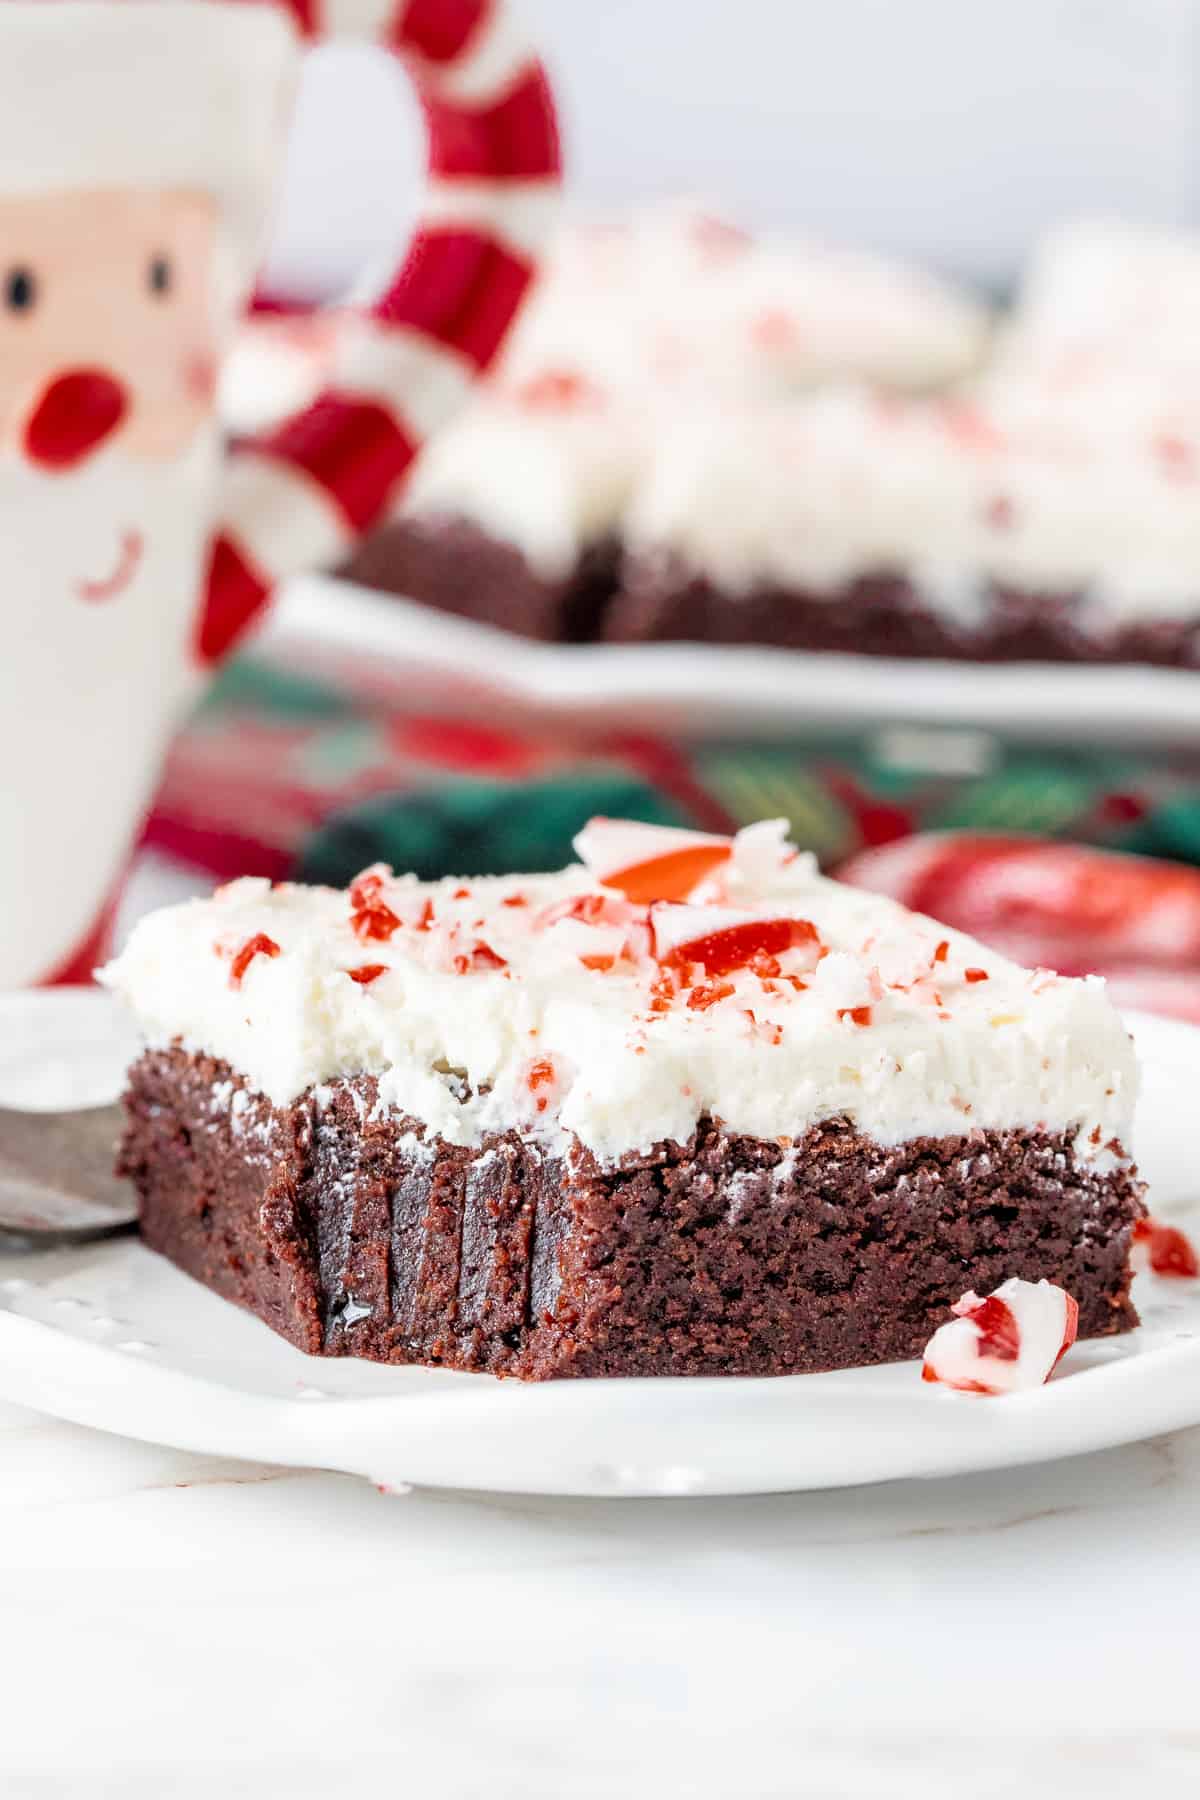
Fudgy Peppermint Bark Brownies
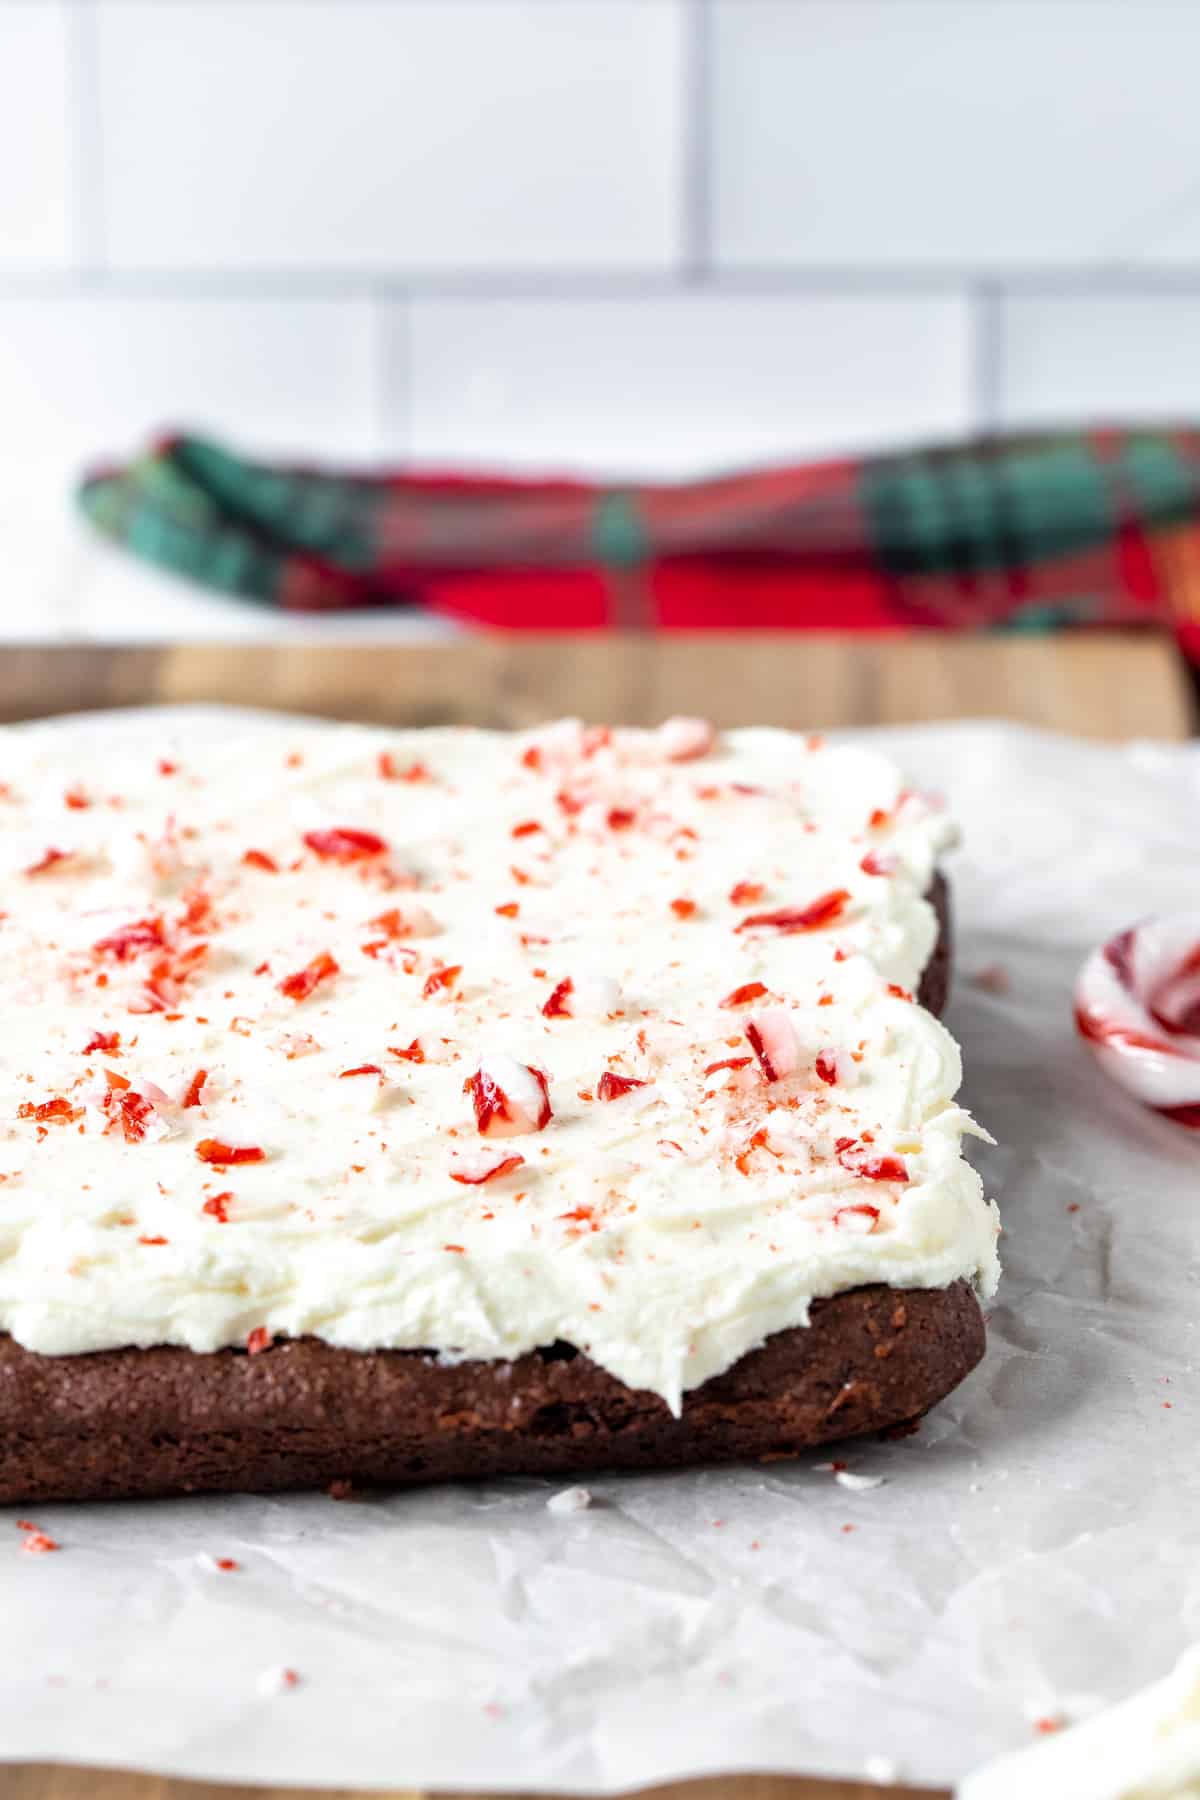
If you’ve never tried peppermint bark before, it has a layer of chocolate, a layer of white chocolate and then crushed candy canes on the top. Peppermint and chocolate are such a classic holiday flavor combo, and these peppermint bark brownies have everything you love about the classic Christmas treat. It’s a simple fudgy brownie recipe that’s topped with creamy white chocolate frosting that has just a hint of peppermint added. Then just like the bark – they’re sprinkled with crushed candy canes. You can slice the pan into very large brownies to serve as dessert, or smaller brownies for a cookie tray.
Baking Tips & Tricks
- The brownie layer for this recipe is made with both melted chocolate and cocoa. I typically use anything between 50-70% dark chocolate. Semi-sweet works too for a slightly sweeter brownie. I do not recommend using anything stronger than 70% dark chocolate or the brownies can be too rich.
- Brownie bake times vary depending on your oven and how gooey you like your brownies. When they’re done baking, an inserted toothpick should come out with a few damp crumbs. If you see brownie batter, then they aren’t done baking yet.
- Whenever melting chocolate (especially white chocolate in the frosting) it’s really important to melt the chocolate very slowly – otherwise it can bake or burn and becoming grainy. Here’s what to do:
- Chop the chocolate into very fine pieces. I always use baking chocolate because it melts more easily than chocolate chips.
- Place the chopped chocolate in a heatproof bowl
- Microwave on medium power (not high power – which is often the default) for 45 seconds. Remove from the microwave and stir. Repeat the process until the chocolate is smooth. After the first interval the chocolate may not have melted yet. That’s totally OK. Do not be tempted to increase the power on your microwave.
- When making the frosting, ensure that the melted white chocolate is no longer hot when you add it into the butter mixture. Otherwise, it can melt the butter.
- The amount of peppermint extract you add to the frosting is kind of up to you and how peppermint-y you like the flavor. Alternatively, if you really want to taste the white chocolate you could leave it out entirely and just get the peppermint flavor from the candy canes.
- Sometimes if the crushed candy canes go in and out of the fridge they can start to sweat/melt. Therefore, I recommend only adding the crushed candy canes on top right before you plan to serve your brownies
If you love peppermint bark, or need a holiday dessert that’s rich, fudgy, and perfect for chocolate lovers – then these peppermint bark brownies are the recipe for you. They’re straight forward to make and perfectly decadent in the best kind of way.
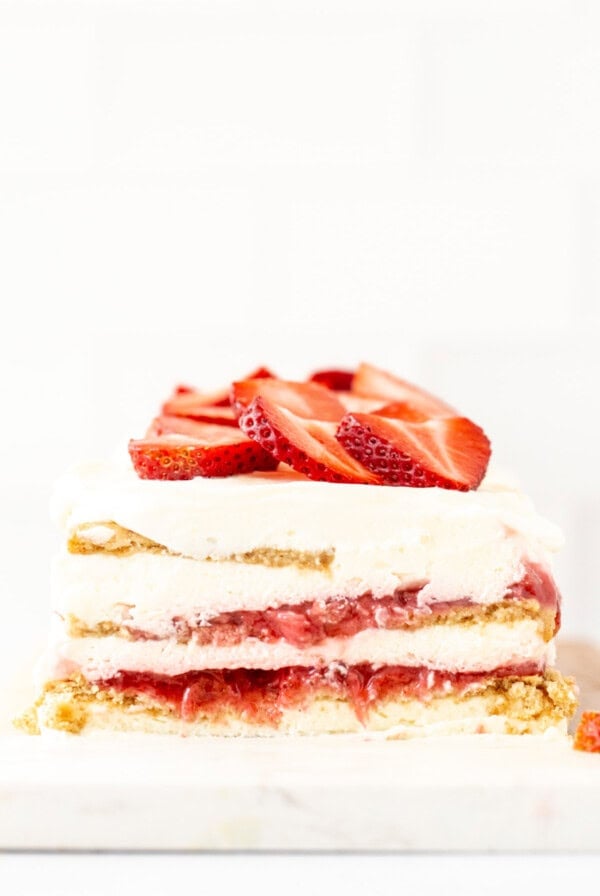
Need more candy cane desserts? Then be sure to try:
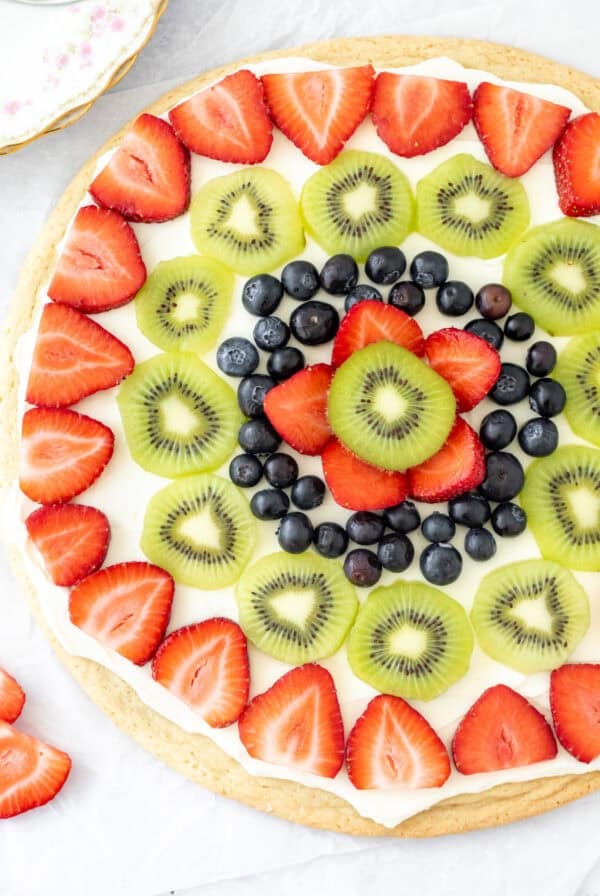
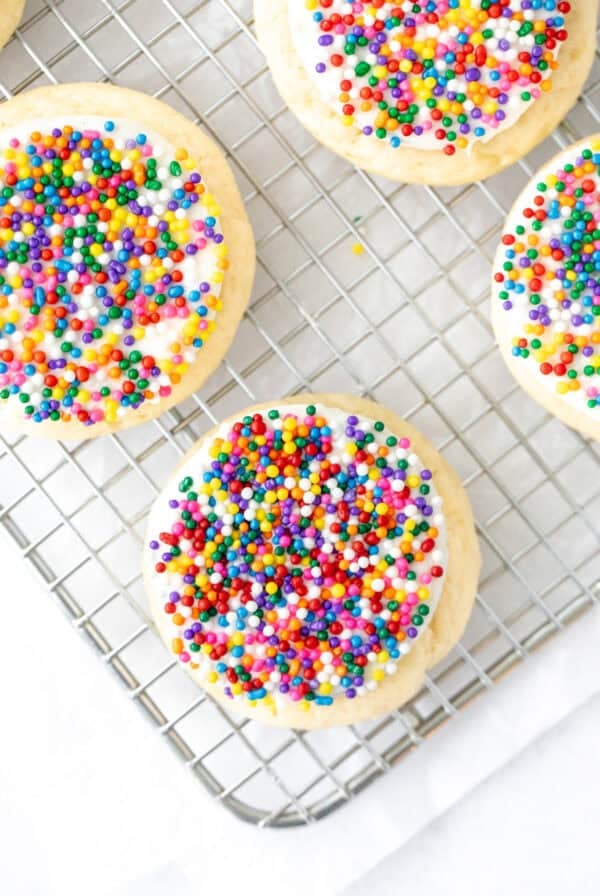
- Peppermint Sugar Cookies
- Chocolate Candy Cane Cake
- Peppermint Cake with White Chocolate Peppermint Frosting
- White Chocolate Candy Cane Cookies

Peppermint Bark Brownies
Equipment
- 8x8 inch (20x20 cm) pan
Ingredients
Brownies
- 1/2 cup unsalted butter (112 grams)
- 6 ounces dark chocolate (170 grams) , 50-70%, or semi-sweet works too
- 1 cup granulated sugar (200 grams)
- 2 large eggs
- 2 teaspoons vanilla extract
- 2/3 cup all-purpose flour (83 grams)
- 3 tablespoons cocoa powder (17 grams)
- 1/4 teaspoon salt
White Chocolate Peppermint Frosting
- 3 ounces white chocolate (85 grams)
- 1/2 cup unsalted butter (112 grams)
- 1-2 cups powdered sugar (110-220 grams)
- 1/2 - 1 teapsoon peppermint extract, NOT peppermint essence
- 1/4 teaspoon salt
- 1-2 tablespoons heavy cream (15 ml), or milk, if needed
- 2 candy canes, crushed
Instructions
Brownies
- Preheat the oven to 350F degrees (180C). Line an 8x8 inch (20x20 cm) pan with parchment paper so that there's an overhang around the edges. Alternatively, lightly grease the pan.
- Chop the butter into about 8 pieces and place in a large heatproof bowl. Finely chop the chocolate and place in the same heatproof bowl.
- Melt together the butter and chocolate in the microwave using 45-second intervals on medium power (do not use high power, which is often the default). Stir in between each interval. Repeat the process until smooth. Alternatively, melt in a double boiler.
- Let the mixture sit for a few minutes so that it isn't hot to the touch (warm is fine).
- Whisk in the sugar, eggs and vanilla extract until combined.
- Gently stir in the flour, cocoa and salt until you no longer see clumps of the dry ingredients. Note - if your cocoa is very lumpy, you may need to sift it first.
- Spoon/pour the batter into the prepared pan. Bake in the middle of the preheated oven for 26-32 minutes, or until an inserted toothpick comes out with a few damp crumbs. Bake times will vary depending on your oven and how gooey you like your brownies.
- Cool the brownies completely before frosting. This will take a few hours. Keep the brownies in the pan as they cool.
Frosting
- Chop the white chocolate into very fine pieces and place in a heatproof bowl.
- Microwave on medium power (NOT high power, which is often the default) for 45 seconds at a time, and stir between each interval until smooth. You can also melt the chocolate over a double boiler of gently simmering water. Set aside to cool
- In a large bowl, beat the butter until creamy and smooth.
- Turn off the mixer and add in 1 cup powdered sugar, 1/2 teaspoon peppermint extract and salt. Start with the mixer on a low speed and gradually increase to a medium speed until everything is incorporated.
- Ensure that the white chocolate is no longer hot. Then mix the melted white chocolate into the butter mixture.
- Beat in the rest of the powdered sugar about 1/3 cup at a time, alternating with 1 tablespoon of cream/milk until the desired sweetness is reached. Optionally, beat in a little extra peppermint extract for a stronger peppermint flavor.
Decorating
- Ensure the brownies are completely cooled (the pan should not feel warm to the touch on the bottom).
- If you lined the pan with parchment, lift the brownies out of the pan using the parchment paper and place on a cutting board.
- Frost the cooled brownies using a flat knife, then sprinkle with crushed candy canes. To crush the candy canes, I place them on a cutting board and lightly bash with a rolling pin.
- Slice brownies using a sharp knife. For clean cuts, wipe off the knife after each slice.
Notes
- Pan Sizes: This recipe can be made in an 8x8 inch (20x20 cm) or 9x9 (23x23 cm) pan. If using a 9x9 inch pan, the brownies will be thinner and will only need to bake for about 20-25 minutes.
- Chocolate: I typically use 70% dark chocolate. Anything between 50-70% dark chocolate will work. Semi-sweet will work if you prefer slightly sweeter brownies.
- Make Ahead Tips: I typically make the brownies the night before I plan to serve. Let them cool fully, then wrap the pan tightly and store at room temperature overnight. Then I make the frosting the next day. Unfrosted brownies can be wrapped tightly in plastic, placed in a freezer bag, and frozen for up to 2 months. Thaw in the fridge.
- Serving Sizes: This recipe will make 9 very large brownies, or 12 more moderately sized brownies. It can also easily be sliced into 16 small brownies.
- Storage: Store brownies in an airtight container at room temperature for up to 3 days or in the fridge for up to 5 days.
- Nutrition: Details provided are an estimate only and based on 1 very large brownie with frosting, assuming the pan is sliced into 9 large brownies and all the forting is used. You very likely can get more than 9 brownies from this recipe. I simply say 9 brownies because this is how they were sliced for the photos.