Black Forest Brownies
I may receive compensation in the form of payment or products to supplement my posts, but all opinions remain my own. Read our disclosure policy.
If you love black forest cake – then try these black forest brownies. Extra fudgy brownie topped with sweetened whipped cream & fresh cherries. They’re the perfect way to celebrate cherry season. 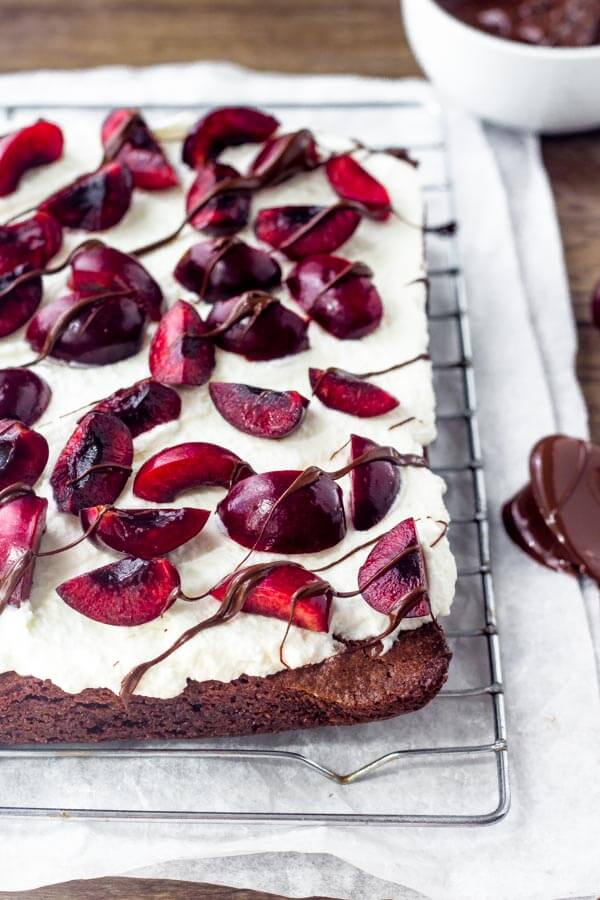
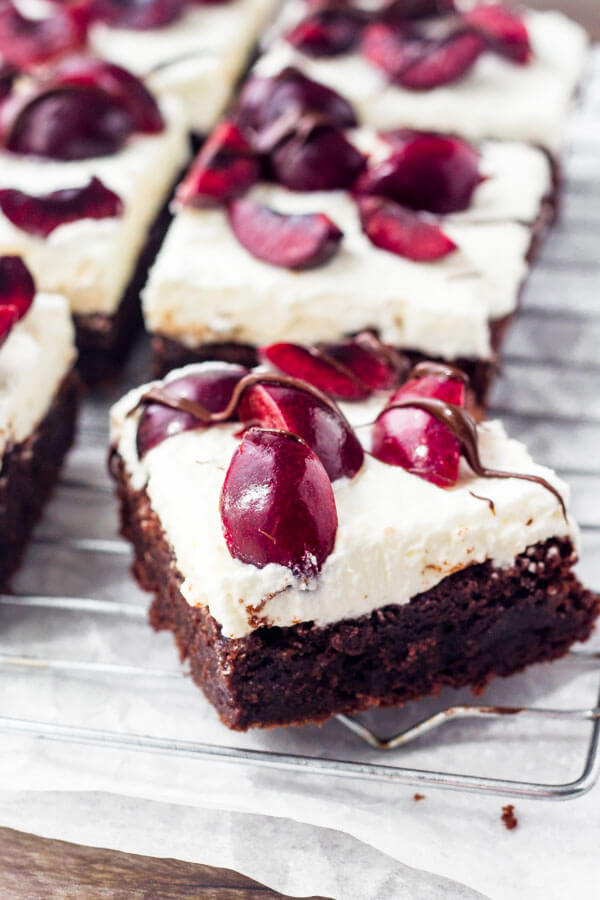
We’ve all tried black forest cake before. But what about black forest brownies???? They start with super fudgy, extra rich chocolate brownies. Then there’s a fluffy cloud of whipped cream, and tons of fresh cherries.
Because at the end of the day brownies > cake. In my humble, chocolate loving, opinion. And making brownies is way easier than any layer cake recipe.
Black Forest Brownies
Ok – so here’s the rundown on the recipe. First, we’re making a batch of the fudgiest brownies around. The chocolate flavor comes primarily from melted dark chocolate, and then just a hint of cocoa. Depending on how rich you like the flavor, you can use anywhere from semi-sweet chocolate (for very sweet brownies), 50% dark chocolate, 60%, dark chocolate or 70% dark chocolate for an extra rich flavor.
Then to ensure that your brownies are fudgy and dense, there are a few key tips:
- Be careful not to add too much flour. Over measuring the flour can make the brownies dry.
- Skip the electric mixer. It adds air to the batter & more air creates a lighter consistency instead of dense and fudgy.
- Last but not least – slightly underbake your brownies. In my oven 23 minutes was perfect. When they’re done the top should look set and you may start to see just a few cracks forming. If you give the pan a gentle nudge the middle shouldn’t wiggle. But be careful not to bake it much longer than that.
 After the brownies are done baking, be sure to cool them 100%. Otherwise, when you add the whipped cream on top it’ll melt.
The whipped cream topping is exactly what the name says. Simple beat heavy cream or whipping cream with a little powdered sugar until stiff peaks form, then spread it on top of the cooled brownies. I love the combo of rich chocolate with whipped cream because the flavors complement each other so perfectly, and it’s not too sweet.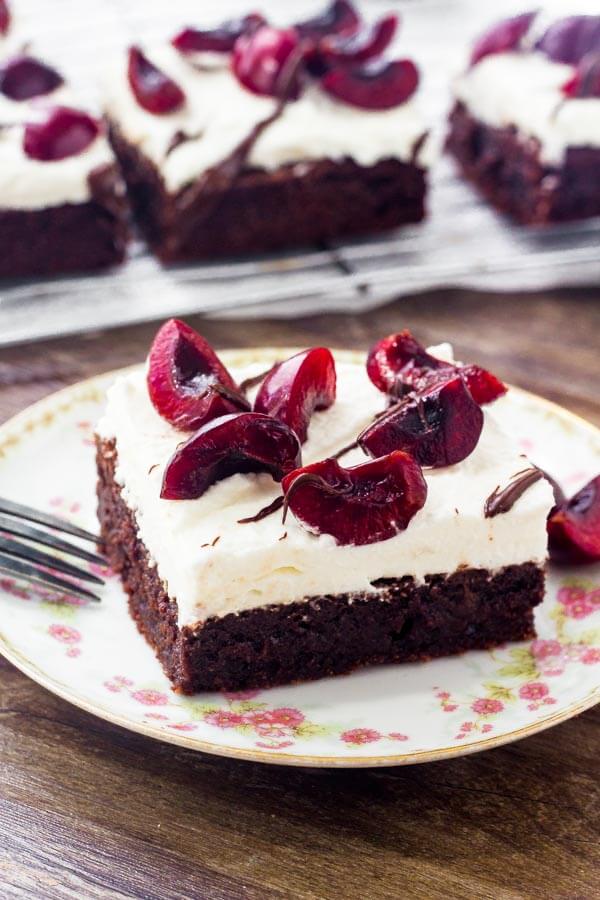
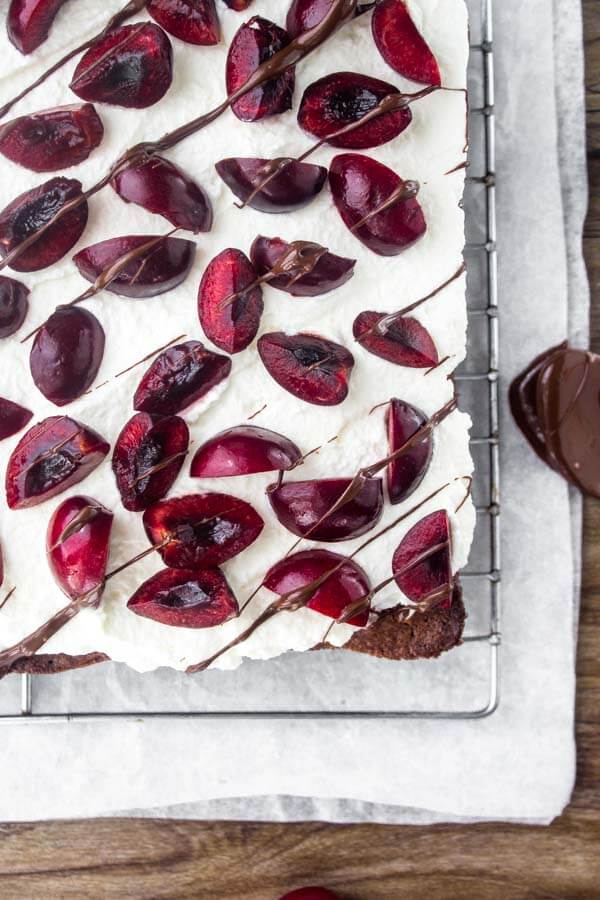
Then the star of the show is the cherries. Sweet, bright red, perfectly juicy. I added a drizzle of chocolate on top for a little extra somethin – somethin. And for more chocolate of course.
What I love about these black forest brownies is that they feel elevated and a little fancy, so you can easily serve them at a dinner party or when you’re feeling extra. They’re such a delicious way to enjoy brownies AND fresh summer fruit all in one. And when there are chocolate AND cherries involved – you really can’t go wrong.

Black Forest Brownies
Ingredients
Brownies
- 1/2 cup unsalted butter
- 5 oz dark chocolate, , chopped
- 1 1/4 cups granulated sugar
- 2 large eggs
- 1 tsp vanilla extract
- 3/4 cup all-purpose flour
- 1 tablespoon cocoa powder
- 1/4 teaspoon salt
Topping
- 1 cup whipping cream
- 1 tablespoon powdered sugar
- 20 cherries, , pitted & sliced
- 1/4 cup chocolate chips, , melted
Instructions
Brownies
- Preheat the oven to 350F degrees. Line an 8x8 inch square pan with aluminium foil and lightly grease, or line with parchment.
- In a large heatproof bowl, melt together the butter and chocolate either in the microwave in short 30-second bursts on medium power. Or in a double boiler on the stovetop.
- Once melted, whisk in the sugar. Then whisk in the eggs and vanilla extract.
- Gently fold in the flour, cocoa powder and salt using a rubber spatula or wooden spoon.
- Pour the batter into the prepared pan and bake for 22-25 minutes or until the top looks set and the middle of the brownies doesn't wobble when you give the pan a gentle nudge.
- Remove from the oven and cool completely in the tin.
Topping
- In a large bowl beat the whipping cream and powdered sugar until stiff peaks form.
- Spread over the cooled brownies, then top with the chopped cherries.
- Melt the chocolate in the microwave in short 30 second bursts, stirring between each.
- Drizzle the chocolate overtop of the brownies.
- Cut into squares and serve.
Notes
Love black forest? Try these other favorites too:


Your post has stopped my search. I want to make black forest brownies on Saturday. Thanks for this thorough tutorial.
I hope you love the brownies!