Cherry Crumb Bars
I may receive compensation in the form of payment or products to supplement my posts, but all opinions remain my own. Read our disclosure policy.
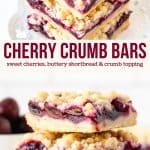
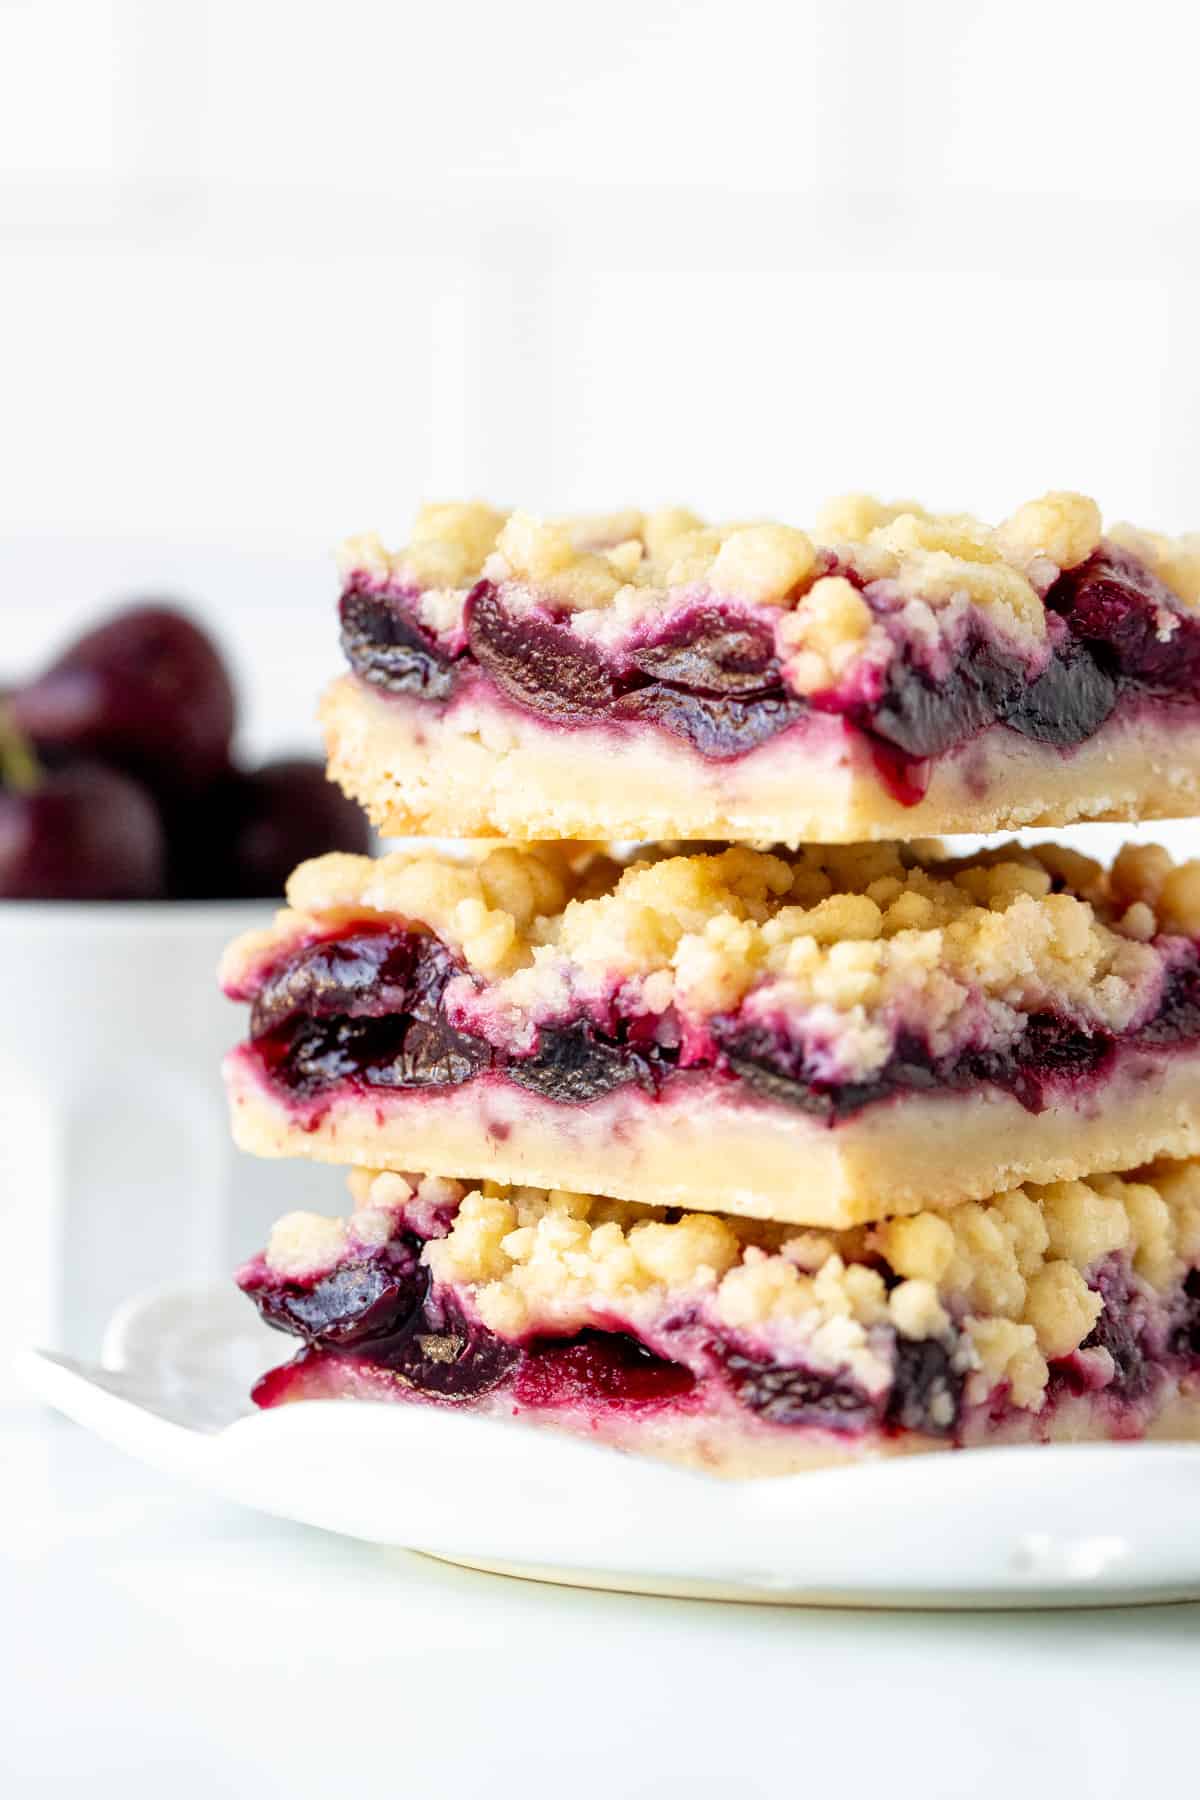
These easy cherry crumb bars have a buttery shortbread base, sweet cherry middle and crumb topping. The shortbread base doubles as the crumb topping – making these extremely simple to put together. The delicious cherry filling showcases fresh, sweet cherries perfectly. There’s also the option to use sour cherries if that’s more your style! 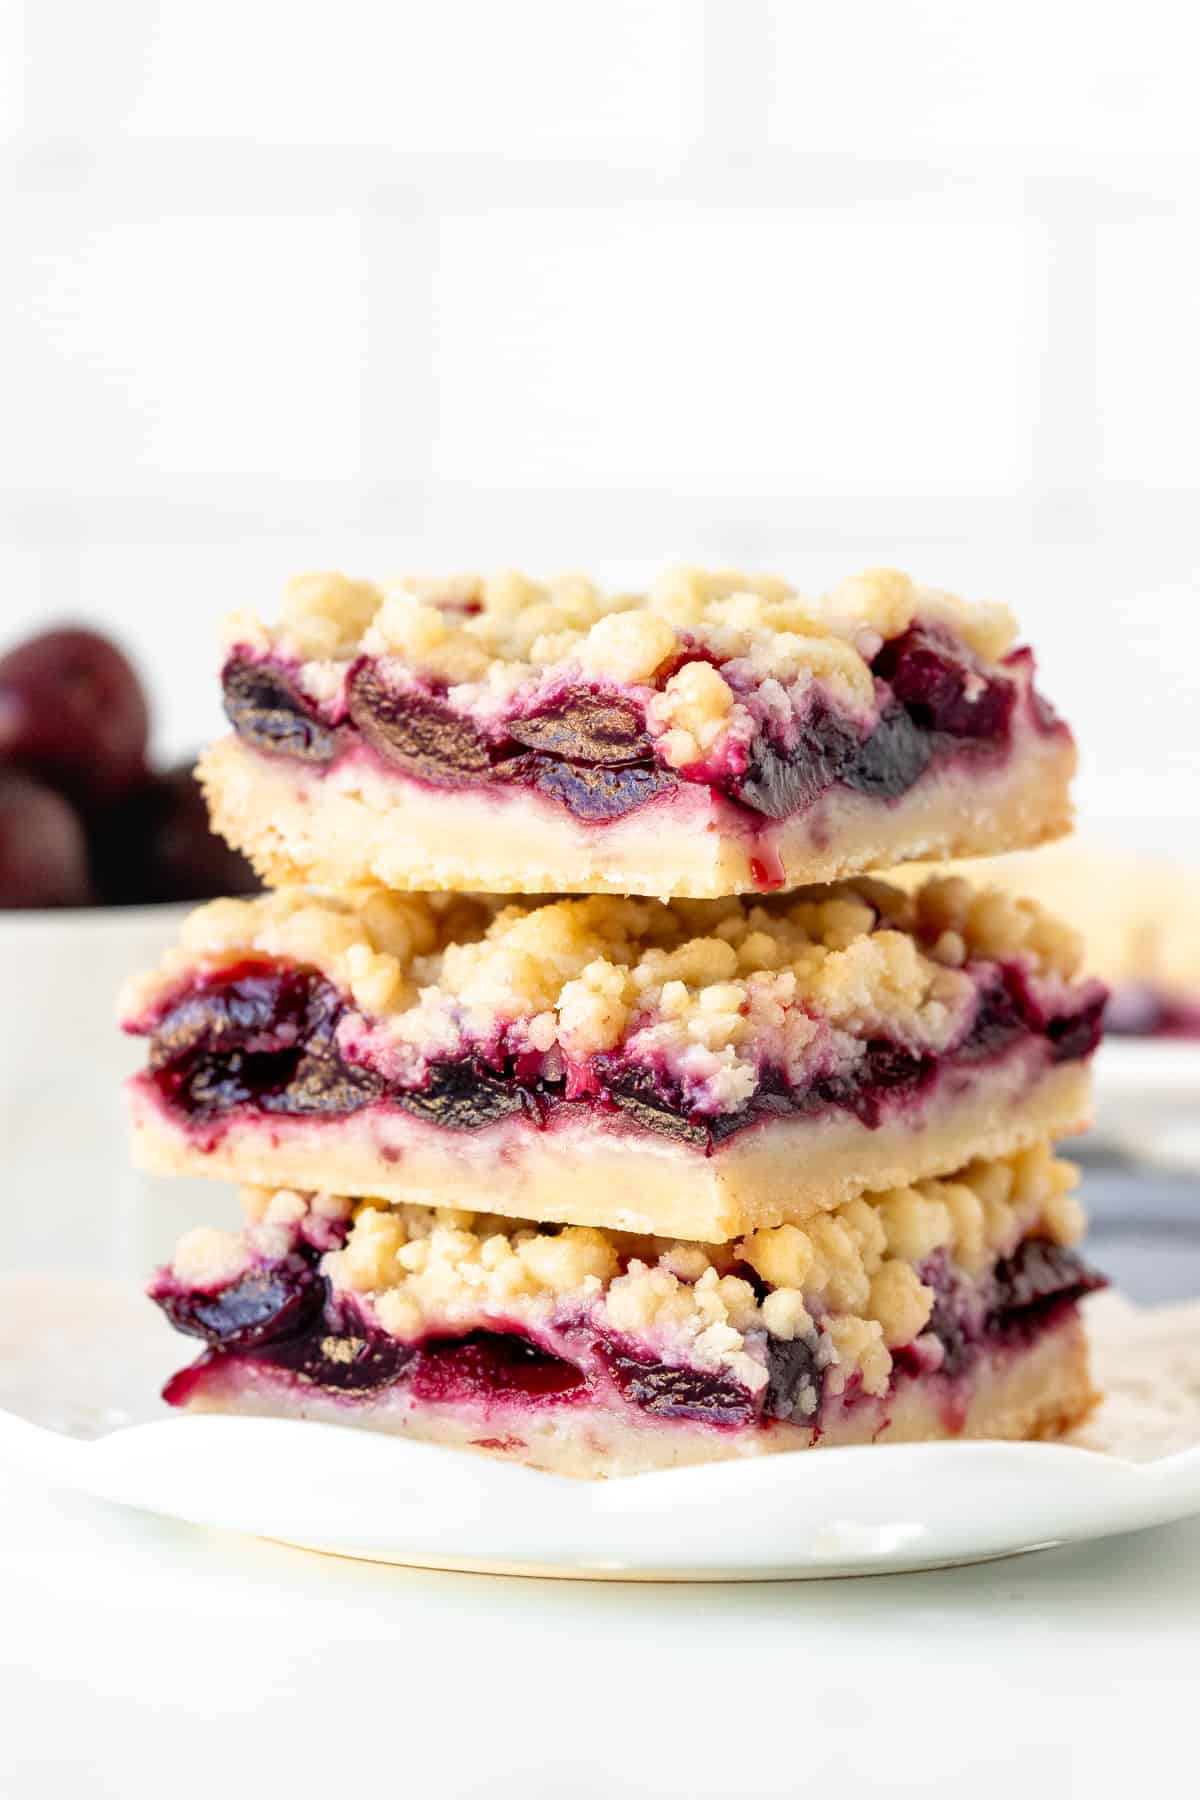
Cherry season may not last long – but it’s the perfect excuse to get baking. It’s hard to beat dark purple, sweet, juicy cherries. These cherry crumb bars are an easy recipe that transports much better than a cherry crisp. It has a deliciously buttery shortbread-esque base. The cherry layer is sweet and juicy with very few ingredients so that the cherries can truly shine. Then there’s a layer of buttery, crunchy crumb topping. I have a weird love of eating these cold from the fridge. They’re equally delicious with your morning coffee or with a scoop of ice cream.
Making Cherry Crumb Bars
Feel free to scroll straight down to the recipe – but I’m including step-by-step photos and recipe tips below.
For the cherry layer, you’ll toss together 2 cups pitted and chopped cherries, 1 tablespoon granulated sugar, 2 tablespoons cornstarch, and 1 tablespoon lemon juice until the cherries are evenly covered. The cornstarch helps to thicken the cherry filling and the lemon juice helps to bring out the cherry juices. Set aside. 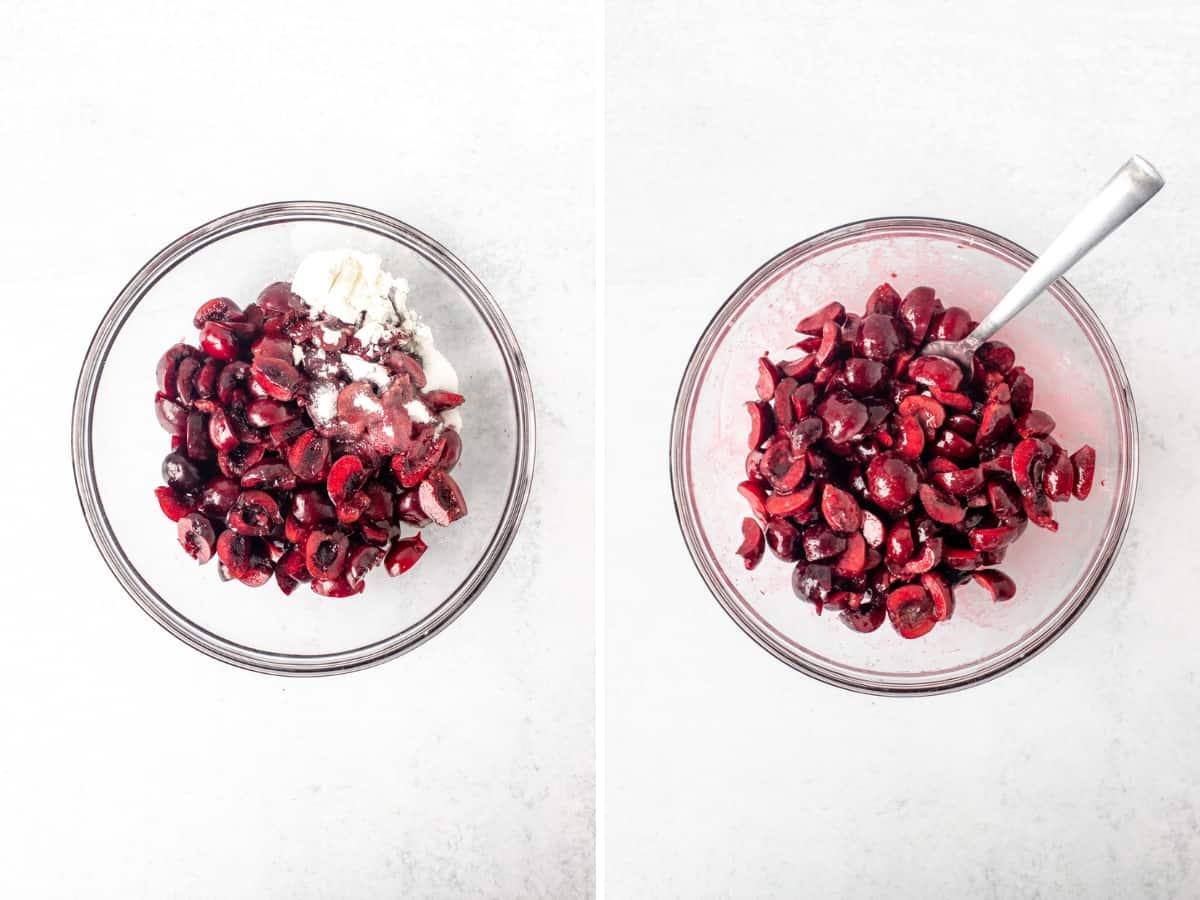
Pro Tip: I use a cherry pitter to remove the cherry pits. This makes the process so much easier. Make sure to measure the cherries after pitting and slicing – I cut some in half and some in quarters. I ended up using a little over 1 lb (450 grams) of cherries.
For the shortbread base and crumb topping you’ll whisk together the 1 3/4 cup flour, 2/3 cup sugar, 3 tablespoons cornstarch and 1/4 teaspoon salt. Then stir in the 3/4 cup melted butter. The mixture will be dry and crumbly – which is completely expected. 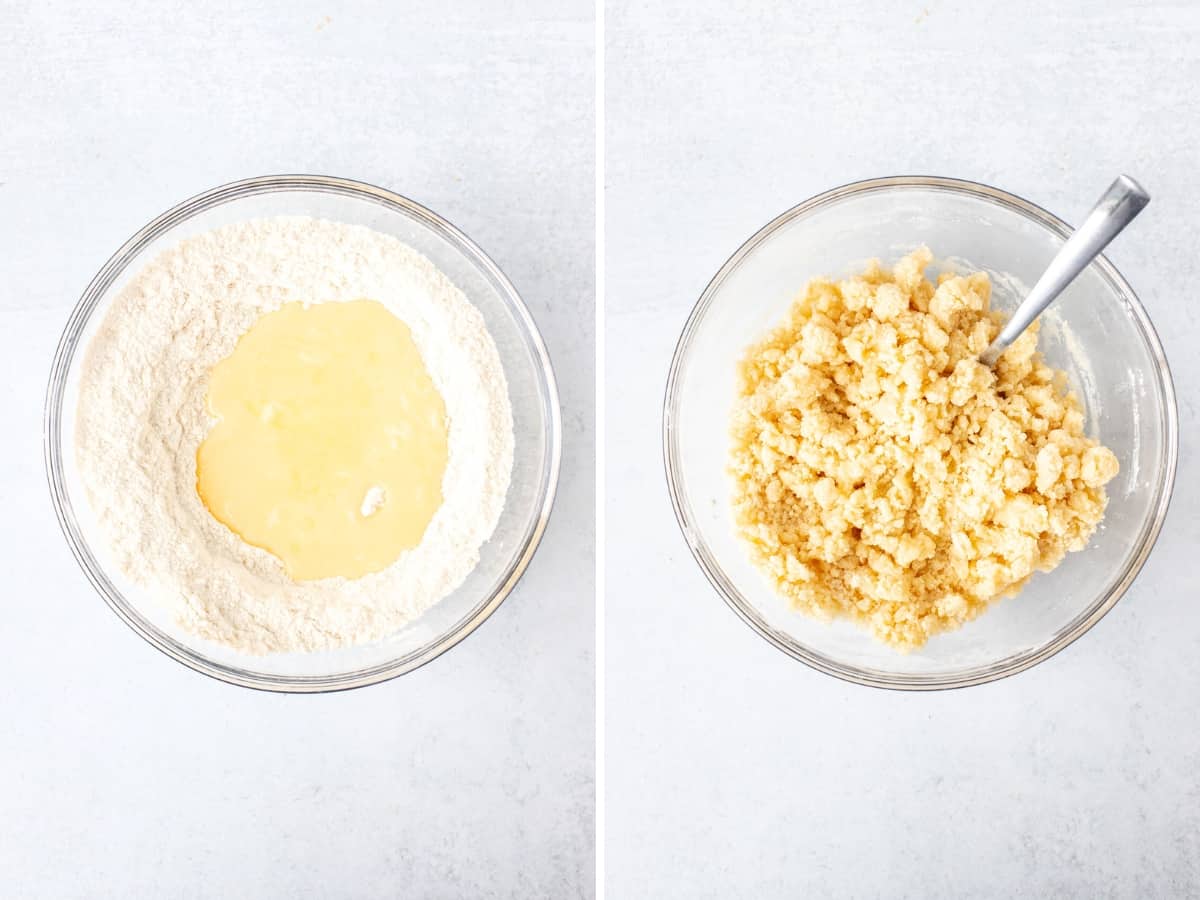
Pro Tip: When melted butter in the microwave, go slowly and reduce the power so that the butter doesn’t bubble up and explode! I highly recommend only melting the butter about 3/4 of the way – then whisking until smooth. The butter heat of the mixture will melt any remaining chunks of butter. You can see in the above photo that my butter is a milky yellow colour instead of bright yellow because I do this.
Then to bake and assemble your bars, you’ll first press a little over half of the shortbread mixture into your prepared pan. As you press it down, it will form an even layer. The shortbread layer gets baked on its own for about 15 minutes. 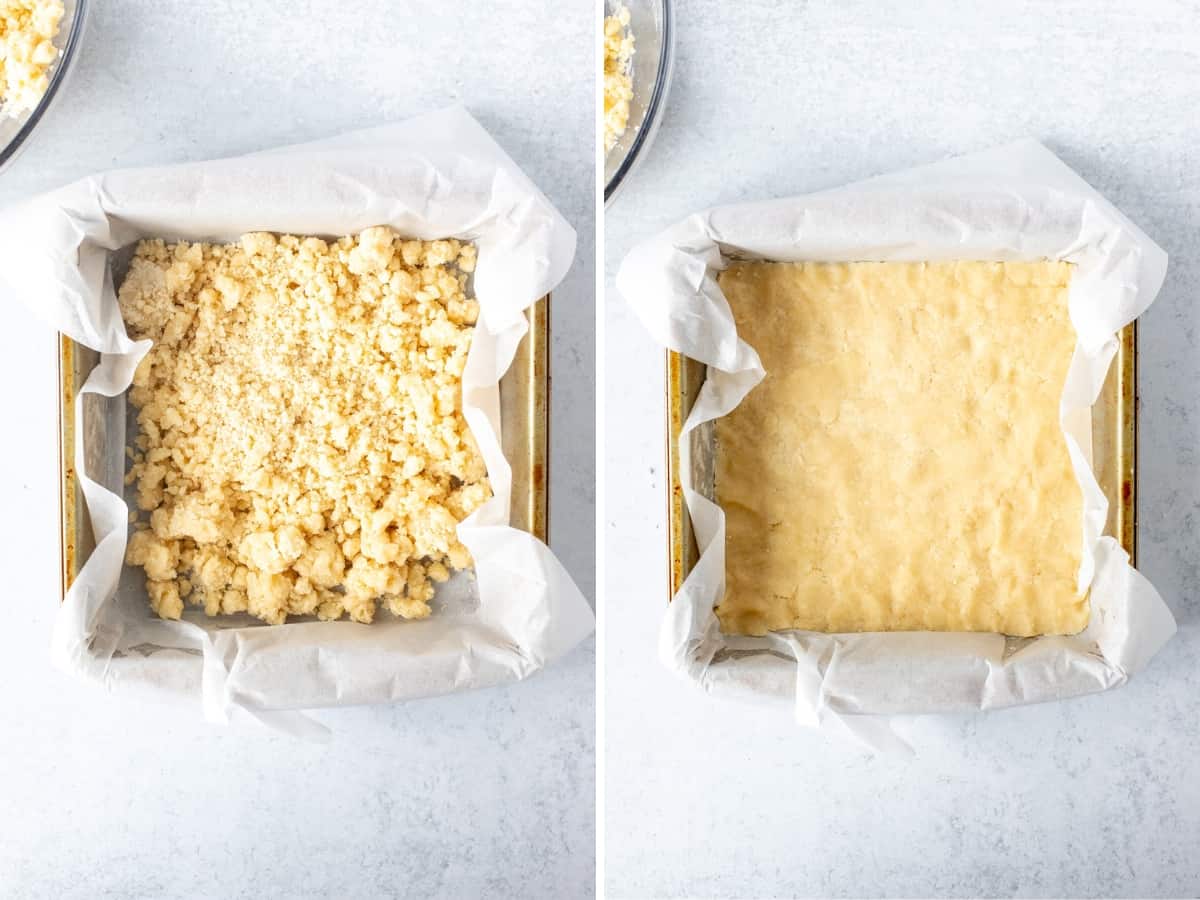
As the base layer is baking, mix 1 tablespoon of brown sugar into the remaining shortbread/crumb topping mixture. This makes the crumb topping crunchier and a little more golden. 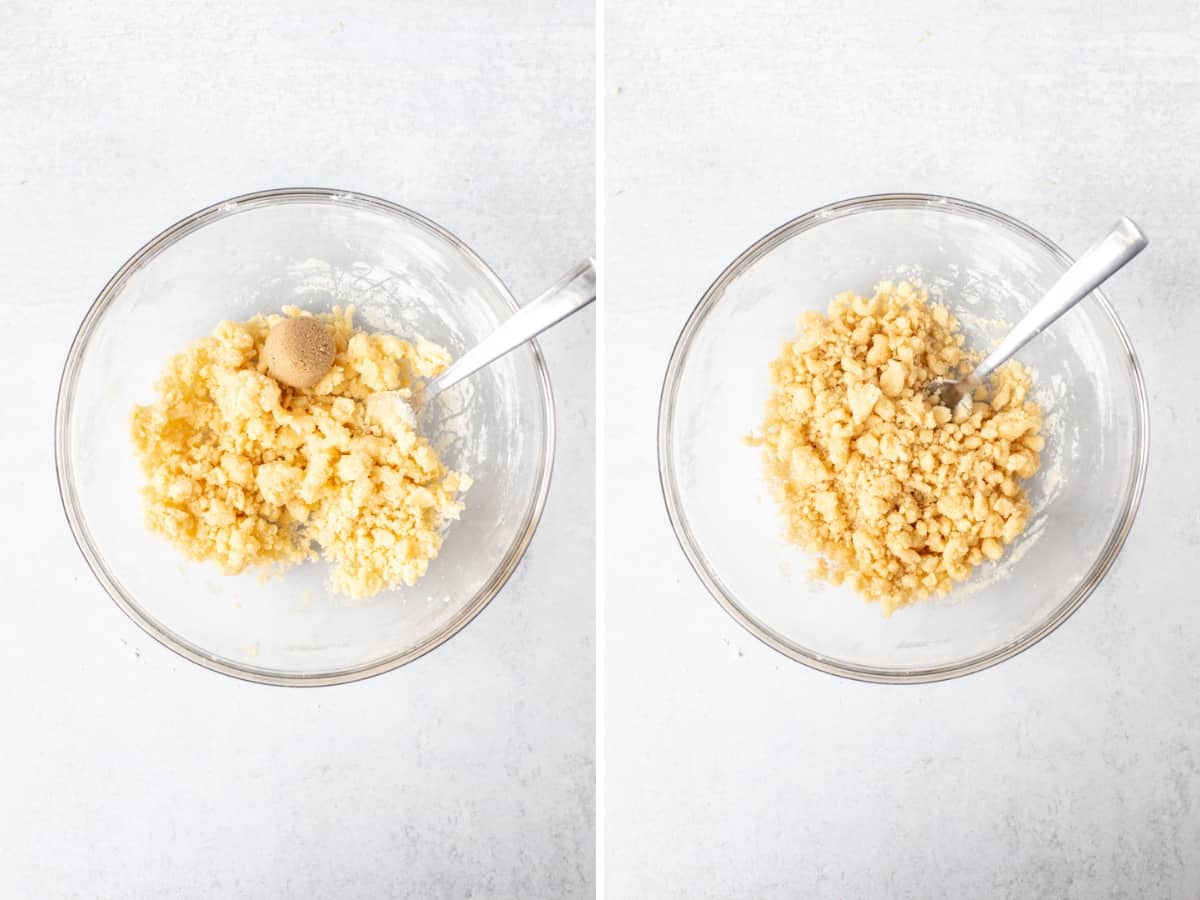
After the base is baked, spoon the cherries over top to form an even layer. If there’s a lot of juice in the bottom of your bowl, I leave it out. Then sprinkle the crumb topping overtop. You can either have the crumb topping in smaller crumbles or larger crumbles, depending on your preference. 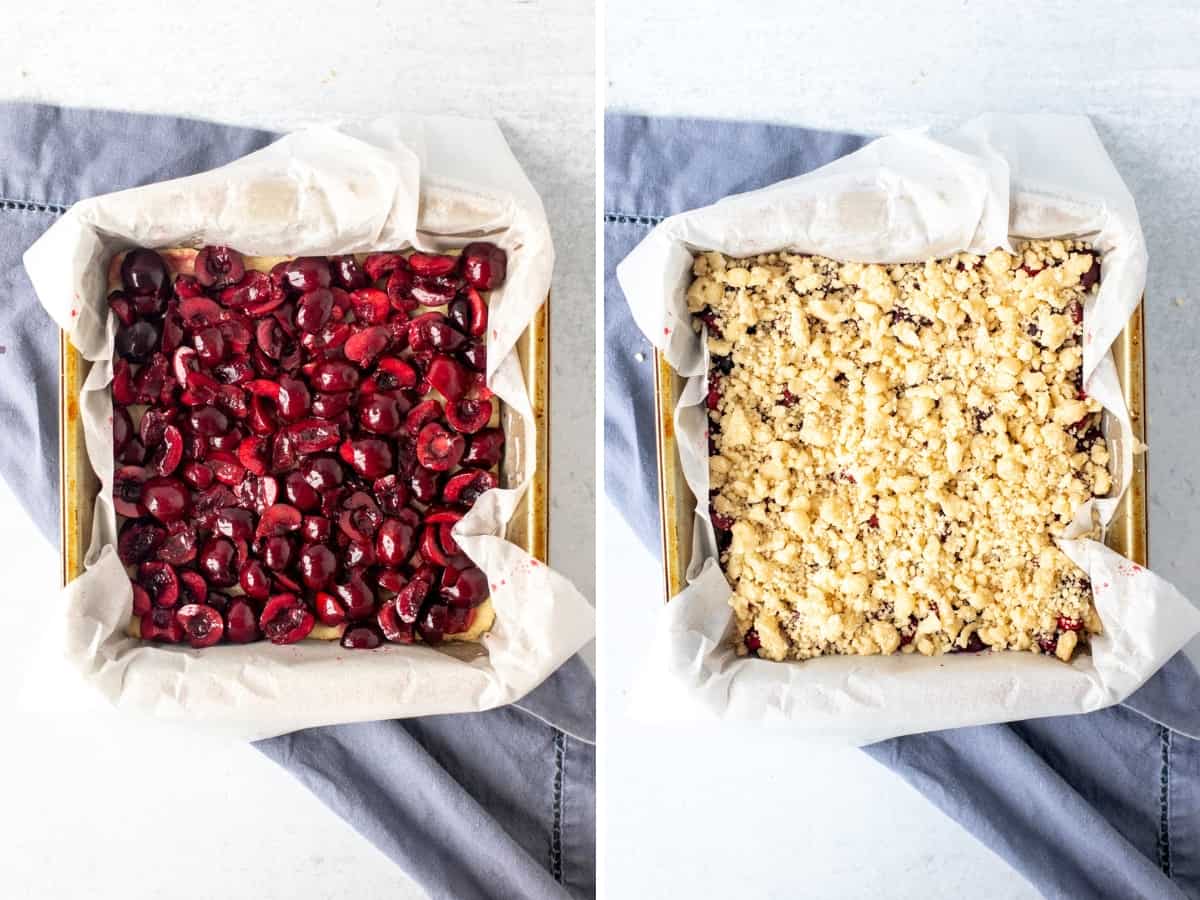
The bars will go back in the oven to bake for about 25 more minutes. When they’re done, the top should be a light, golden yellow color and you may see some of the cherries poking through and bubbling up. After the bars are done baking, it’s extremely important to cool them fully before slicing. This allows the cherry layer to properly set.
Using Sour Cherries
If you’d like to make these with sour cherries instead of sweet cherries, then I recommend using 3 tablespoons of sugar in the filling (instead of 1 tablespoon) to help counteract the sourness of the cherries. They will still have a tart flavor, but it will pair better with the buttery shortbread.
You’ll love the combo of the buttery shortbread and cherry filling. These cherry crumb bars are so much easier than making cherry pie and are the perfect dessert for cherry season. If you’re looking for more cherry desserts, then be sure to try:

Cherry Crumb Bars
Equipment
- 8x8 inch (20x20 cm) pan there is not quite enough batter to use a 9x9 inch (23x23 cm) pan
Ingredients
Cherry Laryer
- 2 cups pitted cherries, measure after pitting & slicing in half
- 1 tablespoon granulated sugar, use 3 tablespoons if using sour cherries
- 2 tablespoons cornstarch (16 grams) , AKA cornflour in Australia and the UK
- 1 tablespoon lemon juice, freshly squeezed
Shortbread Base & Crumb Topping
- 3/4 cup unsalted butter (168 grams) , melted
- 1 3/4 cup all-purpose flour (219 grams)
- 2/3 cup granulated sugar (133 grams)
- 3 tablespoons cornstarch (24 grams) , AKA cornflour in Australia and the UK
- 1/4 teaspoon salt
- 1 tablespoon brown sugar
Instructions
- Preheat the oven to 325F (170C).
- Line an 8x8 inch (20x20 cm) pan with parchment paper, leaving an overhang around the edges.
- Ensure your cherries are pitted (I use a cherry pitter for this) and slice each cherry in half or quarters.
- In a medium bowl, toss together the ingredients for the cherry filling: cherries, 1 tablespoon sugar, 2 tablespoons cornstarch and fresh lemon juice. Set aside.
- In a separate large bowl, whisk together the dry ingredients for the shortbread layer: 1 3/4 cups all-purpose flour, 2/3 cup granulated sugar, 3 tablespoons cornstarch and 1/4 teaspoon salt (leave out the 1 tablespoon brown sugar - you'll use this later).
- Stir/whisk the melted butter into the flour mixture. I use a fork for this. It should be crumbly.
- Press a little more than half of the shortbread layer into the prepared pan.
- Bake in the preheated oven for 15-20 minutes, or until the top looks set. Remove from the oven, but leave the oven turned on.
- With the reserved shortbread mixture (that's still in the bowl), stir in the 1 tablespoon of brown sugar.
- Carefully spoon the cherry mixture on top of the baked shortbread base to create an even layer. Be careful, as the pan will be hot. If there is a lot of juice at the bottom of the bowl - do not add it to the pan.
- Then crumble the remaining shortbread/crumb mixture over top of the cherry layer. If you can see some of the cherries poking through, that is ok.
- Place the pan back in the preheated oven and bake for about 25 minutes or until the top looks baked and is started to turn golden yellow. You may see some of the cherry juice bubbling through.
- Cool the bars completely (this will take 3-4 hours).
- When ready to slice, lift the bars out of the pan using the overhang of the parchment paper and set on a cutting board. Slice using a sharp knife, being sure to cut all the way through the shortbread base.
Notes
- Cherries: I recommend using fresh cherries because frozen cherries will increase the bake time significantly and can also cause the shortbread base to be soggy. I used a little over 1 lb (450 grams) of cherries.
- Nutrition: Details provided are an estimate only and based on 1 bars, assuming the pan is sliced into 9 equal pieces.
- Storage: Store in an airtight container in the fridge for up to 4 days.


Have in oven now. Did double batch in 9×13. Used 2T of br sugar for 2nd batch of crumb mix. Happy I could use up all my cherries. Win, lose or draw…I’ll be sharing the outcome with friends tomorrow morning at church. Thanks for sharing.