Flourless Brownies
I may receive compensation in the form of payment or products to supplement my posts, but all opinions remain my own. Read our disclosure policy.
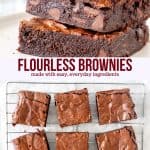
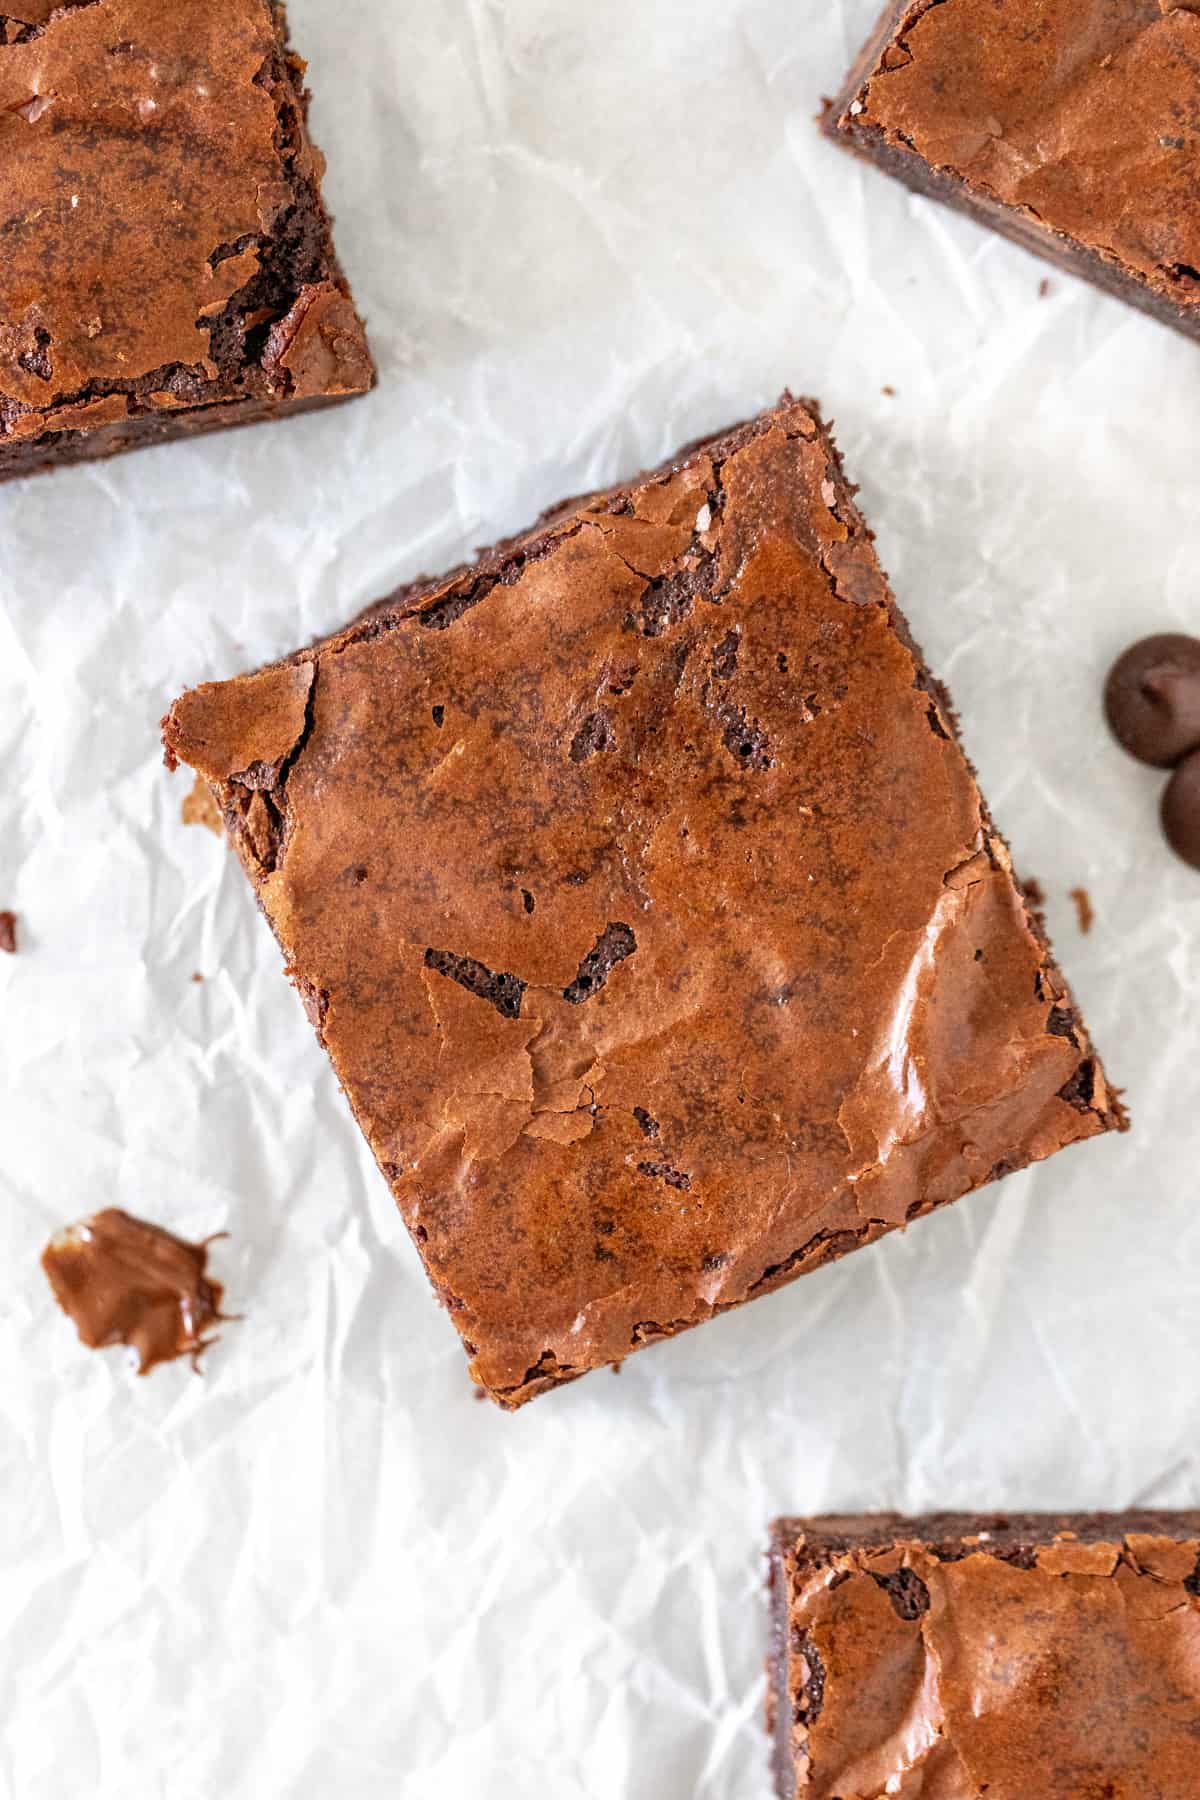
These flourless brownies are rich and fudgy with crinkly tops. They’re made with simple, everyday ingredients and surprisingly reminiscent of boxed brownies, only less cakey. Whether you’re gluten-free or not – these brownies are addictive.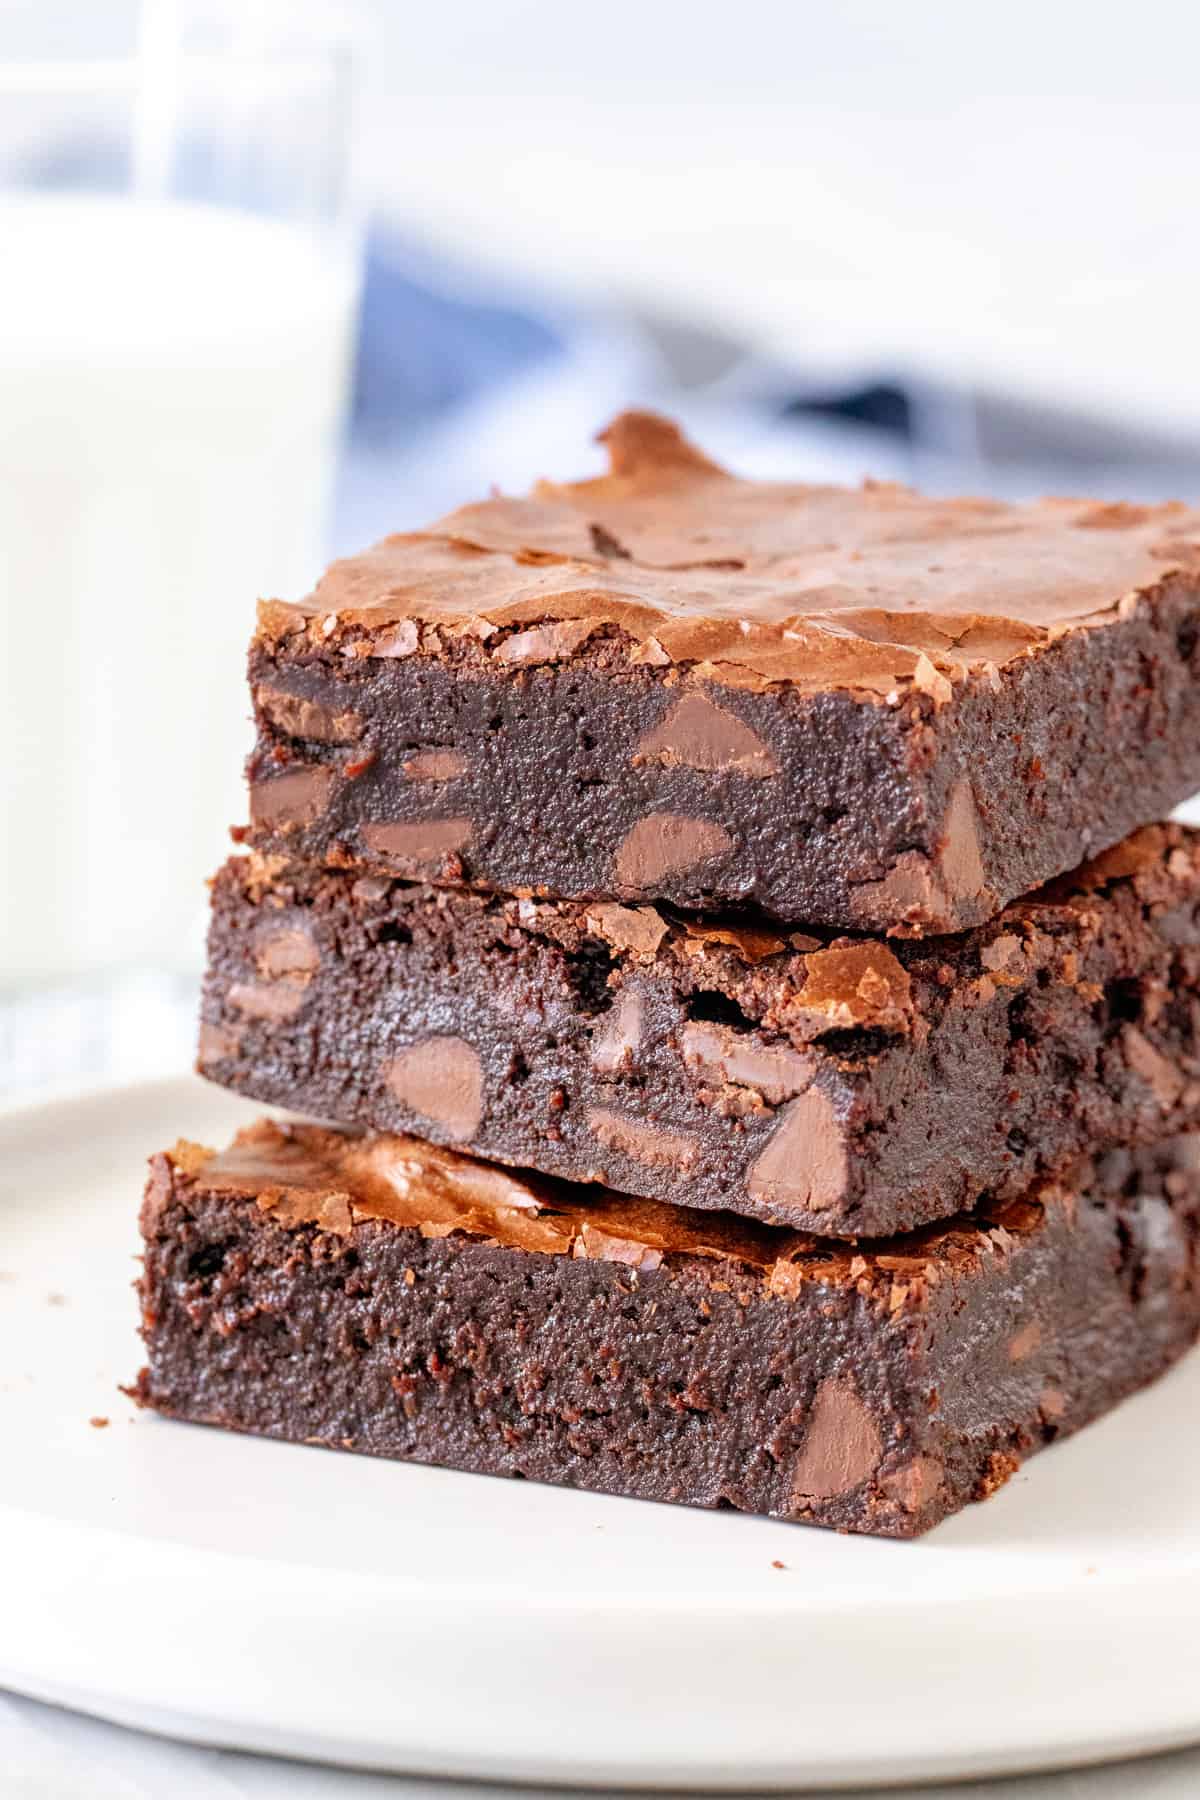
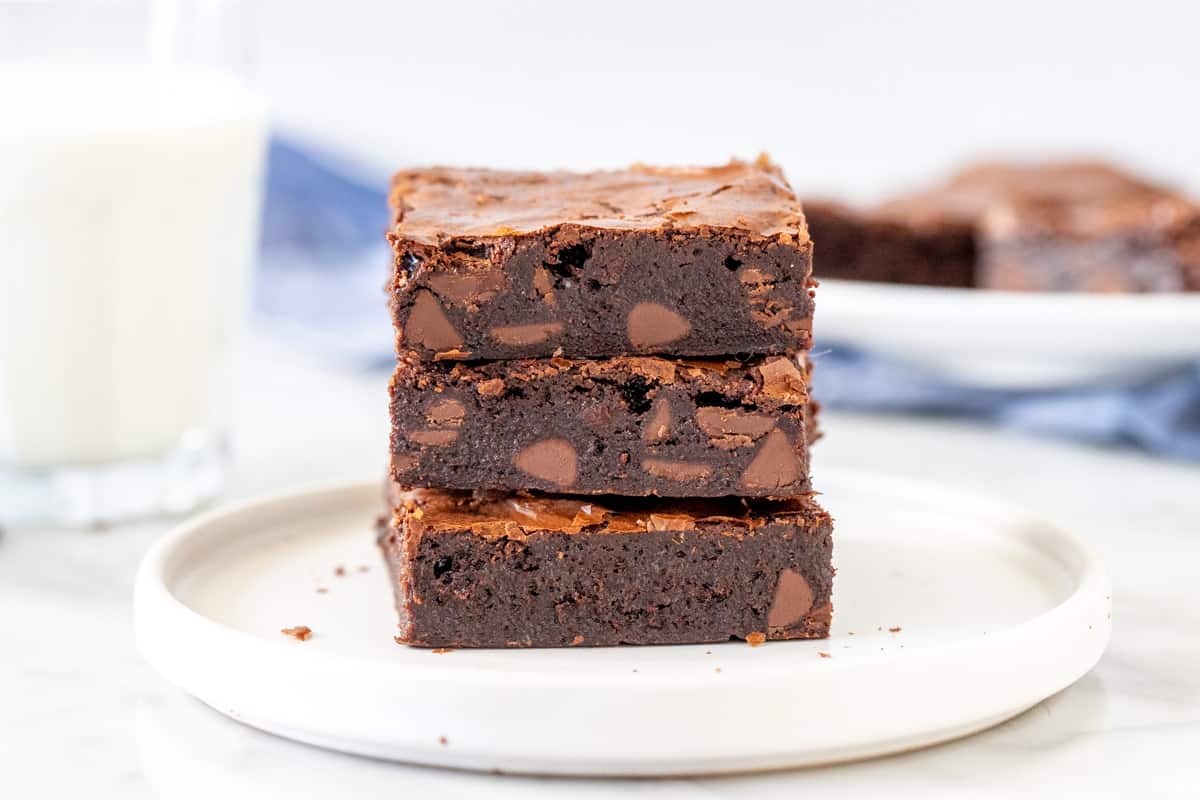
Fudgy, flourless, incredible. That’s how I’d describe these brownies in 3 words. I love that the tops are shiny with that paper-thin, crinkly appearance. And the flavor is rich and decadent. Everyone was surprised when I told them these brownies were gluten-free, and I love this recipe because all the ingredients are pantry staples.
No need to visit a specialty store!
A Few Notes About Ingredients
In most baked goods – the flour provides structure. In these flourless brownies, the structure comes from melted chocolate, cocoa powder and cornstarch (AKA corn flour). I like to use 50% dark chocolate in this recipe because it’s rich without being too strong. If you prefer a sweeter brownie, feel free to use semi-sweet chocolate instead. I don’t recommend using dark chocolate any higher than 60% cocoa because your brownies can be too bitter and strong.
You’ll also notice that I use 1 teaspoon of instant coffee powder in this recipe. They won’t taste like coffee whatsoever, however, I really find that it brings out the flavor of the chocolate. If you don’t have any on hand, feel free to leave it out.
A Note About Gluten-Free
All ingredients in this recipe are gluten-free. However, if you need to ensure that your brownies are truly gluten-free, make sure to check your ingredient packaging to see that they’ve been produced in a gluten-free facility. Some chocolate can also have additives that contain gluten.
Baking Tips & Tricks for Flourless Brownies
- This recipe is for an 8×8 inch (20×20 cm) pan. There isn’t quite enough batter for a 9×9 inch (23×23 cm) pan. I prefer to bake my brownies in a metal pan because it bakes the brownies with slightly crispier edges.
- You’ll melt together the butter and chopped chocolate. When they’re about 75% melted, add in the sugar and continue melting. This process allows the sugar crystals to start to dissolve – which leads to the crinkly tops.
- Make sure the eggs are room temperature. This ensures that they’re easily incorporated into the batter, without having to over mix.
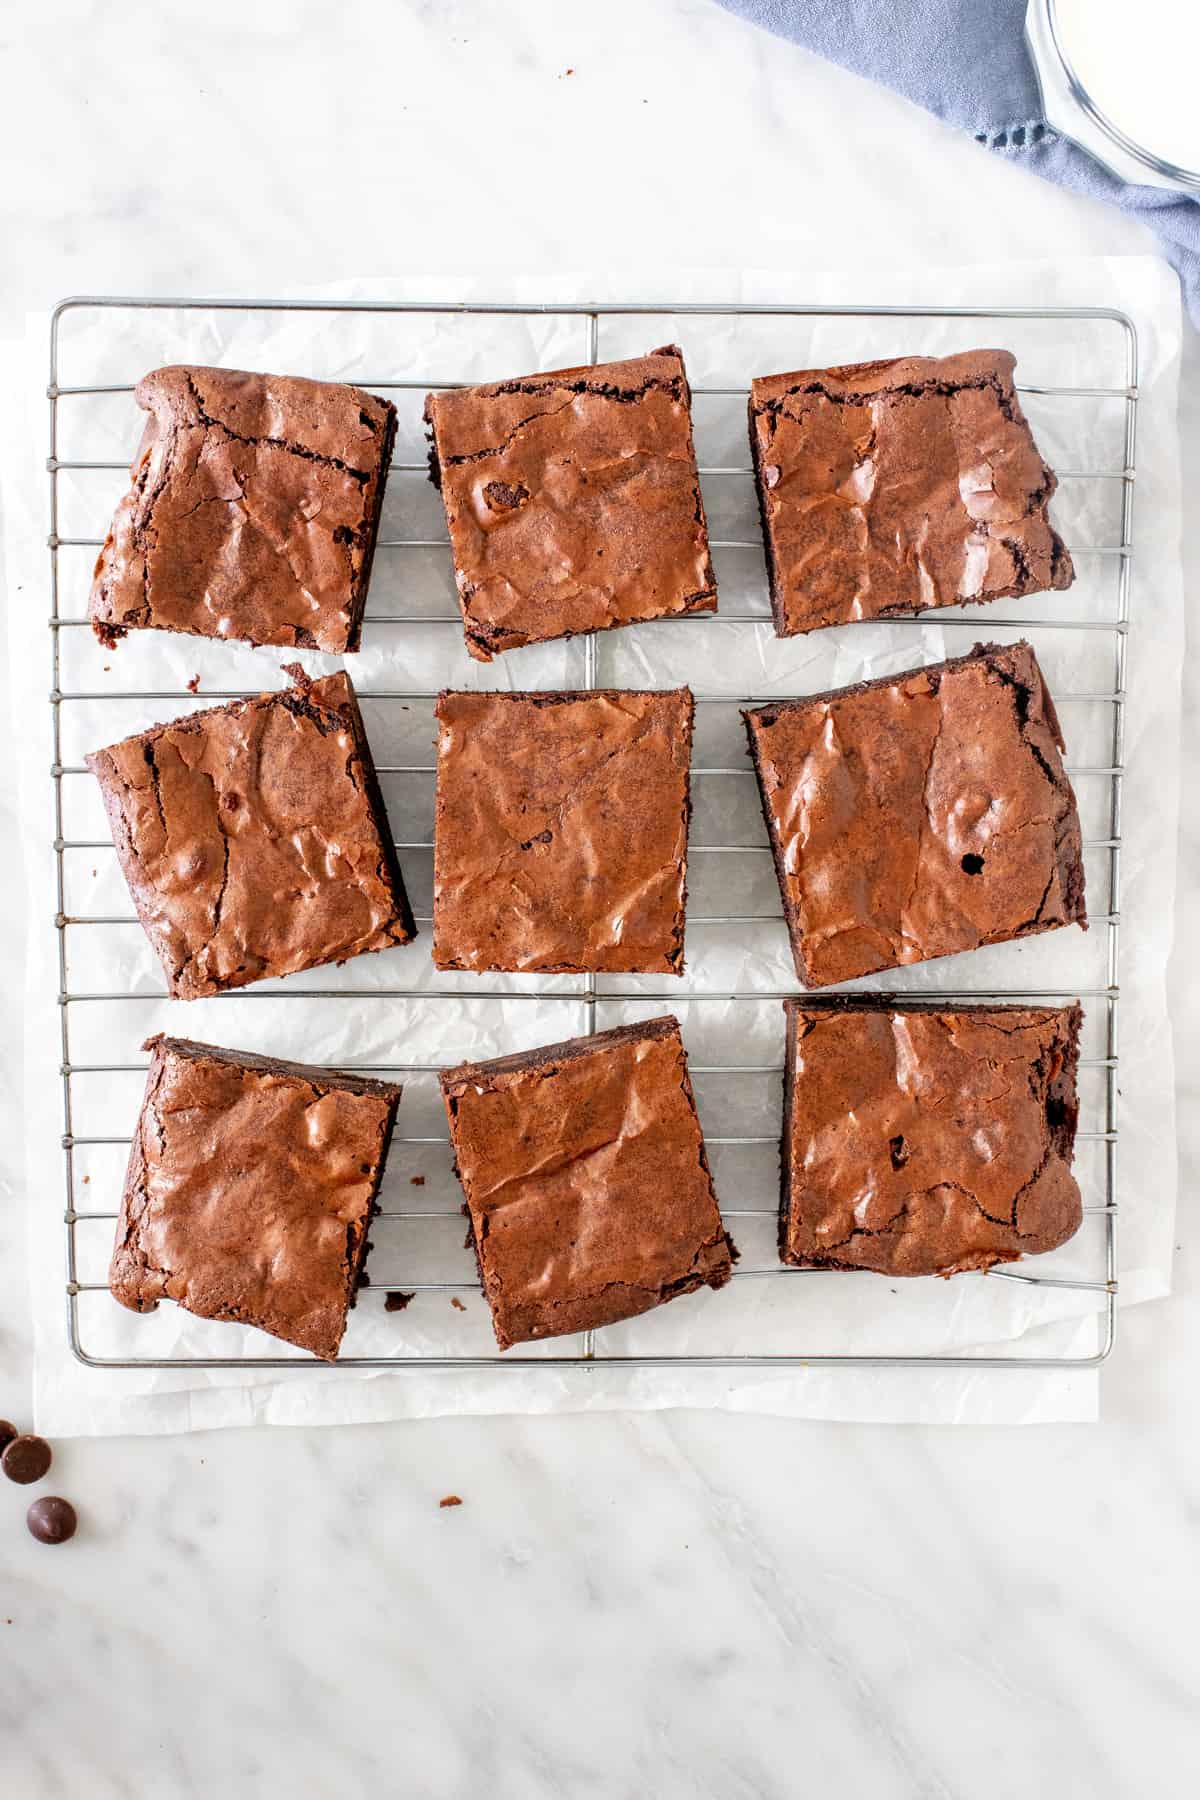
- Your brownies will be done baking when the top looks set and the edges are starting to pull away form the sides of the pan. And/or when an inserted toothpick comes out clean or with a few damp crumbs (after about 25-30 minutes).
- Let the brownies cool 100% before slicing so that they set properly and you get clean cuts.
- Cooled brownies can be wrapped tightly, placed in a freezer bag (or container) and frozen for up to 2 months.
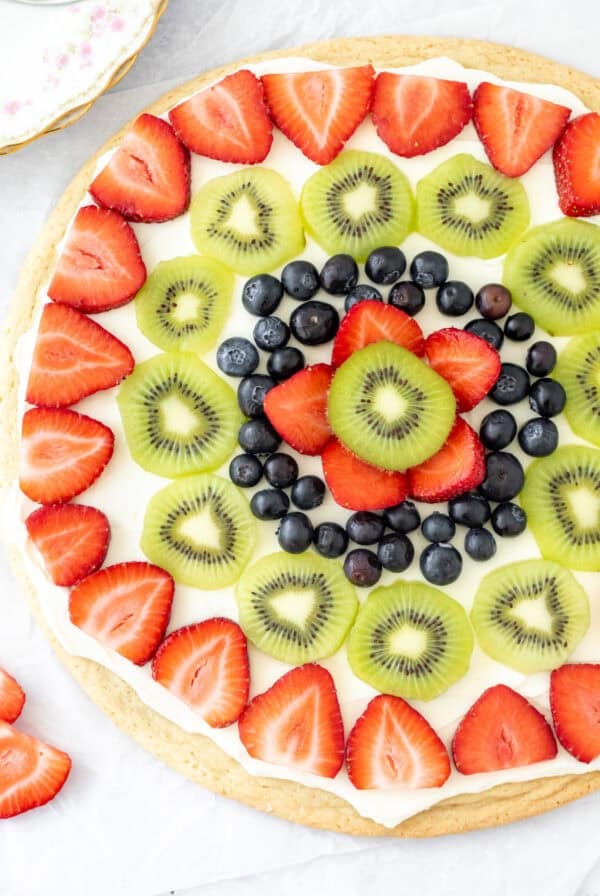
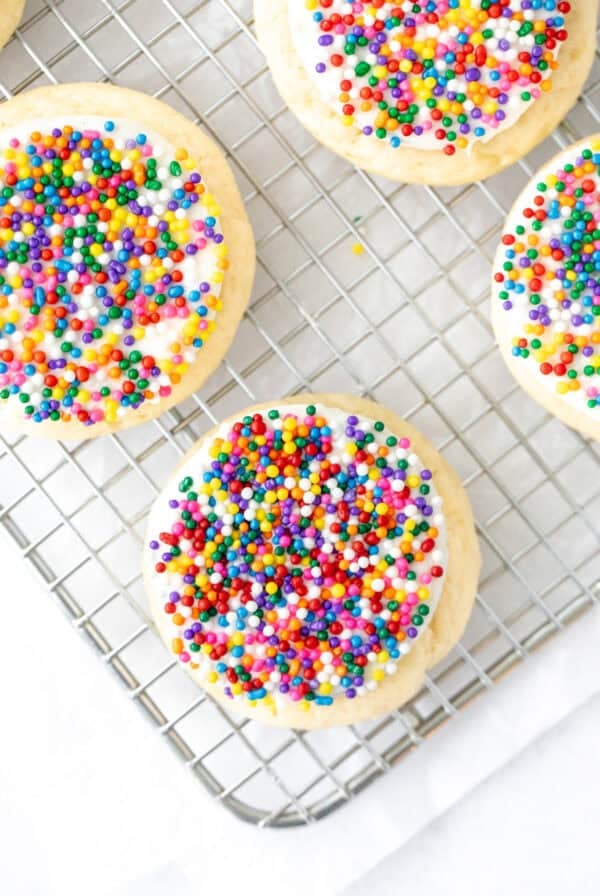
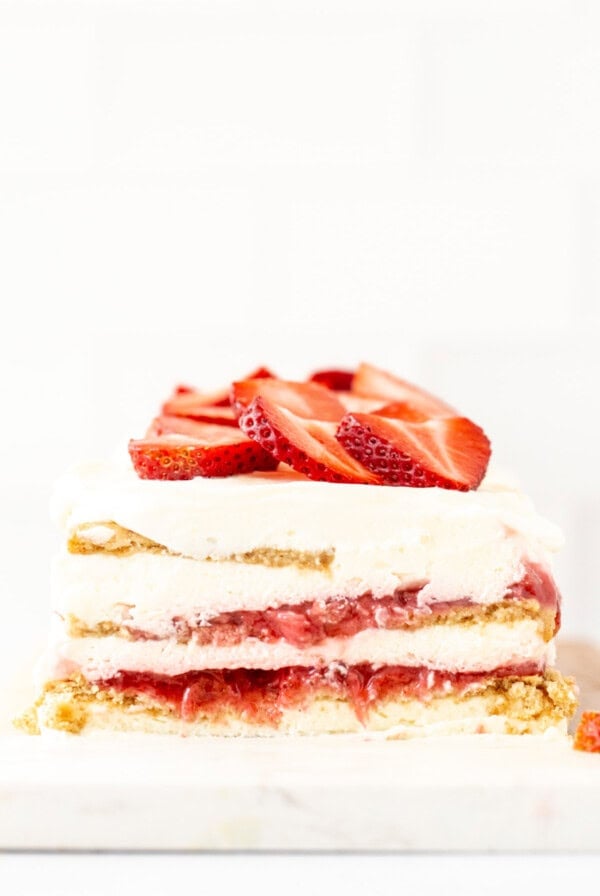
More Brownies to Love:

Flourless Brownies
Equipment
- 8x8 inch (20x20 cm) pan
Ingredients
- 1/3 cup unsalted butter
- 8 ounces 50% dark chocolate*, finely chopped
- 3/4 cup white sugar
- 1 teaspoon instant coffee powder*, optional
- 2 teaspoons vanilla extract
- 2 large eggs, room temperature
- 1/4 teaspoon salt
- 2 tablespoons cornstarch
- 2 tablespoons cocoa powder
- 2/3 cup chocolate chips
Instructions
- Preheat the oven to 350F (180C) degrees.
- Line an 8x8 inch (20x20 cm) square pan with parchment paper, leaving an overhang around the edges. Or line with aluminum foil and lightly spray with non-stick cooking spray.
- Cut the butter into a few pieces and add to a large glass bowl with the chopped dark chocolate.
- Microwave on medium power (not high power - which is often standard) for 45-second intervals. Remove the bowl from the microwave after each interval and give it a stir. After the first couple intervals, it won't have really melted yet.
- When the chocolate and butter are about 75% melted, add in the sugar and coffee powder and continue the melting process until the chocolate and butter are smooth.
- Whisk in the vanilla extract followed by the eggs. Be sure the mixture isn't hot when adding in the eggs - otherwise they can scramble.
- Gently fold in the cornstarch, cocoa powder and salt followed by the chocolate chips.
- Pour the batter into the prepared pan and smooth the top.
- Bake in the preheated oven for 25-30 minutes, or until the top looks set and an inserted toothpick comes out clean or with a few damp crumbs.
- Cool the brownies in the pan.
- Once the brownies are completely cooled (about 3 hours, or until the bottom of the pan no longer feels warm), lift the brownies out of the pan using the overhang of the parchment paper/aluminum foil.
- Place on a cutting board and slice with a sharp knife (not a table knife).
Notes
- This recipe is for an 8x8 inch pan. There is not quite enough batter to use a 9x9 inch pan.
- For sweeter brownies, feel free to use semi-sweet chocolate. Do not use dark chocolate that's stronger than 60% cocoa for this recipe, as I find the brownies can be too strong.
- Instant coffee powder improves the flavor of the chocolate, but is optional. Feel free to leave it out.
- This recipe can be doubled and made in a 9x13 inch (23x33 cm) pan. The bake time will be slightly longer - between 27-33 minutes.
- Store brownies in an airtight container at room temperature for up to 4 days. Cooled brownies can be wrapped tightly in parchment or aluminum foil, placed in a freezer bag or freezer container and frozen for up to 2 months. Thaw in the fridge overnight.
- Nutrition information is an estimate only and based on 1 brownie, assuming the pan is sliced into 9 equal pieces.
Nutrition
Made your recipe tonight and wow – it really is super easy! Thanks for the recipe.
These brownies are delicious along with being quick and easy to make! Not being gluten-free myself I wasn’t sure how they would be without flour (one of my colleagues is celiac) but am so happy with how they have turned out. Thank you for sharing this recipe with us.