Oreo Stuffed Red Velvet Brownies
I may receive compensation in the form of payment or products to supplement my posts, but all opinions remain my own. Read our disclosure policy.

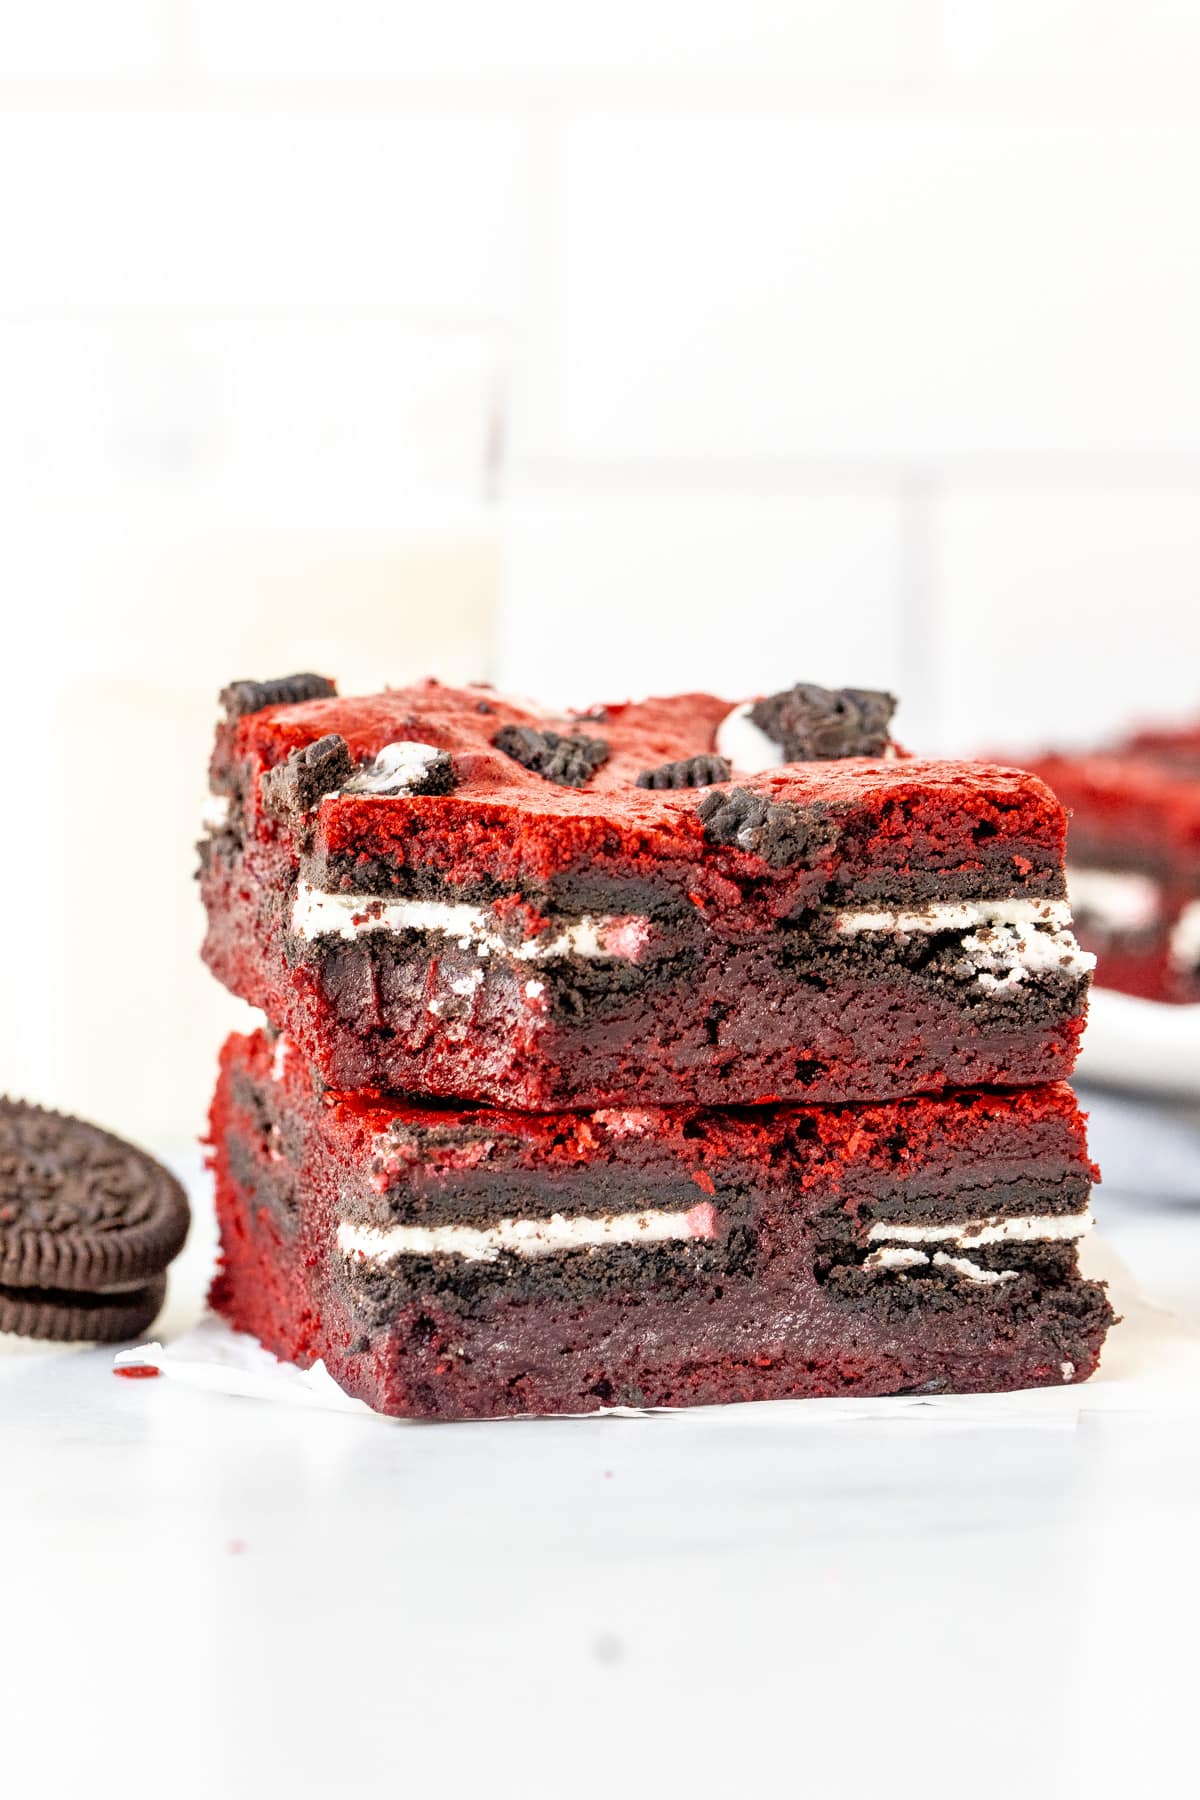
Oreo stuffed red velvet brownies – what more could you want in a dessert? These thick and fudgy brownies have a delicious red velvet flavor and the ultimate brownie texture that’s verging on gooey. They’re stuffed with Oreo cookies and topped with even more crushed Oreos on top. 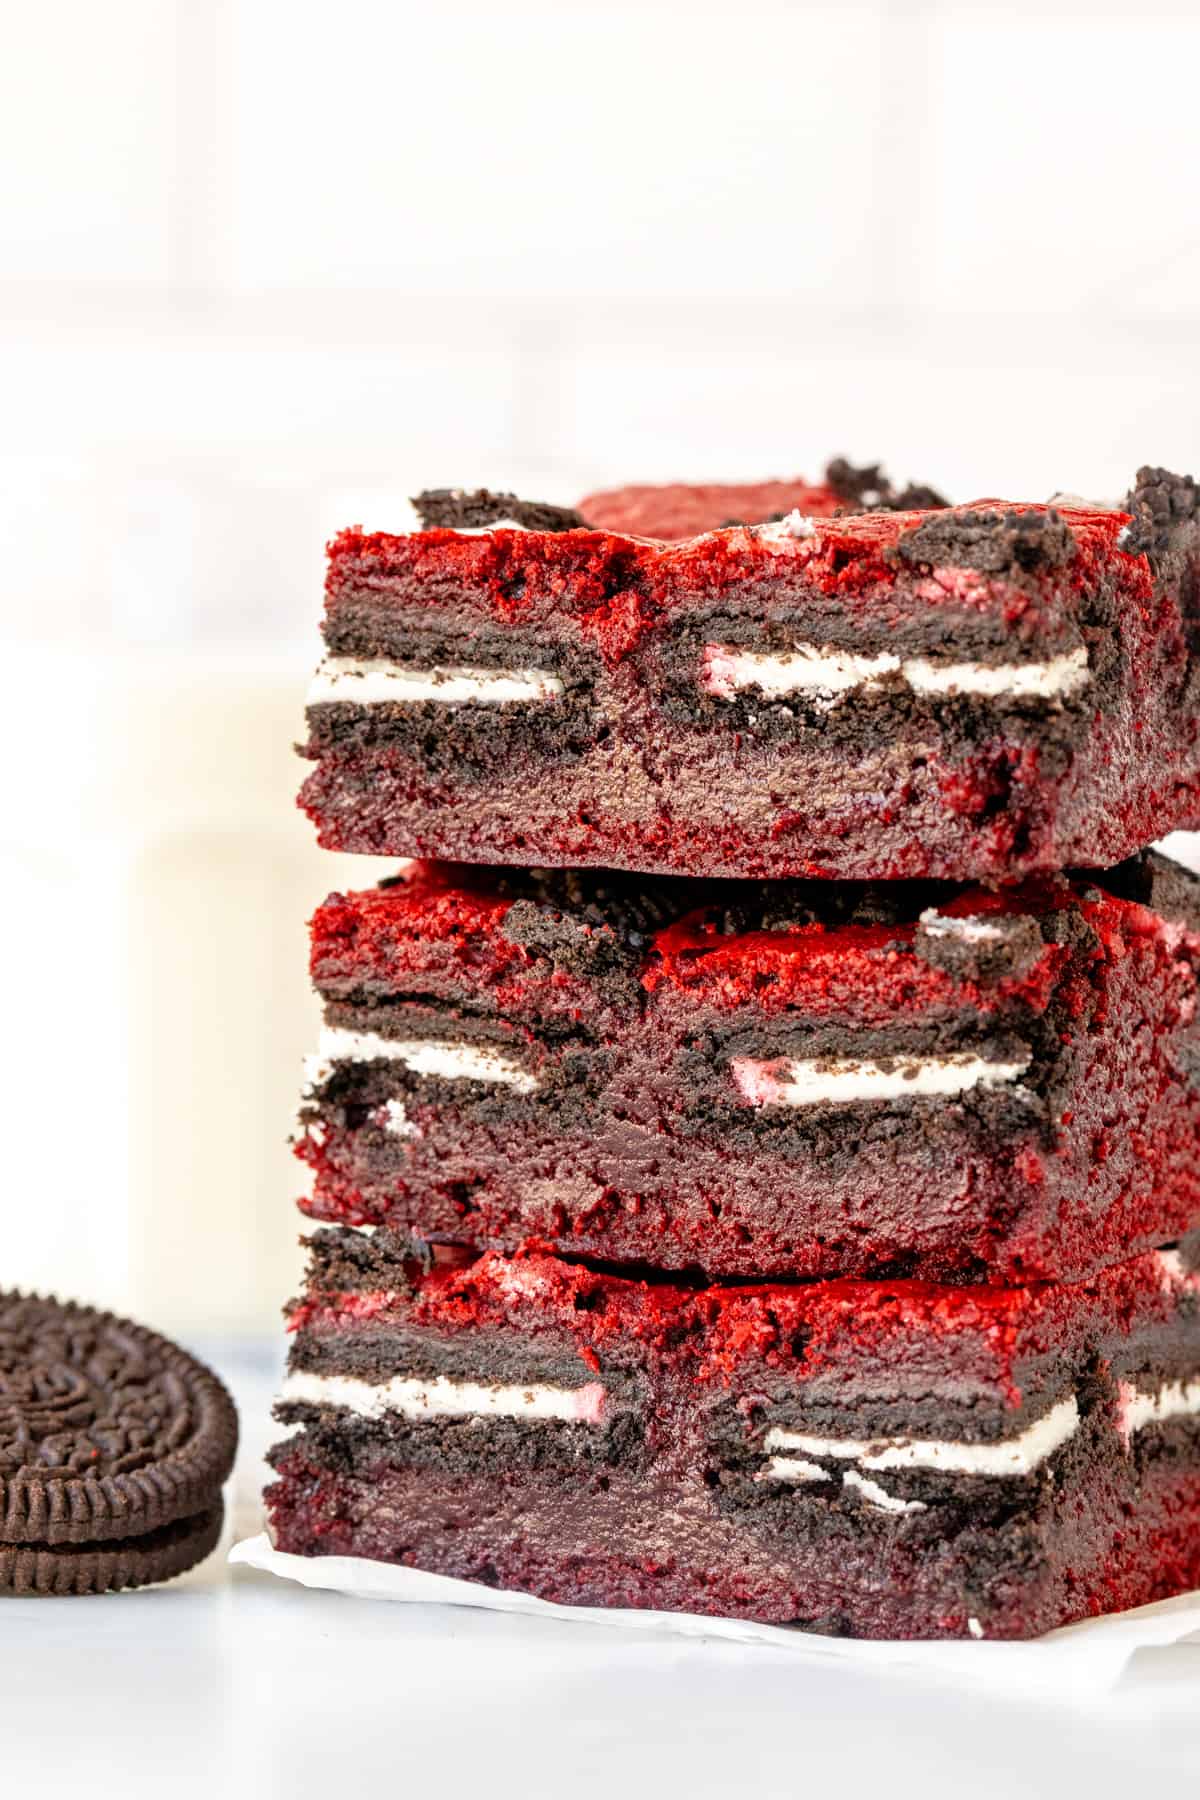
There’s nothing better than a thick, fudgy, almost gooey brownie. And if you love gooey brownie and red velvet cake – then I urge you to try these Oreo stuffed red velvet brownies. They have the perfect red velvet flavor with a hint of cocoa and just a touch of acidity to give you that slightly mellow tanginess. Then they’re stuffed with Oreo cookies and topped with even more crushed Oreos.
Because you really can’t go wrong by adding Oreo cookies to anything.
Making Oreo Stuffed Red Velvet Brownies
Ok – let’s get to the baking specifics. I actually have another recipe for red velvet brownies – but I had to make adjustments so that these brownies would be thick enough to stuff with Oreos. Plus – I wanted them to be extra fudgy.
- Start by preheating the oven to 350F (180C). Line an 8×8 (20×20 cm) baking pan with parchment paper. I always line my pan so that there’s an overhang around the edges. This means its easy to lift the cooled brownies out of the pan. It’s also super helpful to lightly grease the pan before lining the pan – this makes the paper “stick” in place.
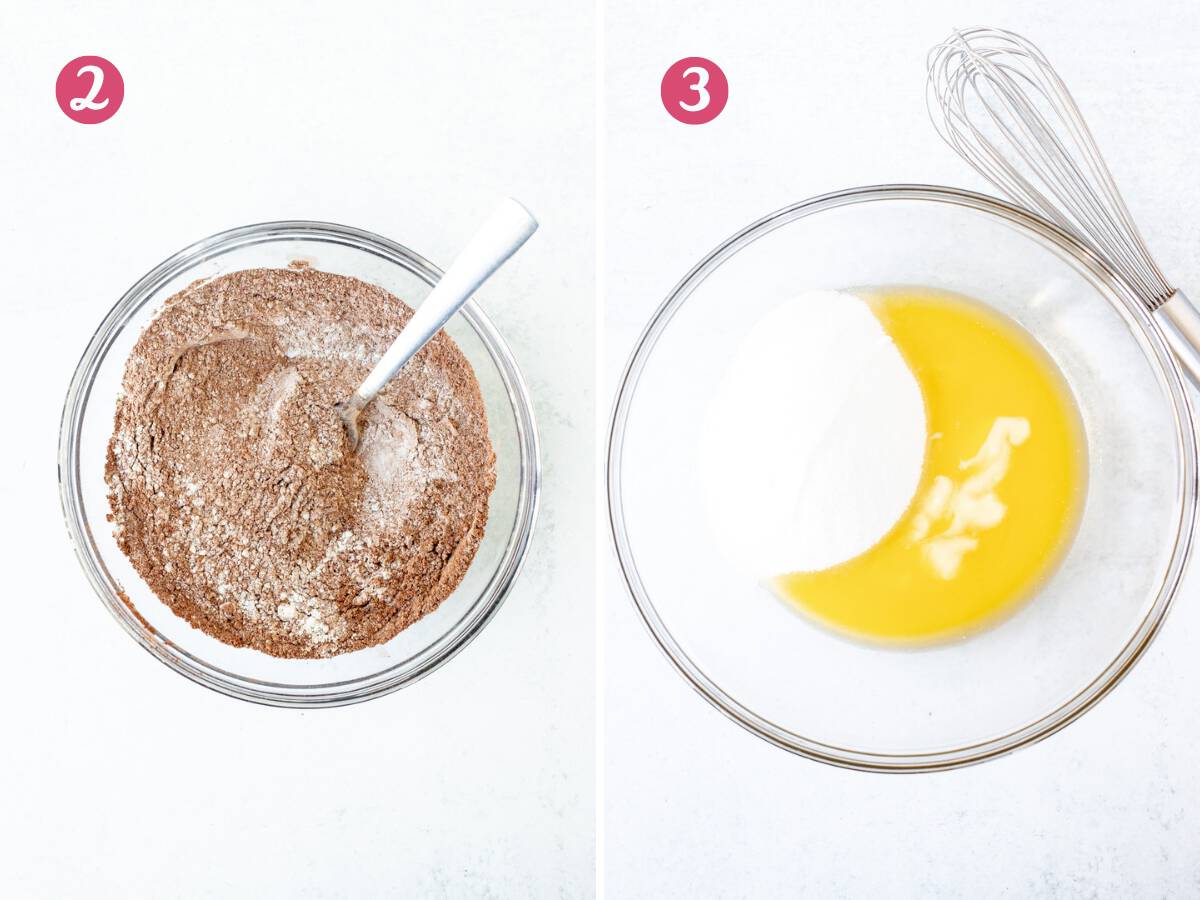
- In a medium bowl, whisk together the flour, cocoa, and salt. Because it’s red velvet flavored – you’ll notice that there isn’t as much cocoa used compared to a classic brownie recipe. There’s also no baking soda or baking powder in these brownies – that’s because we want the brownies to be dense and fudgy, instead of cakey.
- Then in a separate bowl you’ll whisk together the melted butter and sugar until you no longer see the melted butter sitting on top.

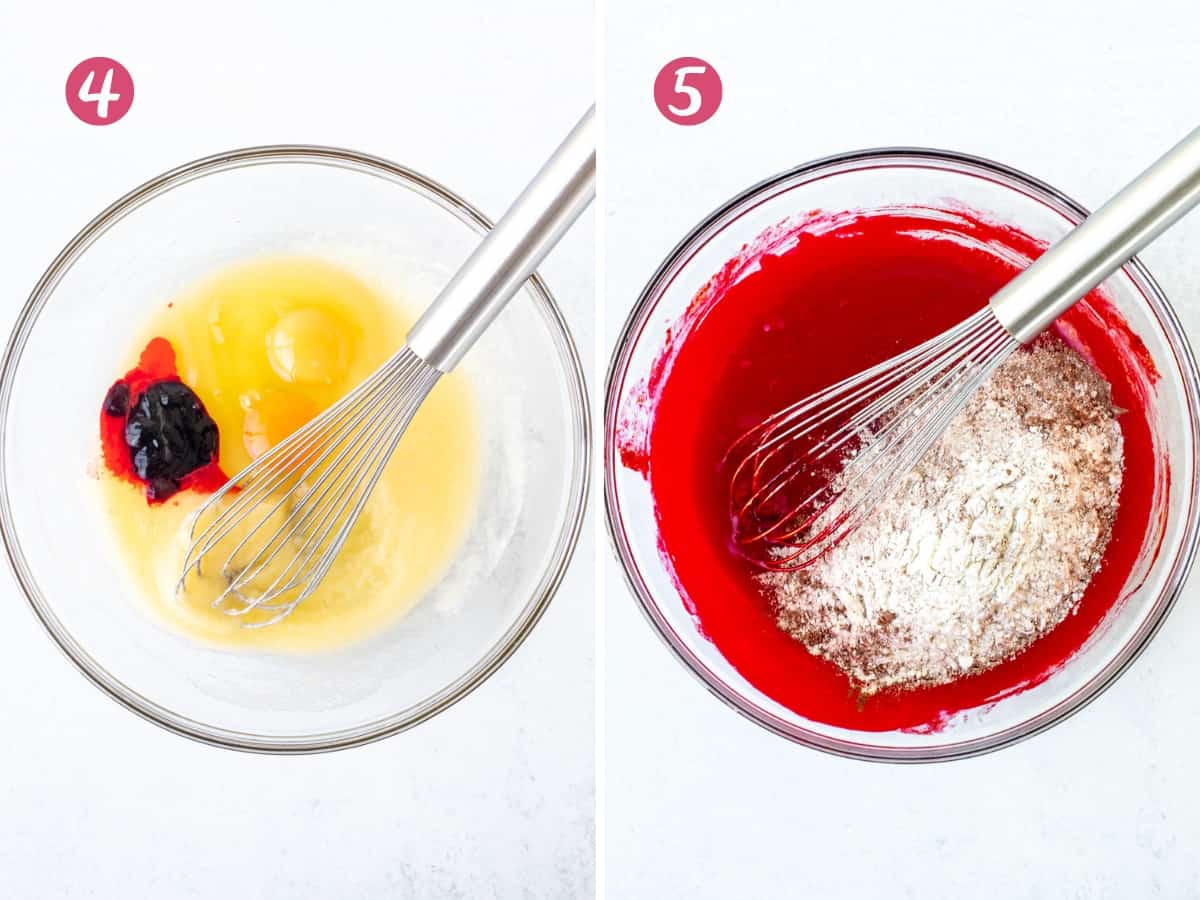
- Then you’ll whisk in the eggs, red food coloring, vanilla extract and vinegar. I use gel food coloring because it packs a punch without adding as much liquid. The vinegar is also a key ingredient for anything red velvet because it adds acidity – which is that extra little something that you taste in anything red velvet. Note that the mixture will look very neon red at this point, but will deepen in color after you’ve added the dry ingredients.
- Mix the dry ingredients into the wet ingredients. Whenever making brownies – it’s important to stop mixing as soon as everything is incorporated and you no longer see streaks or chunks of flour.
Then it’s time to assemble and bake the brownies.
- First spoon about 1/2 of the batter into the prepared pan and smooth the top into an even layer.
- Then place a layer of Oreo cookies on top of the brownie batter, pressing then slightly into the batter. I use 4 rows of 4 Oreos.
- Drop spoonfulls over the remaining batter over the Oreo layer. You want to distribute them evenly over the Oreos.
- Then gently spread the batter over the Oreo layer so that they are fully covered. The earlier step of dropping spoonfulls of batter over the Oreo layer makes spreading the batter much easier.
- Optionally, sprinkle more crushed Oreo cookies on top. I added 5 crushed Oreos.
Then you’ll pop the brownies in your preheated oven to bake. They’ll need to bake for about 25 minutes – but bake time is always very dependent on your oven and on how gooey you like your brownies. When you insert a toothpick into your brownies, it should come out clean or with a few damp crumbs. If it has a lot of gooey brownie batter on it – I’d give your brownies a few more minutes.
As difficult as it is, I highly recommend waiting for the brownies to fully cool before slicing – about 3 hours. This helps the brownies to set and makes it much easier to make clean cuts like those pictured. If you lined your tin with parchment, you can lift the brownies out of the pan using the overhang and place them on a cutting board. Then slice using a sharp knife.
Pro Tip: I always recommend slicing brownies with a thin, sharp knife and not a table knife. Then wipe off the knife after each slice. This way you can get clean cuts.
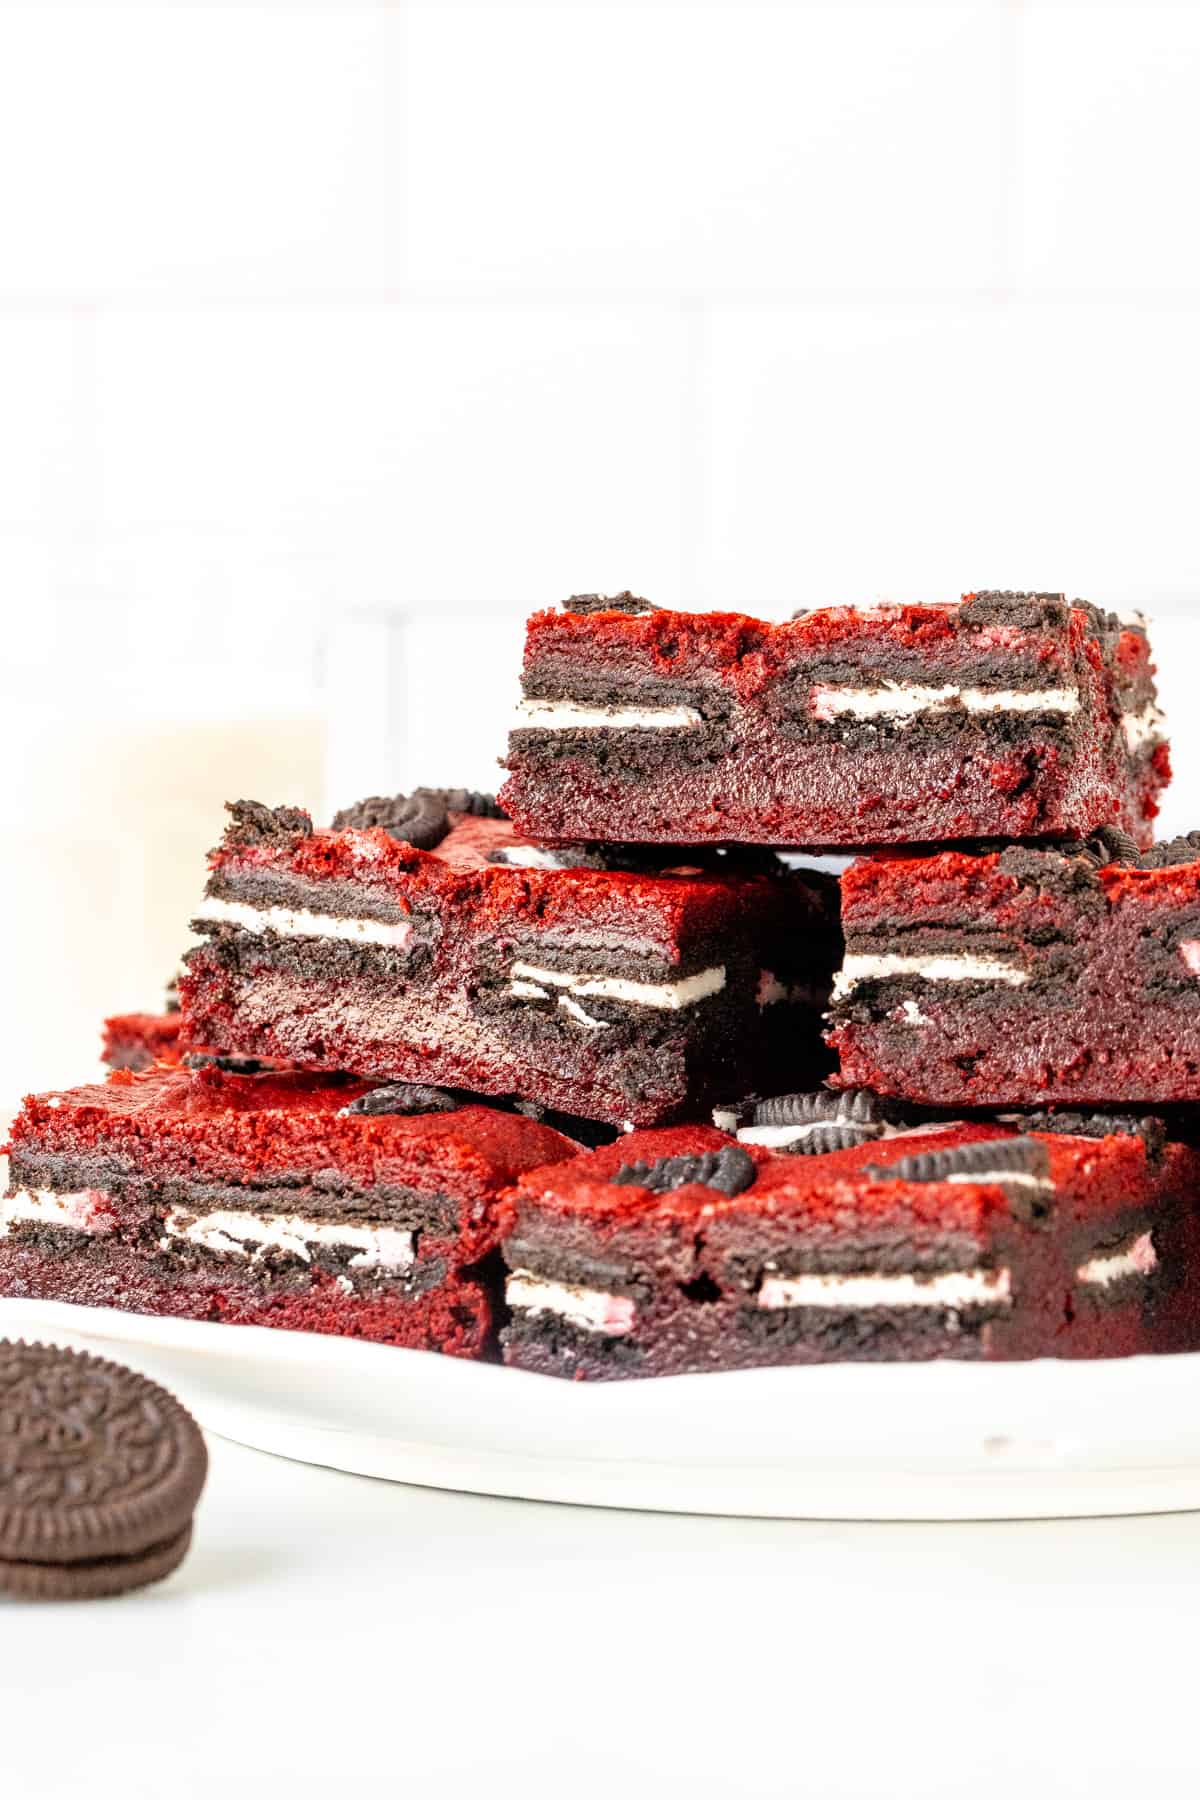
These Oreo stuffed red velvet brownies are (obviously) decadent and the perfect red velvet treat if you’re looking for something a little different from the classic red velvet cupcake. They’re fudgy, gooey, filled with Oreos and have the perfect red velvet flavor that’s just a little more on the chocolate side.
And if you need more out of the box red velvet desserts, then be sure to try:
- Red Velvet Oreo Cheesecake
- Red Velvet Cookie Cake – one GIANT red velvet cookie that’s decorated with cream cheese frosting
- Red Velvet Doughnuts – baked not fried and drizzled with cream cheese glaze

Oreo Stuffed Red Velvet Brownies
Equipment
- 8x8 inch (20x20 cm) pan
Ingredients
- 1 1/4 cup all-purpose flour (156 grams)
- 1/4 cup cocoa powder (22 grams)
- 1/4 teaspoon salt
- 3/4 cup unsalted butter (168 grams) , melted and cooled slightly
- 1 1/4 cup granulated sugar (250 grams)
- 2 large eggs
- 1 tablespoon red food coloring, I used gel
- 2 teaspoons vanilla extract
- 1 teaspoon white vinegar, or distilled vinegar
- 22 Oreo cookies, you will only need 16 if you don't plan on putting crushed Oreos on top
Instructions
- Preheat the oven to 350F (180C). Line an 8x8 inch (20x20 cm) pan with parchment paper so that there is an overhang around the edges. I recommend lightly greasing the pan so that the parchment paper sticks to the pan. Alternatively, simply grease the pan.
- In a medium bowl, whisk together the flour, cocoa and salt. Set aside.
- In a large bowl, whisk together the melted butter and sugar until you no longer see pools of melted butter sitting on top of the sugar.
- Whisk the eggs, red food coloring, vanilla and vinegar into the butter mixture. Whisk until you no longer see pieces of egg and the mixture is an even consistency. It will be quite neon red.
- Add the dry ingredients into the wet ingredients. If the cocoa is very lumpy, you may want to sift them in. Gently whisk the batter together until you no longer see streaks or clumps of dry ingredients.
- Pour about 1/2 of the batter into the prepared pan and spread into an even layer.
- Place a layer of Oreo cookies on top of the batter - you will need 4 rows of 4 cookies. Press them down slightly.
- Spoon the remaining batter over the Oreo layer, dropping spoonfulls so that the batter is evenly distributed over the Oreos.
- Spread the batter into an even layer so that the Oreo layer is covered.
- Chop or crumble the remaining 6 Oreo cookies and sprinkle over the top of the batter.
- Bake in the middle of the preheated oven for about 30-33 minutes, or until the top is set and an inserted toothpick comes out clean or with a few damp crumbs. Bake time will vary depending on your oven and how gooey you like your brownies. If a toothpick comes out with gooey batter on it, the brownies are not done baking.
- Cool the brownies in the pan until the pan is no longer warm to the touch. This will take a few hours.
- When ready to slice, lift the brownies out of the pan using the overhang of the parchment paper. Place on a cutting board and slice. If you simply greased the pan, slice the brownies in the pan. Always use a thin, sharp knife.
Notes
- Cocoa: I used Dutch processed cocoa for this recipe. Natural would work as well. The darker your cocoa powder, the darker red or burgundy your brownies will be.
- Food Coloring: I use gel food coloring for a deep red color. You can use more or less food coloring, depending on how deep of a red color you'd like.
- Storage: Store brownies in an airtight container at room temperature or in the fridge for up to 4 days.
- Nutrition: Details provided are based on 1 large brownie, assuming the pan is sliced into 12 uniform pieces. It is an estimate only. You can likely get 16 brownies from this recipe.