Black Forest Cookies

I may receive compensation in the form of payment or products to supplement my posts, but all opinions remain my own. Read our disclosure policy.

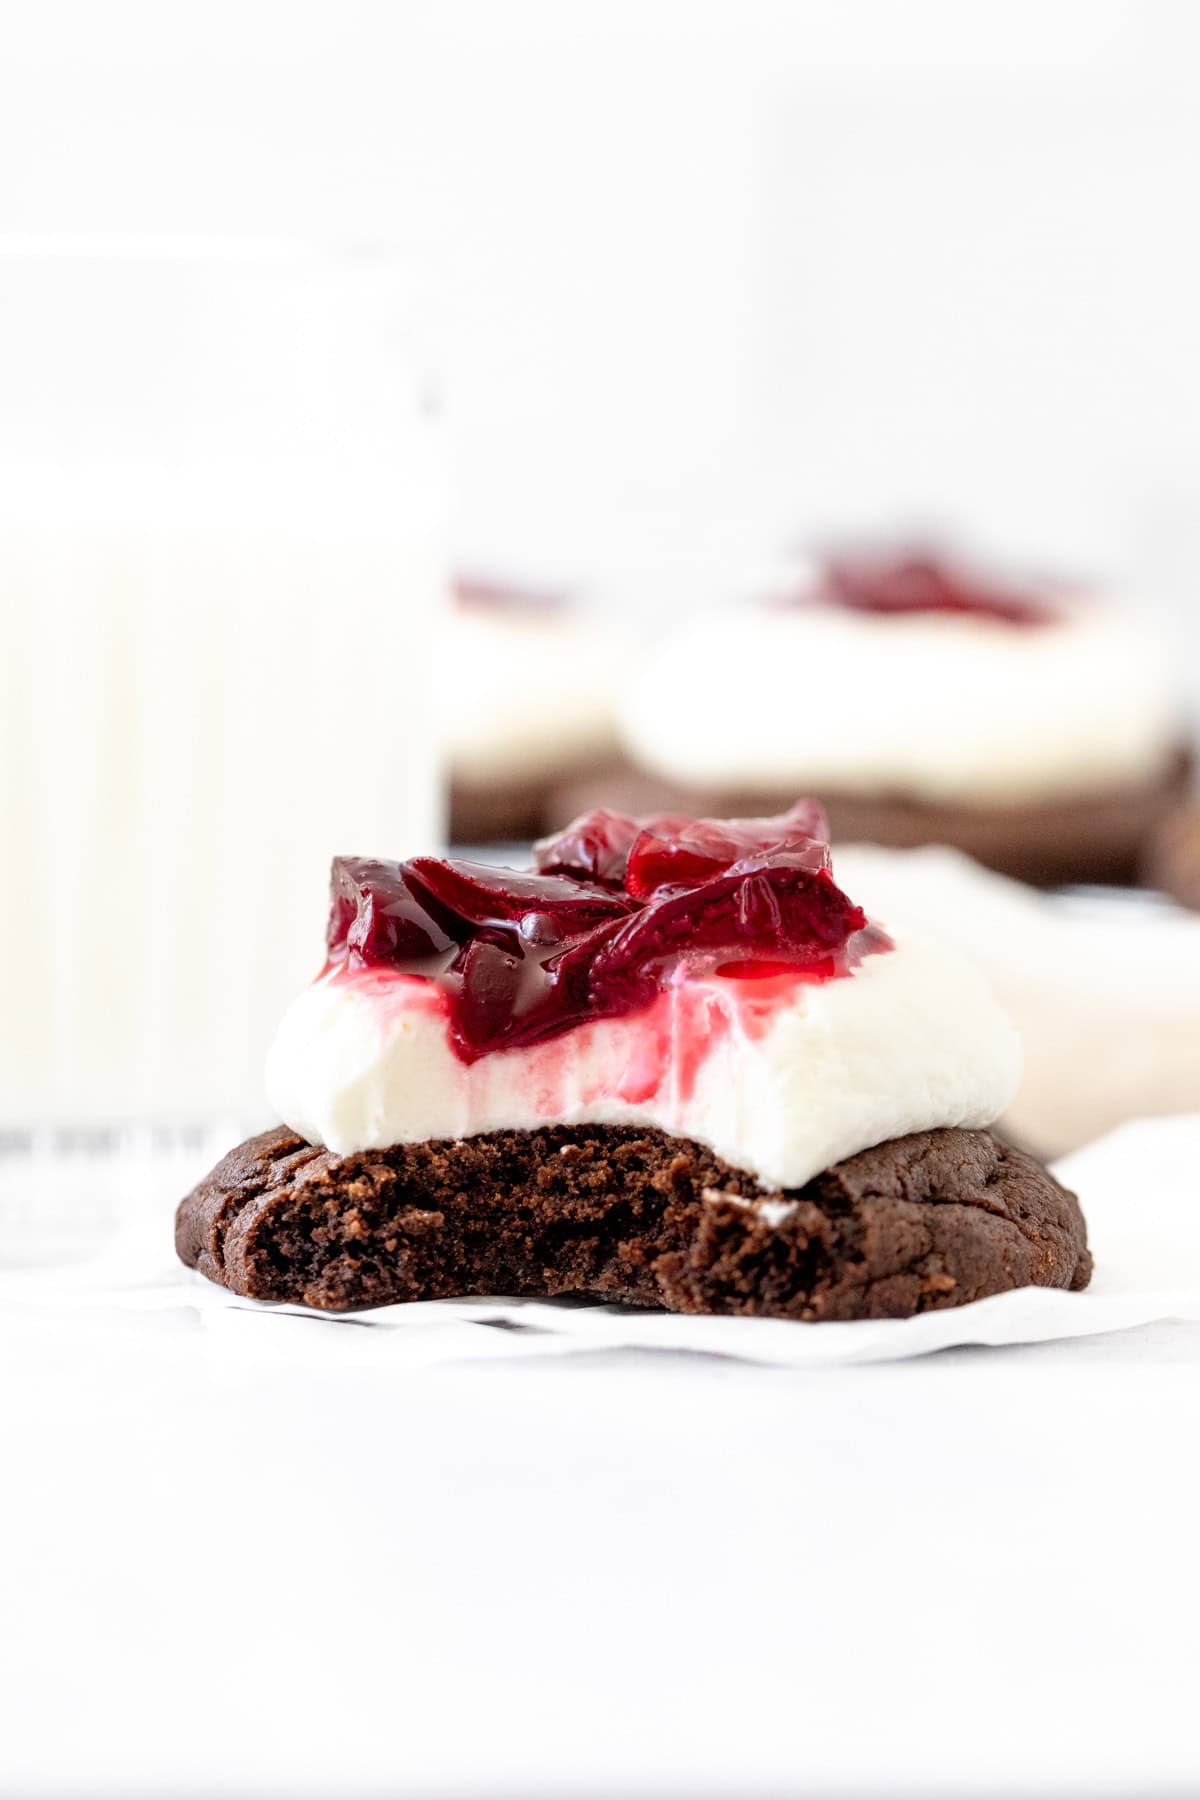
These black forest cookies have everything you love about classic black forest cake. They start with fudgy chocolate cookies, then each cookie is topped with whipped cream and sweet cherries.
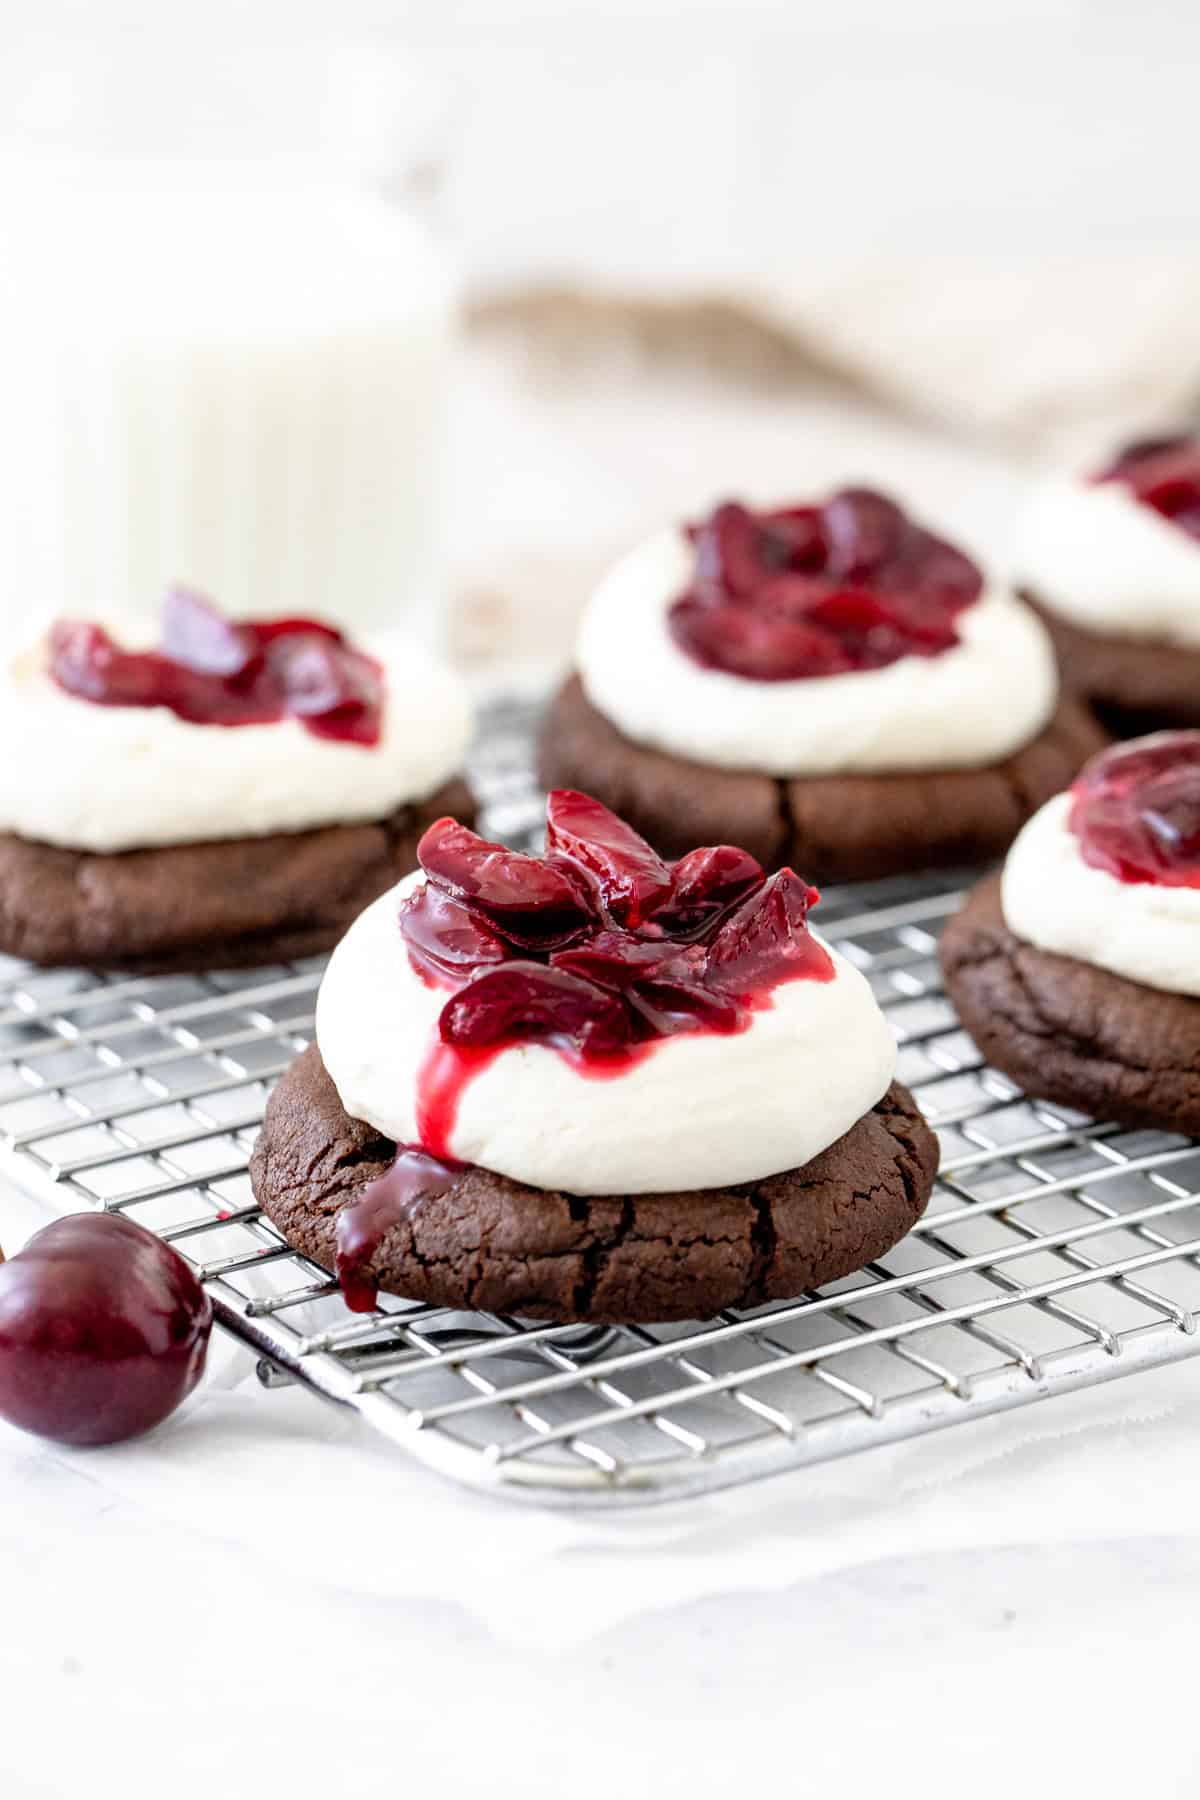
A traditional black forest cake is made with layers of rich chocolate cake sandwiched with sweetened whipped cream and cherries. It’s a classic for good reason and the perfect dessert for cherry season.
These black forest cookies take all the aspects of classic black forest cake in a bite-sized chocolate cookie. The recipe starts with chewy, fudgy chocolate cookies that have a rich chocolate flavor and are perfectly thick. Each cooled cookie is topped with a dollop of stabilized whipped cream and then sweet cherry sauce. You could simply use fresh, pitted cherries if you prefer – but I love the extra flavor that the sauce provides.
When I was looking for a black forest cookie recipe, I found that most were simply chocolate cookies with dried cherries mixed into the cookie dough. While delicious – I wanted to capture the essence of black forest cake in these cookies, and for that, whipped cream was absolutely necessary.
Making Black Forest Cookies
This recipe has 3 parts: chocolate cookies, stabilized whipped cream and cherry sauce. While it does take a little extra effort – they’re still easier than making a black forest cake and the payoff is totally worth it.
Chocolate Cookies: You’ll start by whisking together the dry ingredients: flour, cocoa, baking soda and salt. I like to use Dutch-processed coco for a richer chocolate flavor. Then in a separate bowl you’ll cream together the butter and sugars, then mix in the eggs and vanilla extract into the butter mixture. These cookies use more brown sugar than granulated sugar to keep them extra chewy. Lastly, the dry ingredients are carefully mixed into the butter mixture.
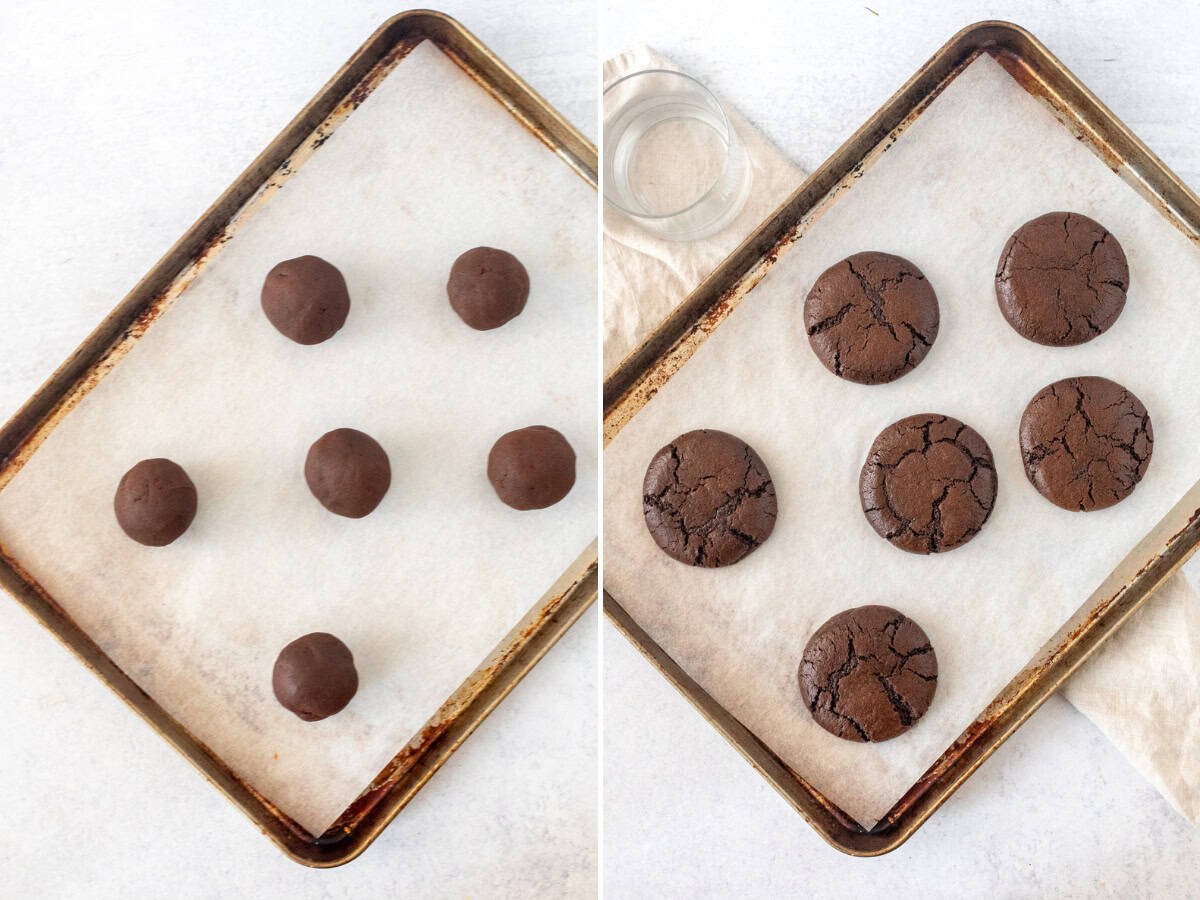
The dough will need to chill for at least 30 minutes or overnight – then it’s time to bake. I like to form the dough into balls with about 2 tablespoons of dough each (mine weighed 60 grams). When they’re done baking and are still warm from the oven, I like to gently press a cup on top of each cookie to give it a flat top. This makes it easier for decorating later.
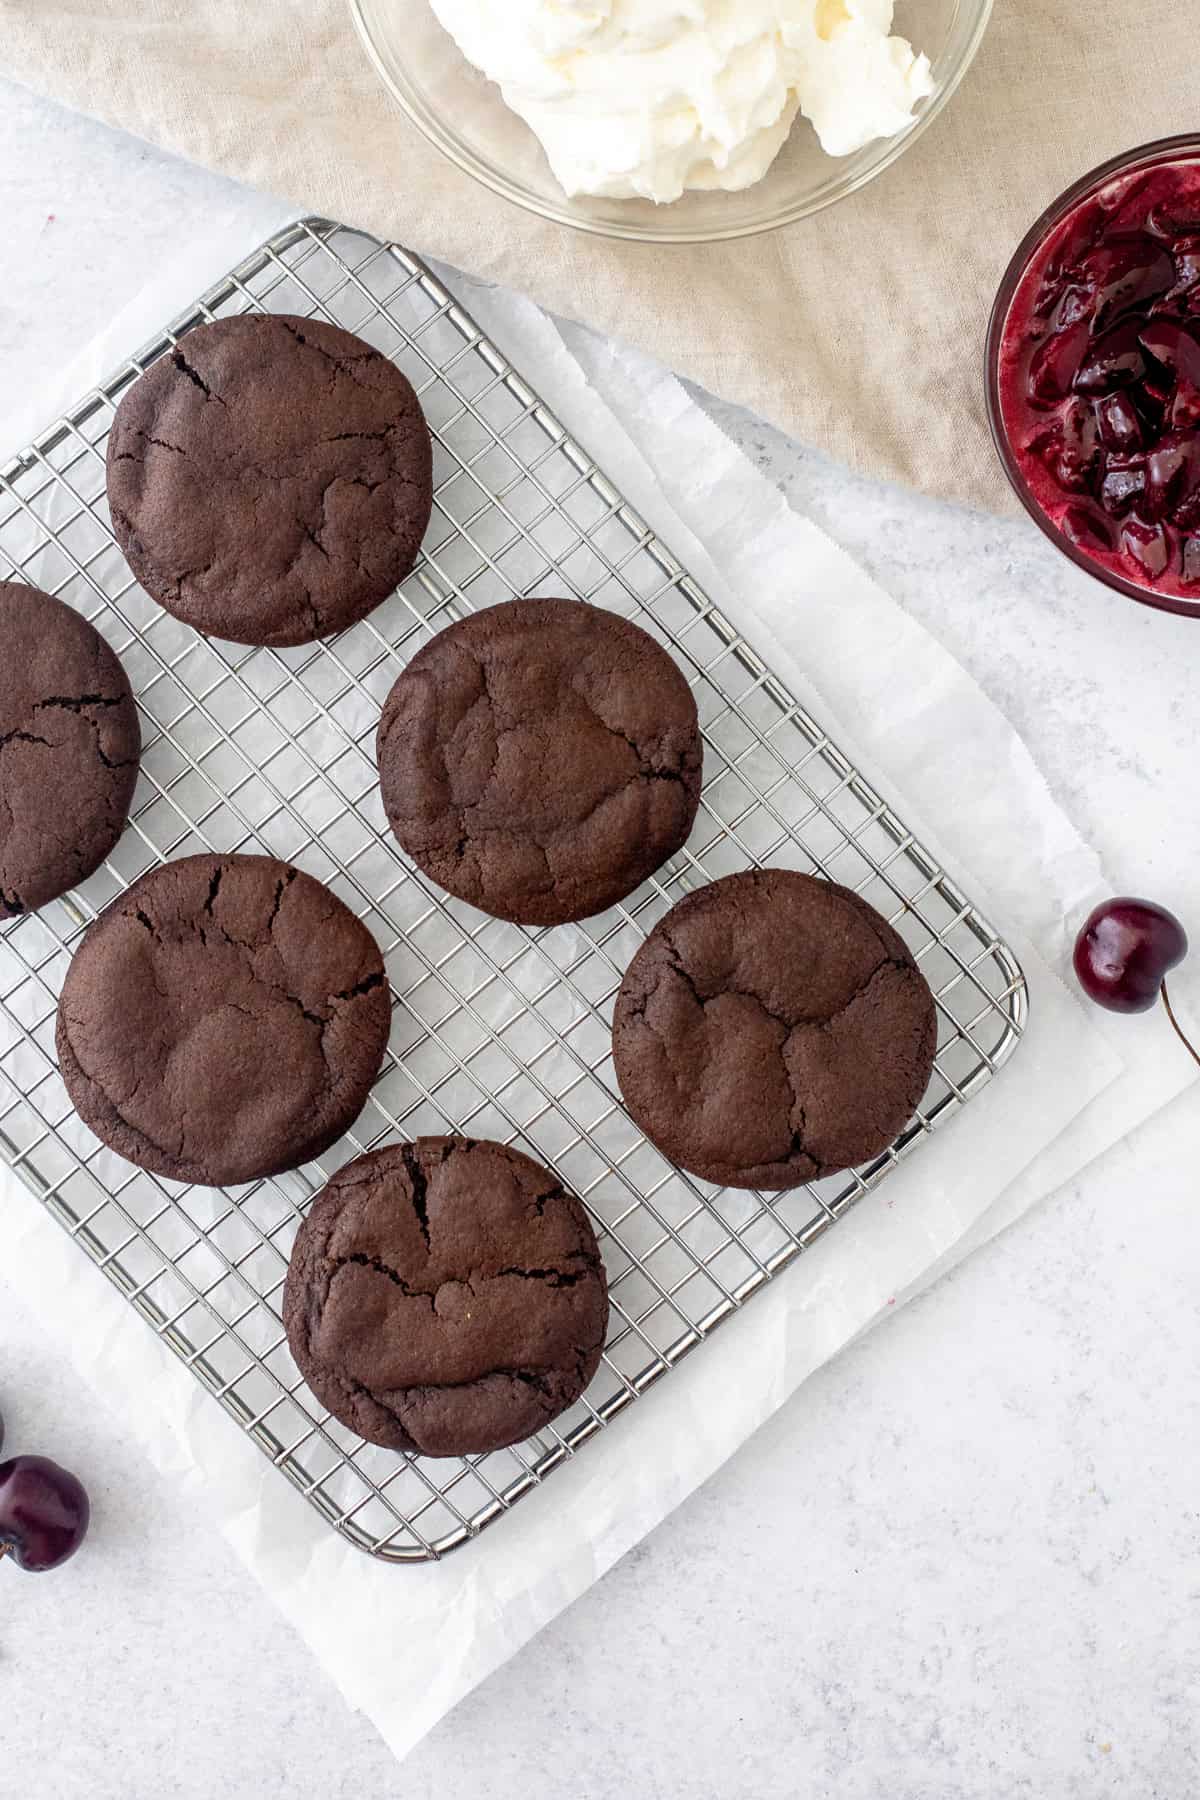
Whipped Cream: Instead of using plain whipped cream, we’re making stabilized whipped cream. The addition of a little cream cheese makes the whipped cream thicker and therefore better for decorating. Using a whisk attachment, you’ll beat the cream cheese and a little sugar until smooth and creamy. Then drizzle in cold whipping cream (33-35% MF) and continue beating until it’s thick and fluffy.
Cherry Sauce: The cherry sauce could be made with frozen, pitted cherries or fresh – but I personally like to make these during cherry season and therefore use fresh. The most time consuming part of this recipe is pitting the cherries. If you have a cherry pitter, it will make your life much easier. You’ll add the pitted cherries to a saucepan with a little lemon juice and sugar, stirring as the cherries soften and release their juices. Once the cherries are soft, you’ll remove the saucepan from the heat and pour in a little cornstarch dissolved in water to help it thicken.
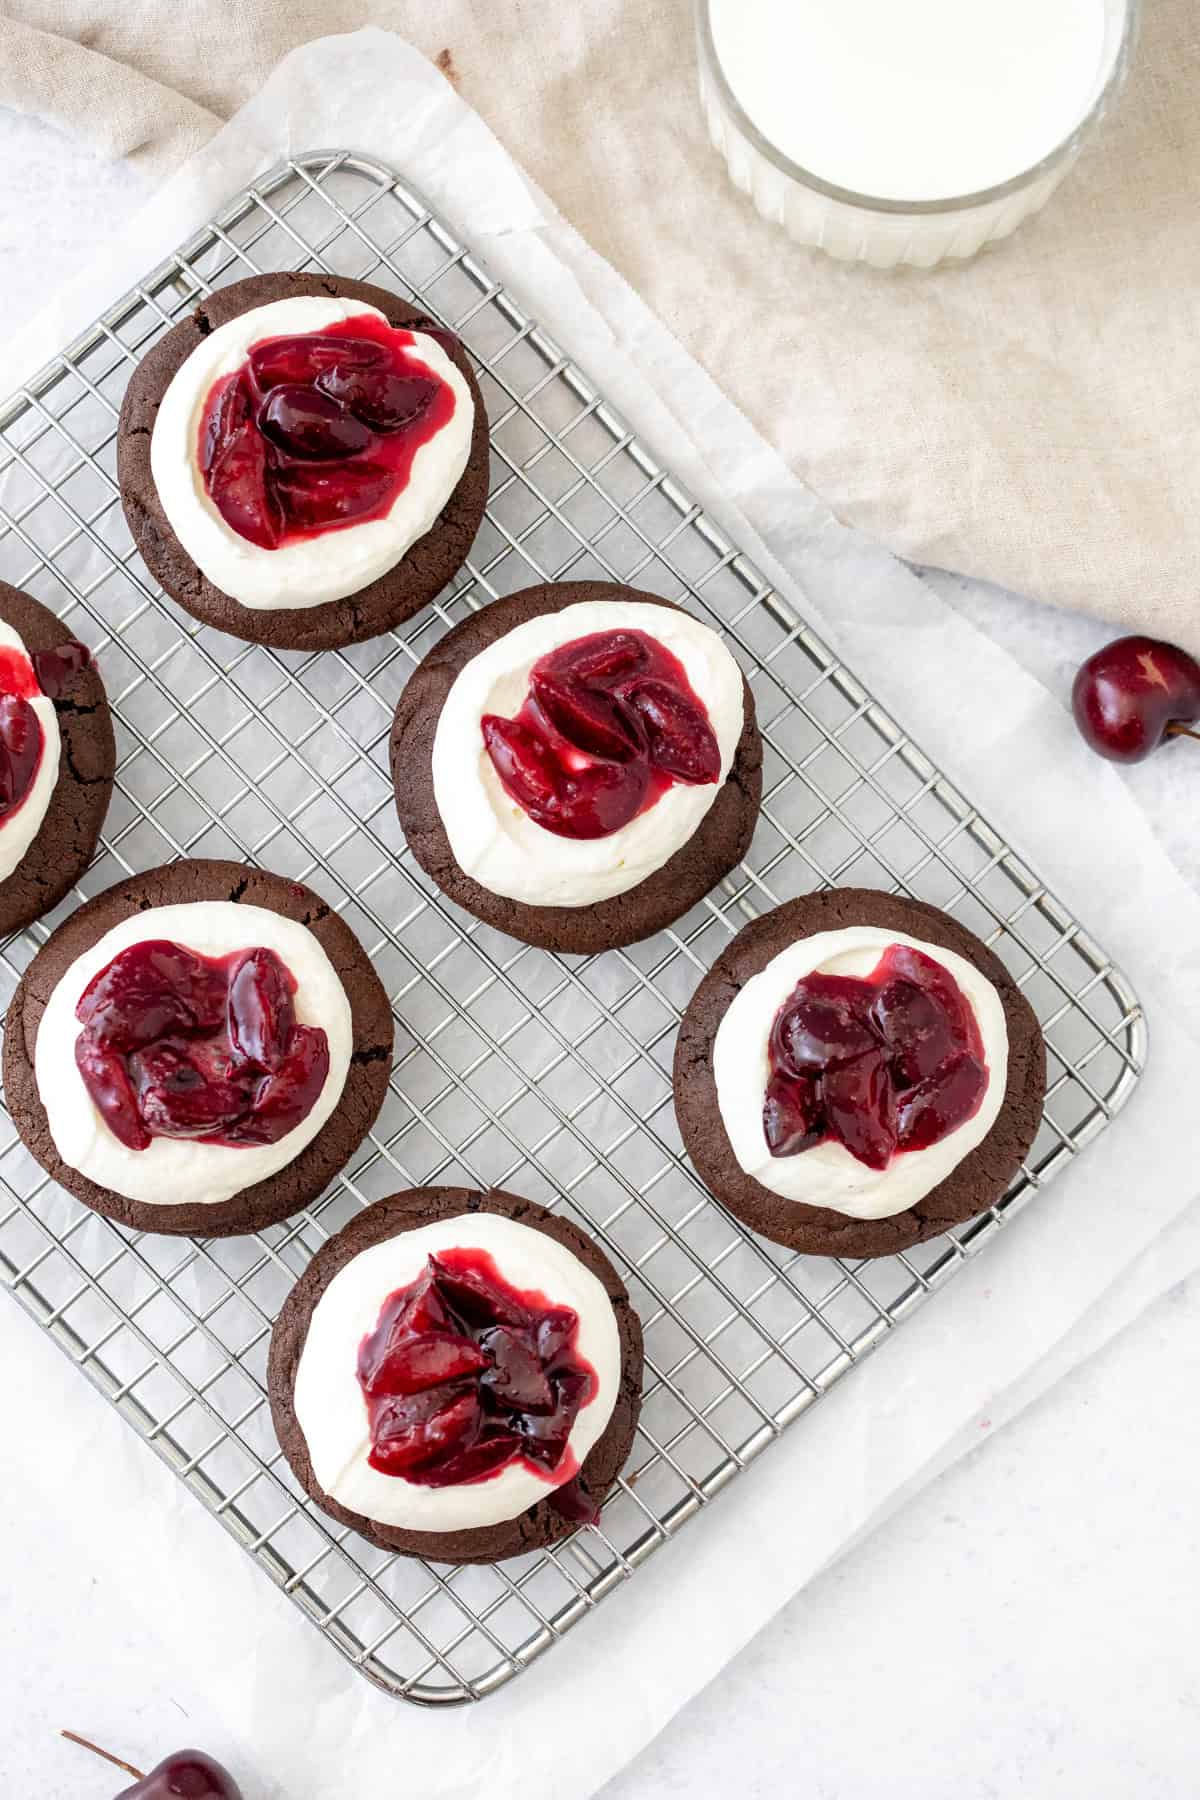
Assembling the Cookies: Make sure that the cookies and cherry sauce are 100% cooled first. If either is still warm, they’ll melt the whipped cream. On top of each cookie, you’ll add a dollop of whipped cream and then a spoonfull of cherry sauce. I like to use the back of a spoon to press down the whipped cream slightly to cream a slight bowl shape for the cherry sauce to sit in.
Make Ahead Tips
Cookie dough can be made the day before you plan to assemble the cookies. Cover the bowl and store in the fridge overnight. Alternatively, you can bake and cool the cookies up to 2 days before you plan to serve. Store in an airtight container at room temperature.
The sauce can be made up to 3 days before you plan to serve the cookies. Cool fully, then store in an airtight container in the fridge.
I always assemble the cookies as close to serving as possible. These cookies should be stored in the fridge.
More Recipes for Cherry Season
Black Forest Cookies
Equipment
- Cookie Sheets
Ingredients
Cherry Sauce
- 2 cups cherries, pitted and sliced in half or quarters
- ½ cup granulated sugar (100 grams)
- 2 tablespoons lemon juice, freshly squeezed
- 1 teaspoons cornstarch, AKA cornflour
- 1 tablespoon water
Chocolate Cookies
- 2¼ cups all-purpose flour (282 grams), measured correctly
- ¾ cup Dutch-processed cocoa powder (60 grams),
- 2 teaspoons cornstarch
- 1 teaspoon baking soda
- ½ teaspoon salt
- 1 cup unsalted butter (226 grams), softened, but still slightly cool to the touch
- 1 cup brown sugar (210 grams), I used dark
- 1 cup granulated sugar (200 grams)
- 2 large eggs
- 2 teaspoons vanilla extract
Whipped Cream
- 6 ounces cream cheese (170 grams), full-fat, brick style
- ⅓ cup granulated sugar (67 grams), or caster or berry sugar if you have it
- 1 cup whipping cream (240 ml), 33-35% MF, cold
Instructions
Cherry Sauce
- Add the cherries, sugar and lemon juice to a medium saucepan over low-medium heat. Gently stir the mixture with a rubber spatula or wooden spoon as the cherries soften and release their juices.
- Once the cherries are softened, remove from the heat. In a small bowl, whisk together the cornstarch and water then pour into the cherry sauce. Stir together. The sauce will thicken slightly as it cools.
- Cool fully, then store in the fridge in an airtight container until ready to use.
Chocolate Cookies
- In a large bowl, sift together the flour, cocoa, cornstarch, baking soda and salt. Whisk together. Set aside.
- In a separate large bowl, beat together the butter, brown sugar and granulated sugar until there are no lumps of butter or brown sugar. Turn off the mixer and scrape down the sides and bottom of the bowl.
- Mix the eggs and vanilla extract into the butter mixture.
- With the mixer on a low speed, beat the dry ingredients into the butter mixture. I typically do this about ½ at a time. Turn off the mixer and scrape down the sides and bottom of the bowl a few times to ensure there aren't lumps of butter stuck to the bottom.
- Cover the bowl and refrigerate for at least 30 minutes or up to 48 hours.
- When ready to bake, preheat the oven to 350℉ (180℃). Line the cookie sheets with parchment.
- Scoop the dough into balls with about 1½ to 2 tablespoons of dough each. I weighed each of mine and made each 60 grams.
- Bake in the middle of the preheated oven for about 11-13 minutes, or until the tops look set.
- Remove from the oven. Right away, grab a water glass or some form of glass with a flat bottom. Use the flat bottom to gently press the top of the cookie down, so that the top is flatter. Continue to cool the cookies on the tray.
Whipped Cream
- Using a stand or hand held mixer and larger bowl, use the whisk attachment to beat together the cream cheese and sugar until no lumps of cream cheese remain. Turn off the mixer and scrape down the sides and bottom of the bowl a few times. There will still be sugar granules.
- Drizzle the whipping cream into bowl while mixing. Continue beating until thick and sturdy.
Decorate
- Ensure the cookies and cherry sauce are fully cooled.
- Top each cookie with a dollop of whipped cream. Alternatively, you can transfer the whipped cream to a large piping bag with a large round tip and squeeze a large dollop on top of each cookie. I like to take the back of a spoon to gently press down the middle of the whipped cream dollop to create a slight bowl shape.
- Scoop a dollop of the cherry sauce on top of each cookie.
Notes
- Cocoa: I recommend using Dutch-processed cocoa.
- Nutrition: Details are an estimate only based on 1 cookie, assuming the recipe yields 30 uniform cookies.
- Storage: Store cookies in the fridge in an airtight container in the fridge. I recommend serving these as close to assembling them as possible.