Oreo Pie
I may receive compensation in the form of payment or products to supplement my posts, but all opinions remain my own. Read our disclosure policy.

This Oreo pie is incredibly creamy, filled with crushed cookies and has a thick Oreo cookie crust. The recipe only requires 5 ingredients, is completely no bake, and has the most delicious cookies and cream flavor. 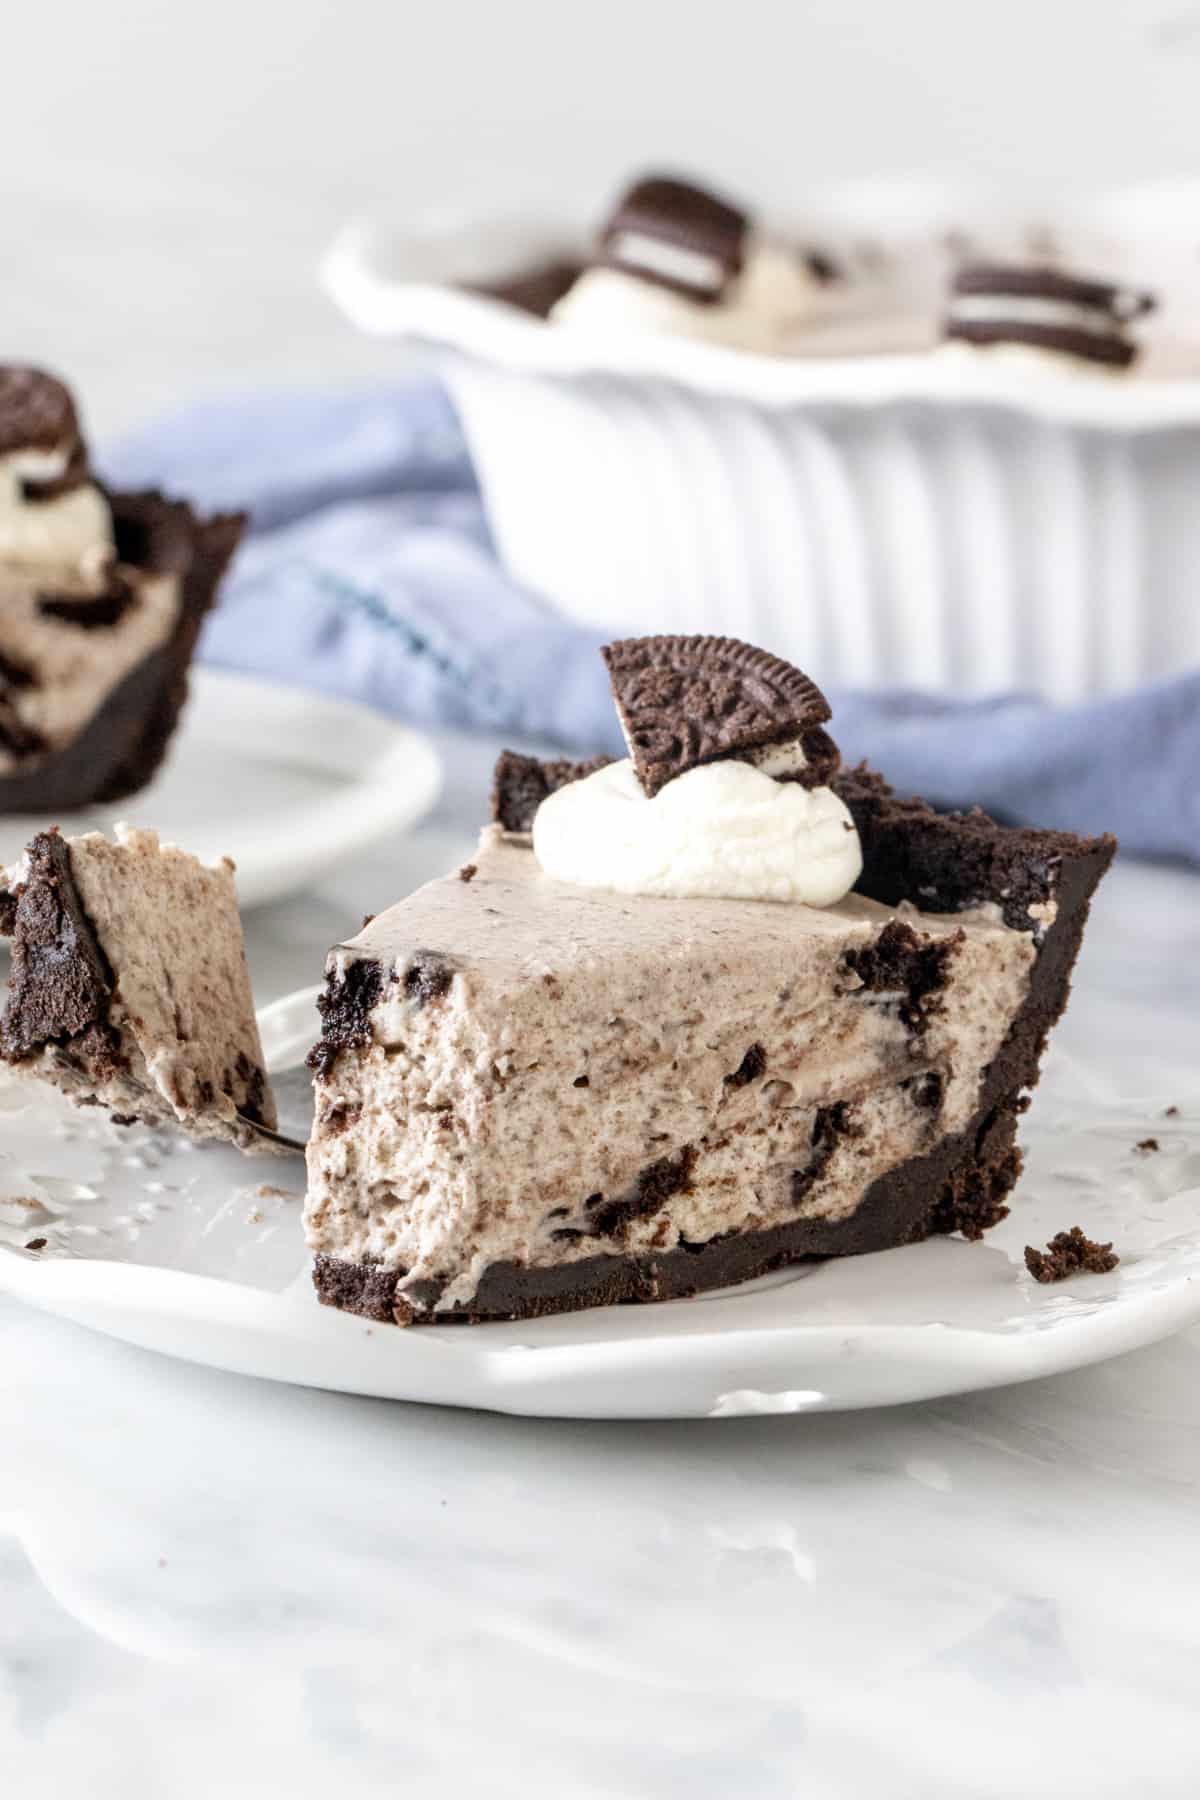
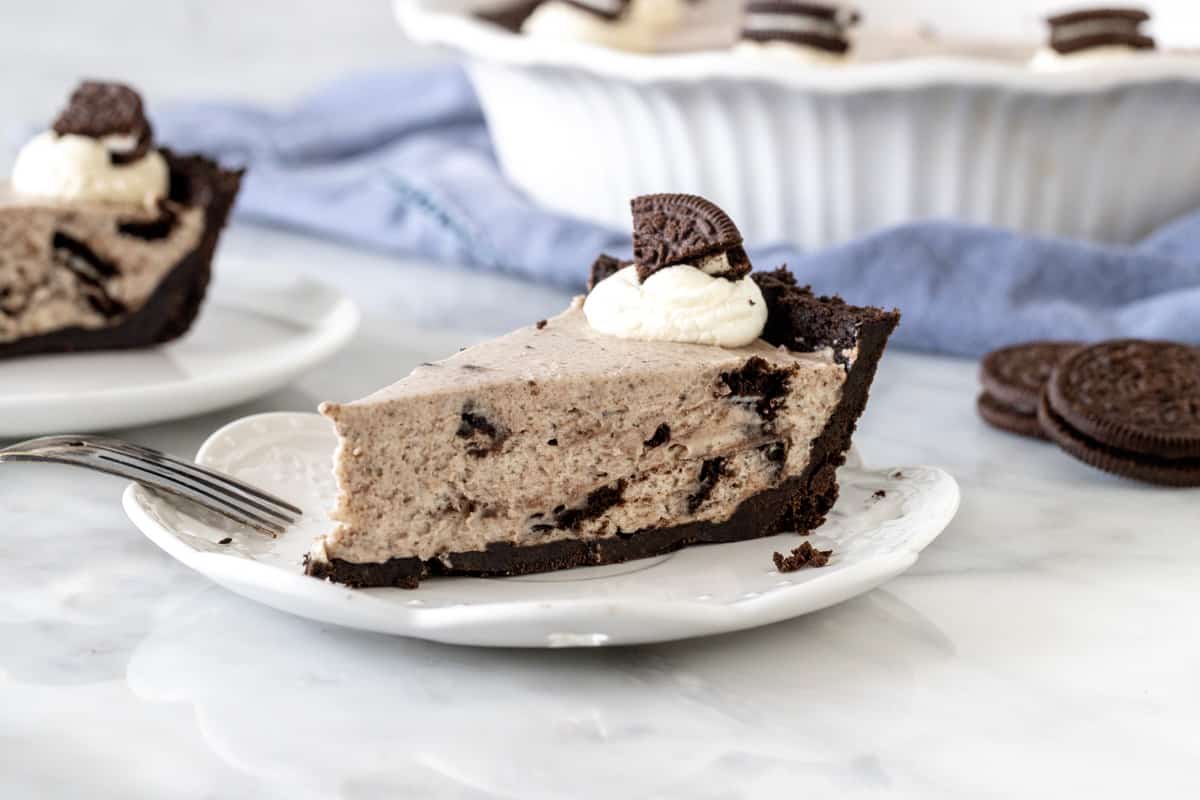
If you love Oreo cookies or cookies and cream ice cream – then you will absolutely love this Oreo pie. It’s incredibly creamy and loaded with cookies. The pie filling tastes somewhere in between a no-bake cheesecake and an Oreo milkshake, and the thick cookie crust holds it all together.
The Best Oreo Pie Recipe
You’re going to love this recipe for so many reasons:
- Only 5 ingredients
- Perfect for a beginner baker
- No baking required – so it’s great for a lazy day or warm weather
- Lots of Oreo cookies needed
The Oreo Crust
To get started, we make the crust. You’ll pulse Oreo cookies (wafers and filling) in a food processor until they’re crumbs, then mix the crushed cookies with melted butter. It will almost feel like damp sand and hold together if you squeeze it between your fingers. The mixture is pressed into the bottom and up the sides of your pie plate, and then it’s time to make the filling.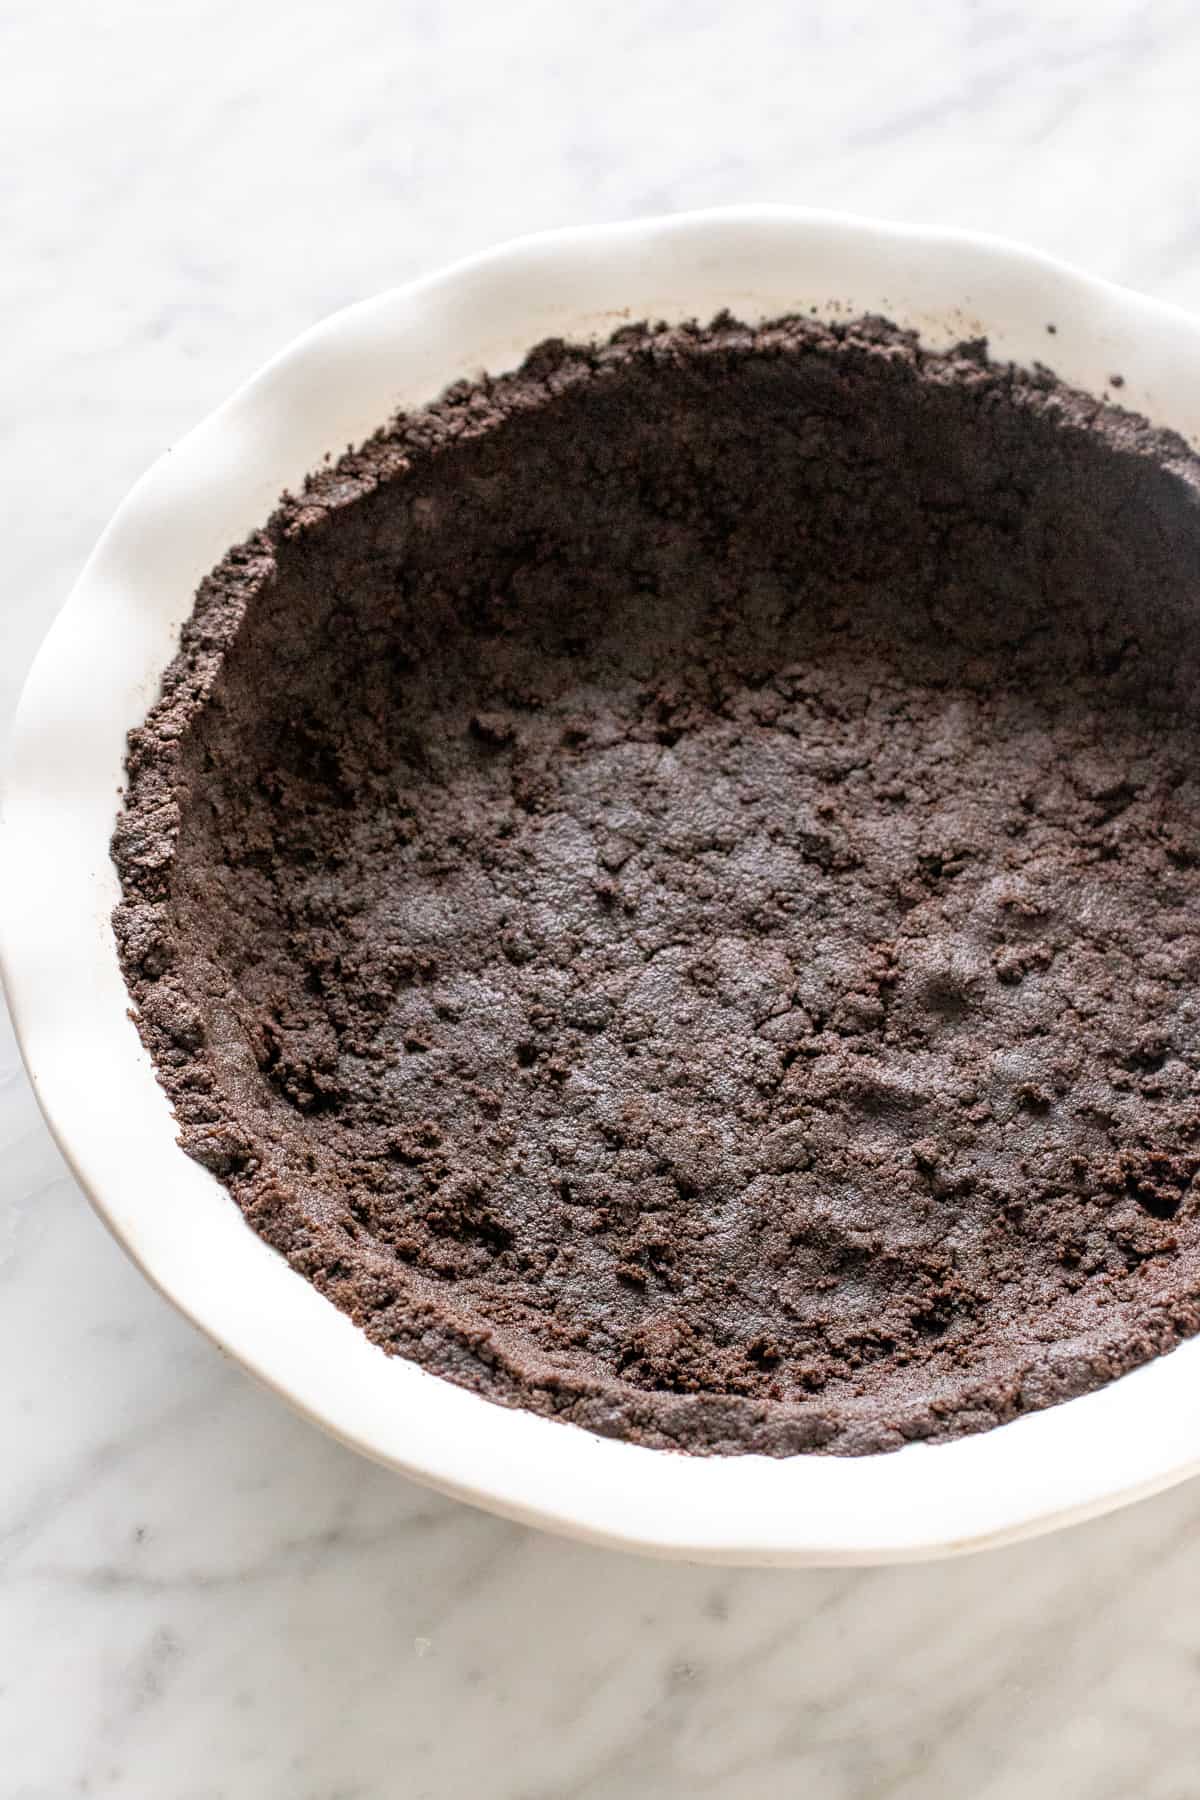
If you need to save time, you could use a pre-made Oreo crust. However, I prefer making my own because I like an extra thick crust (which this recipe provides).
The Creamy, No-Bake Filling
Then for the filling, you’ll first beat heavy cream (or whipping cream) until stiff peaks form. The whipped cream makes the filling luxuriously creamy, ensures that the filling isn’t too dense, and keeps the filling stable.
Then in a separate bowl, you’ll beat together cream cheese and powdered sugar until smooth – then fold in whipped cream, followed by the crushed Oreo cookies. The cream cheese keeps the filling thick, but it’s definitely not as tangy as a no-bake cheesecake.
Pro Tip: I like to use a combination of crushed cookie crumbs and larger pieces of chopped cookies in my Oreo pie filling. You can use one or the other, or a combination of both.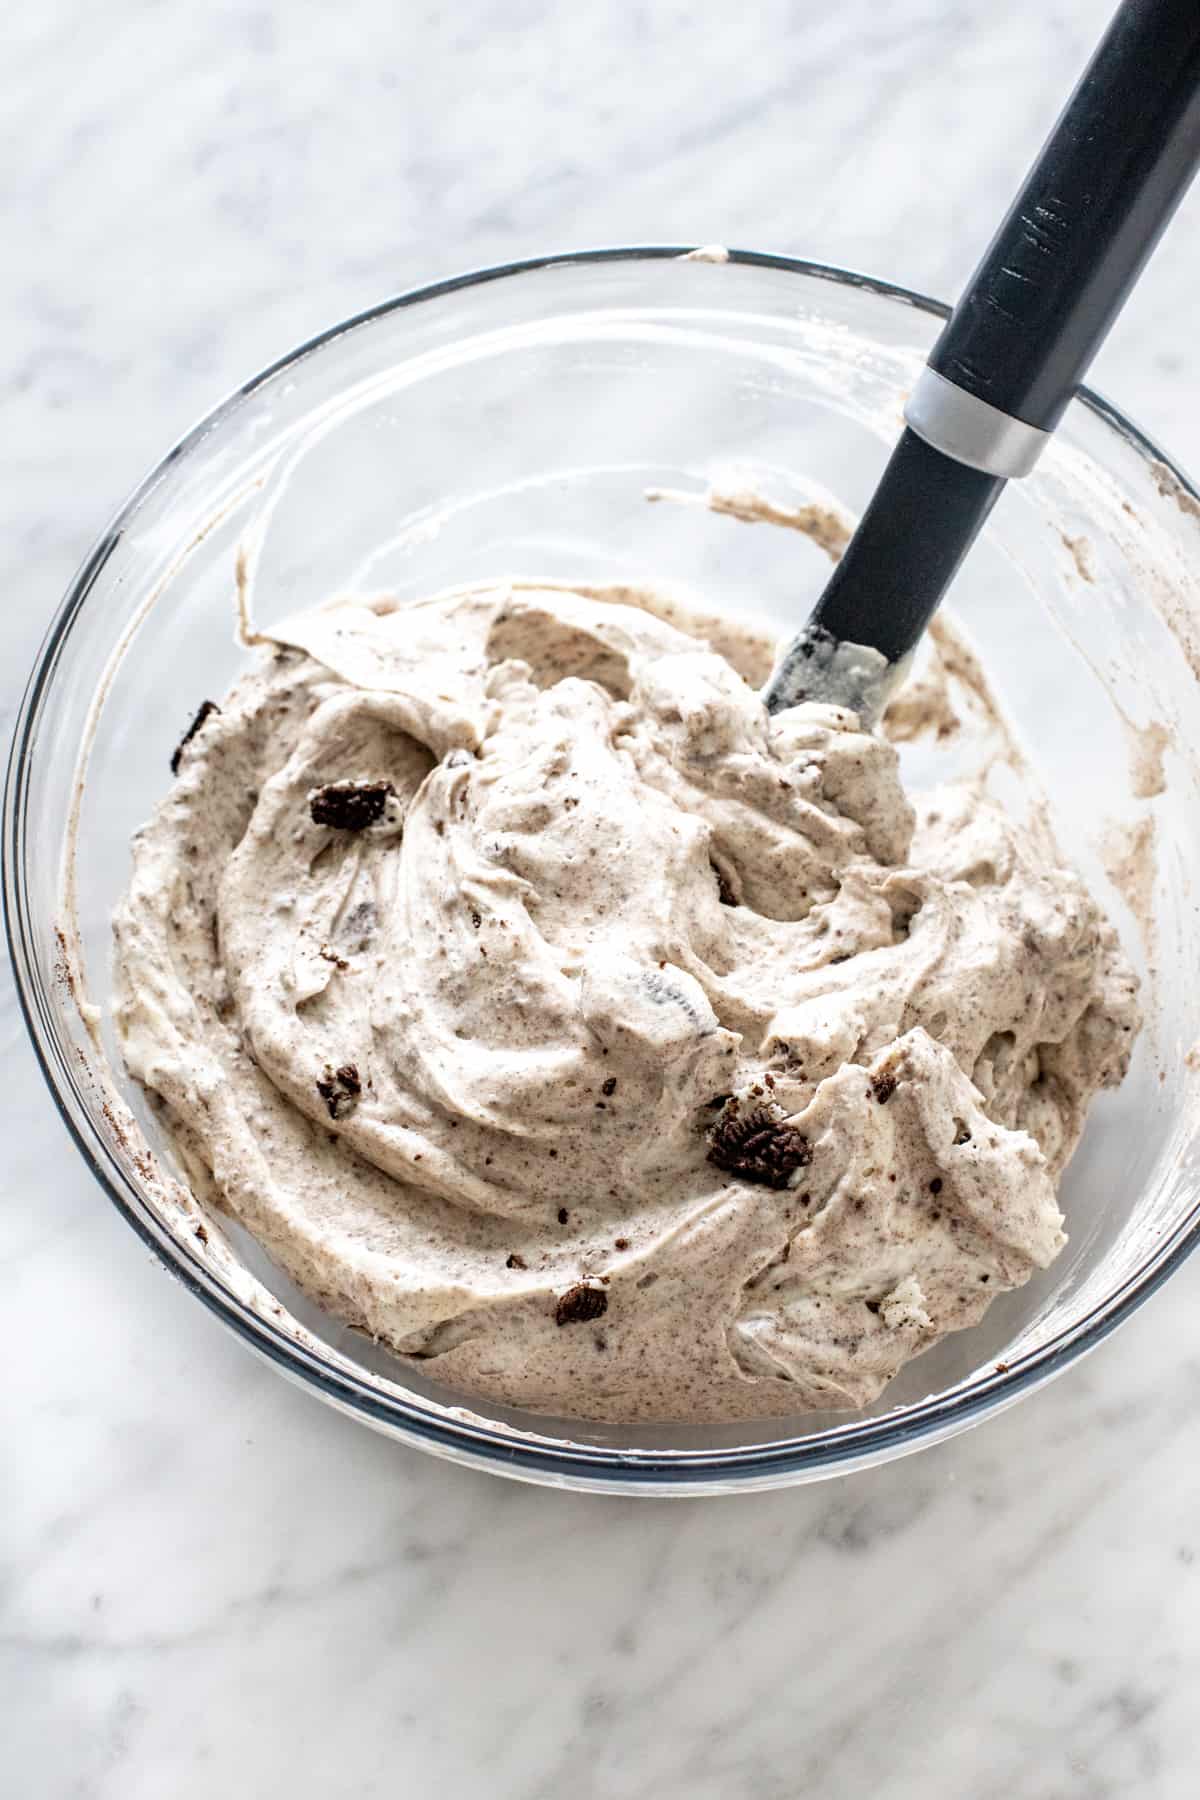
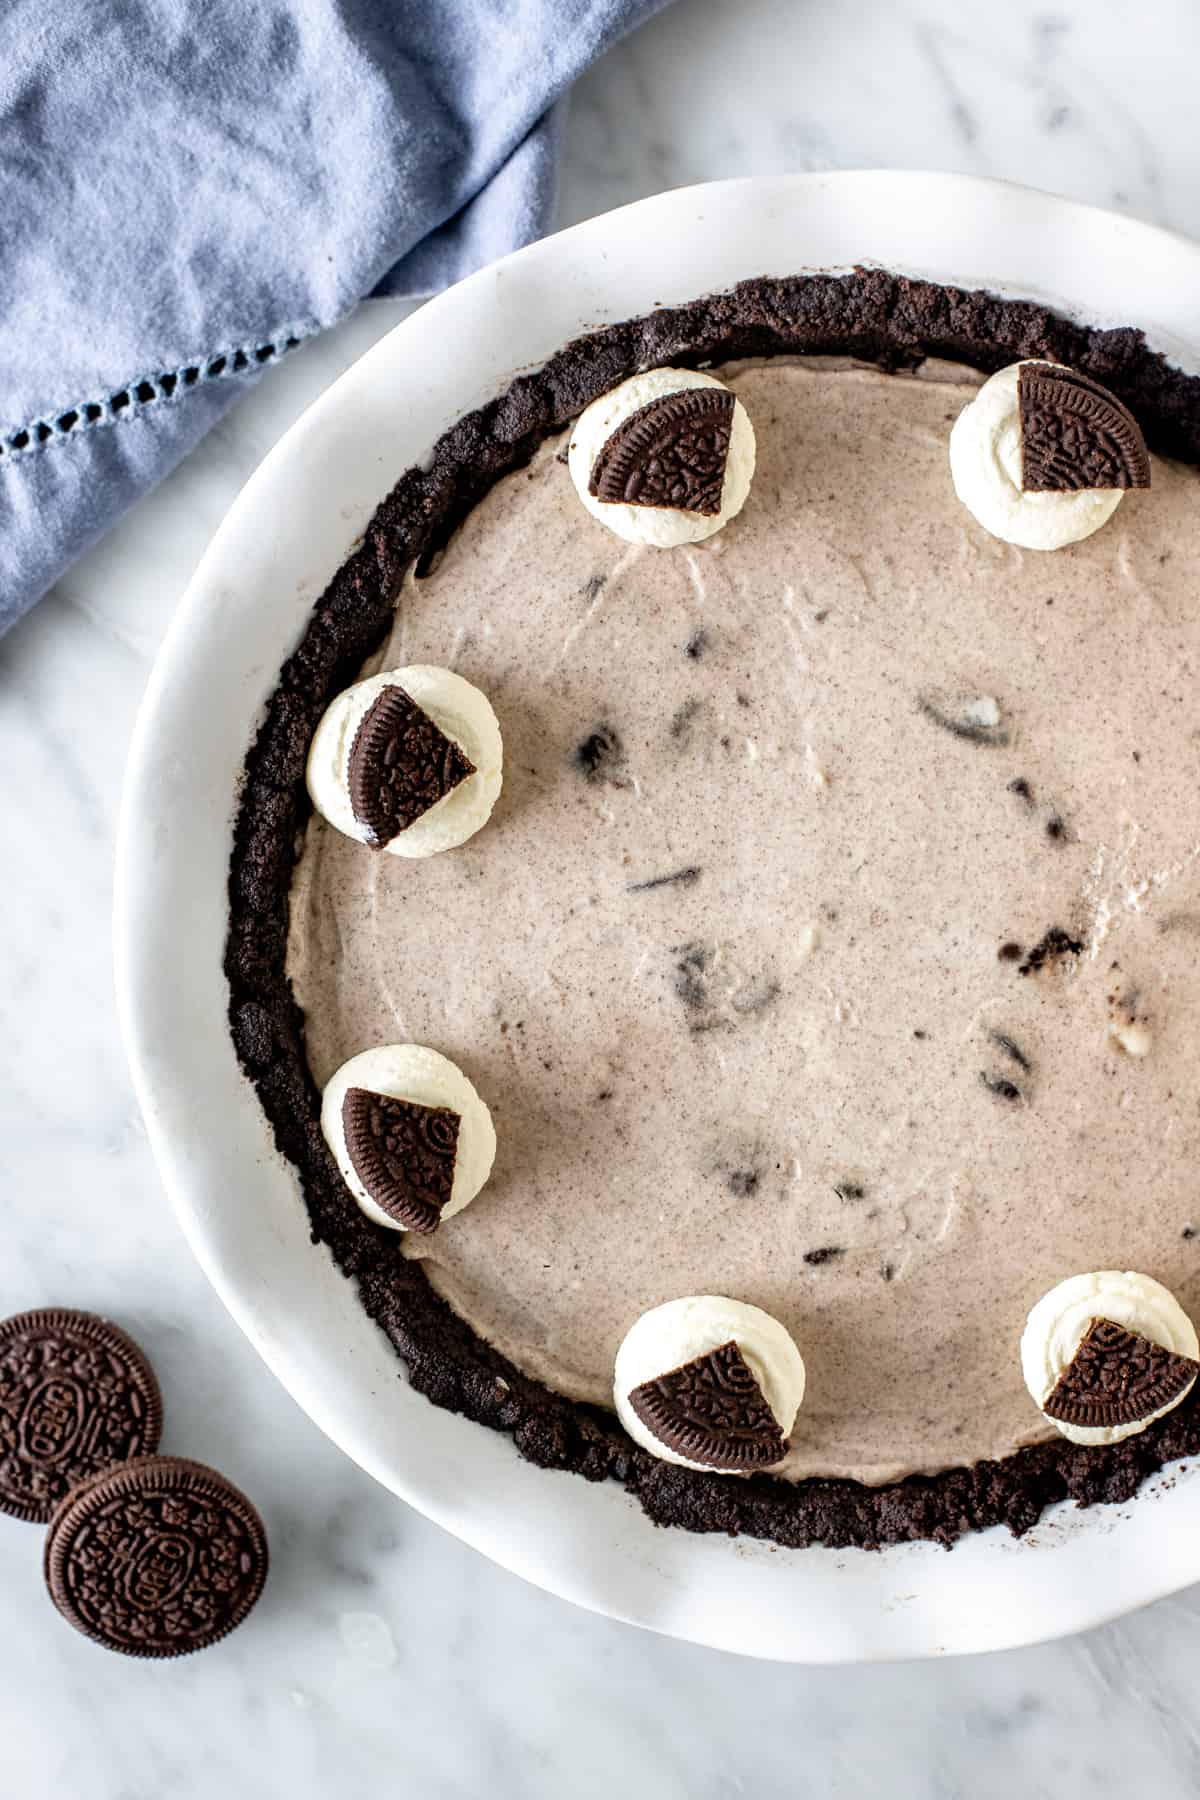
You’ll spoon the filling into the crust, smooth the top, and then pop the pie into the fridge to chill for at least 6 hours before serving. This allows the pie to firm up so it can be sliced.
A note about whipped topping: I really prefer using whipped cream (as the recipe states) instead of whipped topping (such as Cool Whip) because gives this pie the most deliciously creamy flavor. If you really, really want to use whipped topping, you can substitute whipping cream with an 8 oz tub of thawed whipped topping.
How Many Oreos to Buy: For this recipe, you’ll need 24 Oreos for the crust and 12 Oreos for the filling – plus any extra you’d like for decorating the top of your pie. In the US, a 14.3 oz package contains 36 Oreos and a family-sized 19.1 oz package contains 51 Oreos. This does vary, depending on where you live though – so check the package.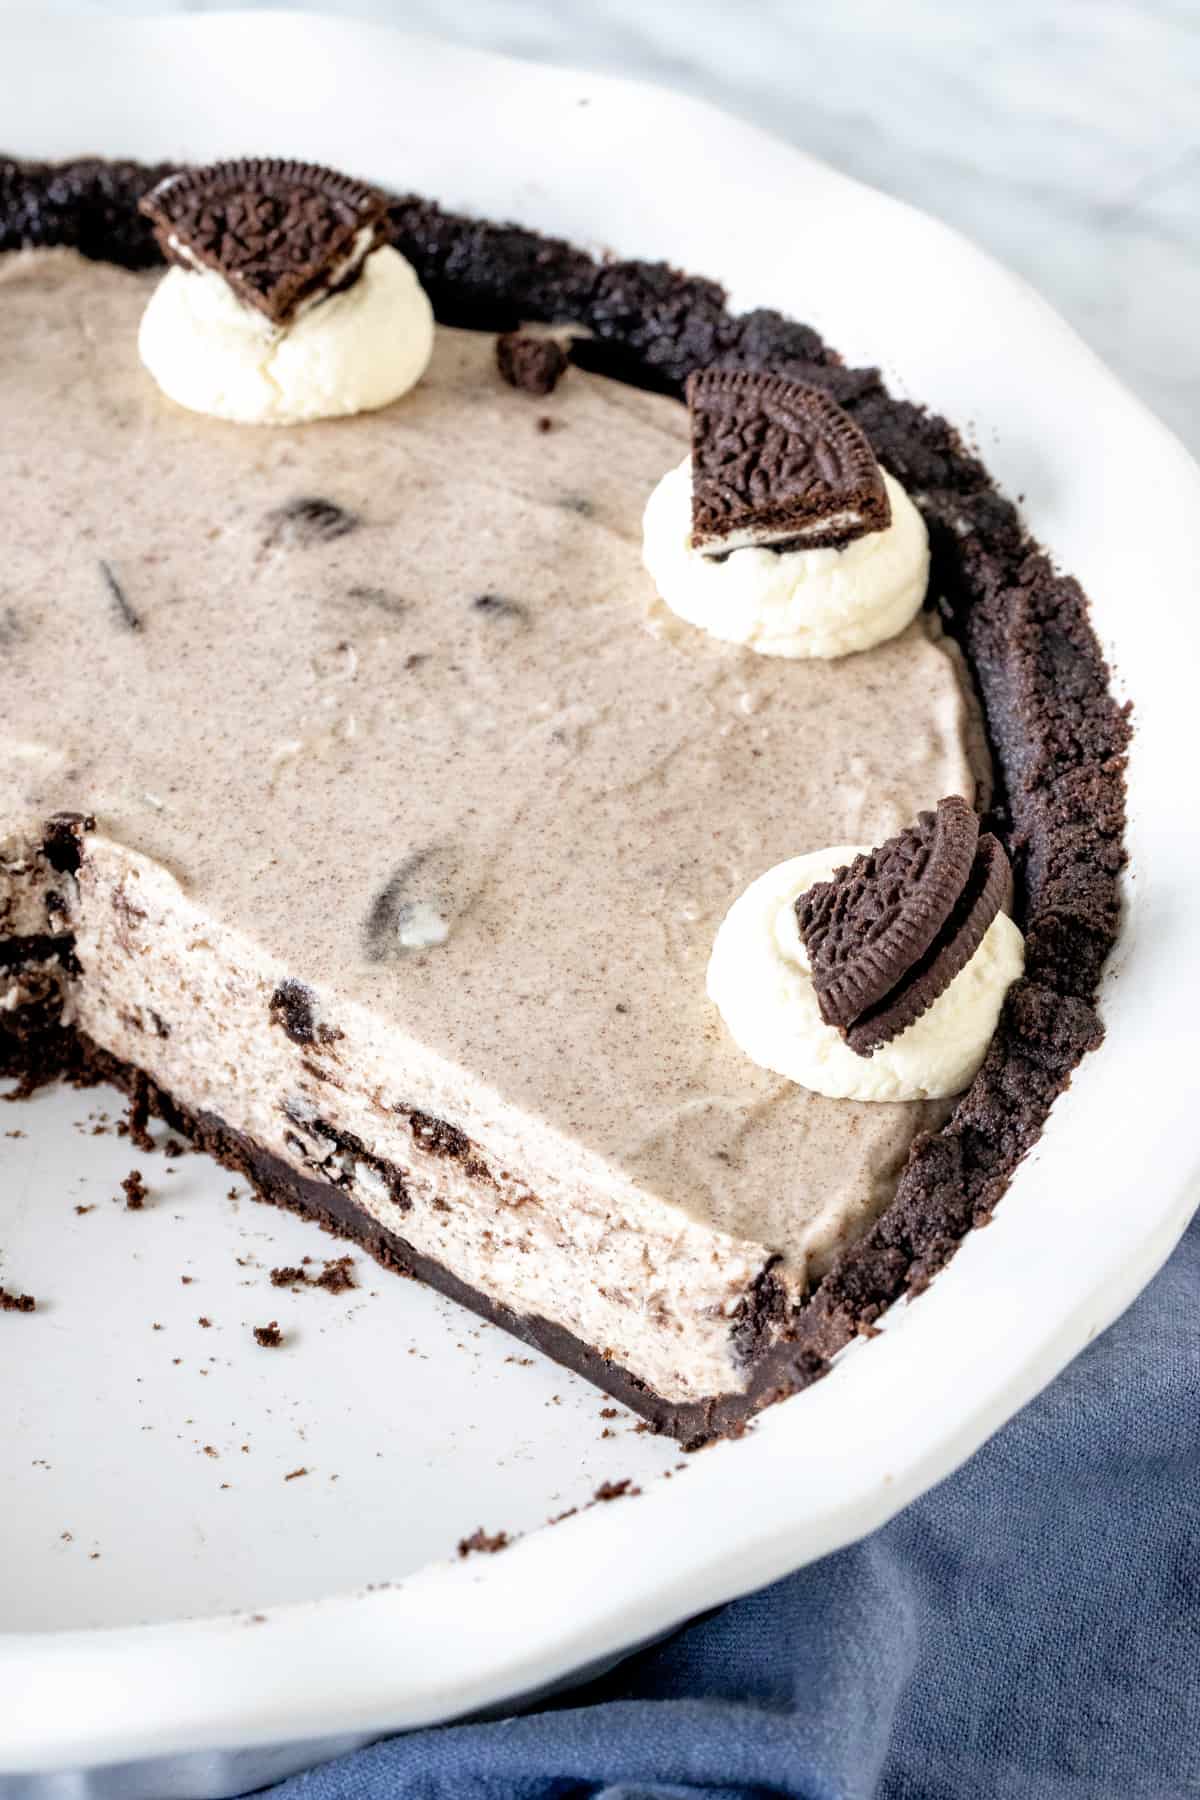
A Frozen Oreo Pie?
This pie can be frozen. Instead of placing it in the fridge to chill for 6 hours, you can place it in the freezer for 4 hours. However, I do find the crust can be quite difficult to cut if frozen. So keep that in mind.
If you love Oreo cookies – be sure to try these other favorites:

Oreo Pie
Equipment
- 9-inch pie plate
Ingredients
Oreo Crust
- 24 Oreo cookies*
- 1/3 cup unsalted butter (76 grams), melted
Filling
- 1 cup whipping cream* (240 ml), 33 - 35% MF
- 3/4 cup powdered sugar (90 grams)
- 8 ounces brick-style cream cheese* (680 grams) , room temperature
- 12 Oreo Cookies, crushed, chopped or a combination
To Serve/Decorate
- whipped cream
- Oreos
Instructions
Oreo Crust
- Add the Oreos (wafers and filling) to a food processor and pulse until fine crumbs. Alternatively, you can add the cookies to a freezer bag and crush with a rolling pin.
- In a medium bowl, stir together the crushed cookies and melted butter.
- Pour the mixture into a 9-inch (23 cm) pie plate. Press the mixture into the bottom and up the sides of the plate to form the crust. Place in the fridge as you make the filling.
Oreo Pie Filling
- Add the whipping cream to a large bowl. Whip the cream until stiff peaks form. If the cream starts to look gritty, you've beaten it for too long. Set aside.
- In a separate large bowl, beat the cream cheese and the powdered sugar until very smooth.
- Using a large rubber spatula, gently fold the whipped cream into the cream cheese mixture until it looks even and you no longer see streaks of whipped cream.
- Gently fold the 12 chopped/crushed Oreos into the mixture. You can either chop all 12 Oreos into small pieces, crush all 12 cookies in a food processor until they're fine crumbs, or do a combination of both. I crushed 6 in a food processor and chopped 6 into small pieces.
- Spoon the batter into the prepared pie crust and smooth the top.
- Place in the fridge for at least 6 hours before serving.
To Serve
- Optionally, decorate the top of the pie with more whipped cream and Oreo cookies.
- To slice the pie, use a sharp knife and be sure to cut all the way through the crust. The first slice will probably look a bit messy.
- Store leftovers covered in the fridge. Do not let the pie sit at room temperature.
Notes
- You will need 24 Oreos for the crust, 12 for the filling (I sometimes use 14 or 15), plus any extras for decorating the top of the pie. In the US, a 14.3 ounce (405 gram) package has 36 Oreos (so enough for the entire pie, without any extras for decorating the top of the pie).
- You'll need 1 cup whipping cream from a carton - before whipping. Make sure your cream is cold for easier whipping.
- Use full-fat, brick-style cream cheese.
- Pie can be frozen - it will need to freeze for about 4 hours to firm up. A frozen pie is harder to slice however.
- Nutrition information is an estimate only and based on 1 slice (without any decorations on top), assuming the pie is sliced into 10 equal pieces.
- Store leftovers covered in the fridge for up to 5 days.


