Peanut Butter Cheesecake Bars
I may receive compensation in the form of payment or products to supplement my posts, but all opinions remain my own. Read our disclosure policy.

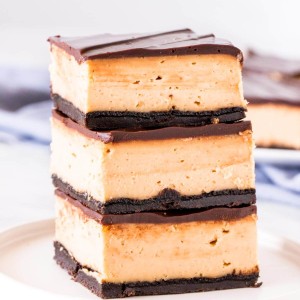
Peanut Butter Cheesecake Bars – creamy peanut butter cheesecake, a crunchy Oreo cookie crust, and a chocolate ganache topping make this the perfect peanut butter treat. I’m sharing all my tricks for the perfect peanut butter cheesecake. 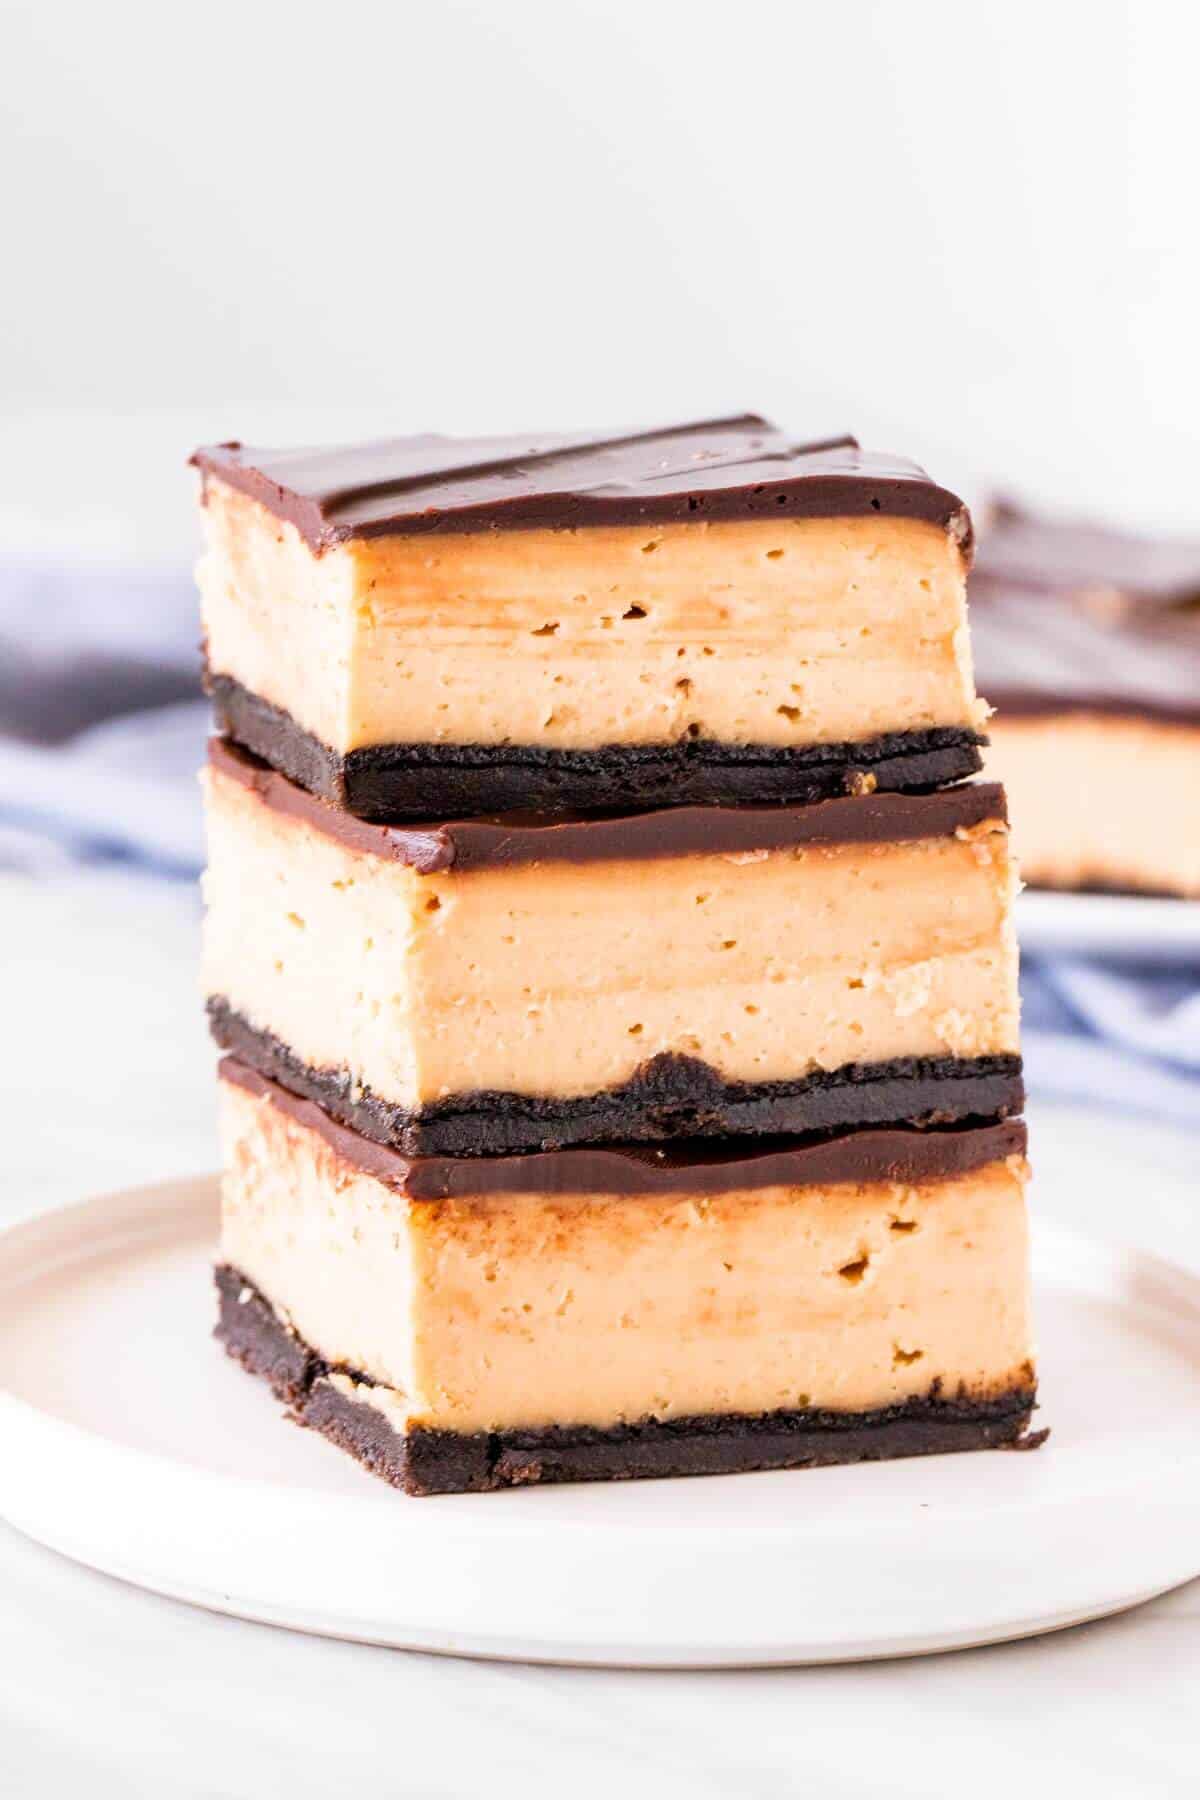
**This post was updated October 25, 2020 with a slightly updated recipe for a creamier cheesecake, new photos and additional recipe tips**
This peanut butter cheesecake recipe is the baked variety of my favorite no-bake peanut butter cheesecake. It’s kind of like a peanut butter cup and a New York cheesecake had a baby. And it’s everything you could want in a cheesecake recipe:
- crunchy chocolate cookie crust
- creamy, smooth texture
- peanut butter cheesecake flavor that’s peanut buttery, a little tangy and not too sweet
- & chocolate topping to seal the deal.
Instead of making this cheesecake in a round, springform pan, I decided to make cheesecake bars in a 9×13 inch pan. The bake time is a little less this way and there’s no water bath required.
The Perfect Peanut Butter Cheesecake
The recipe starts by making our Oreo cookie crust. Crushed Oreo cookies and melted butter are mixed together then pressed into the bottom of the prepared pan and baked. I like baking the crust first because it makes for a crunchier base. As well – we’re using whole Oreo cookies (wafers and filling). The filling helps to hold the crust together, and also makes it more delicious. 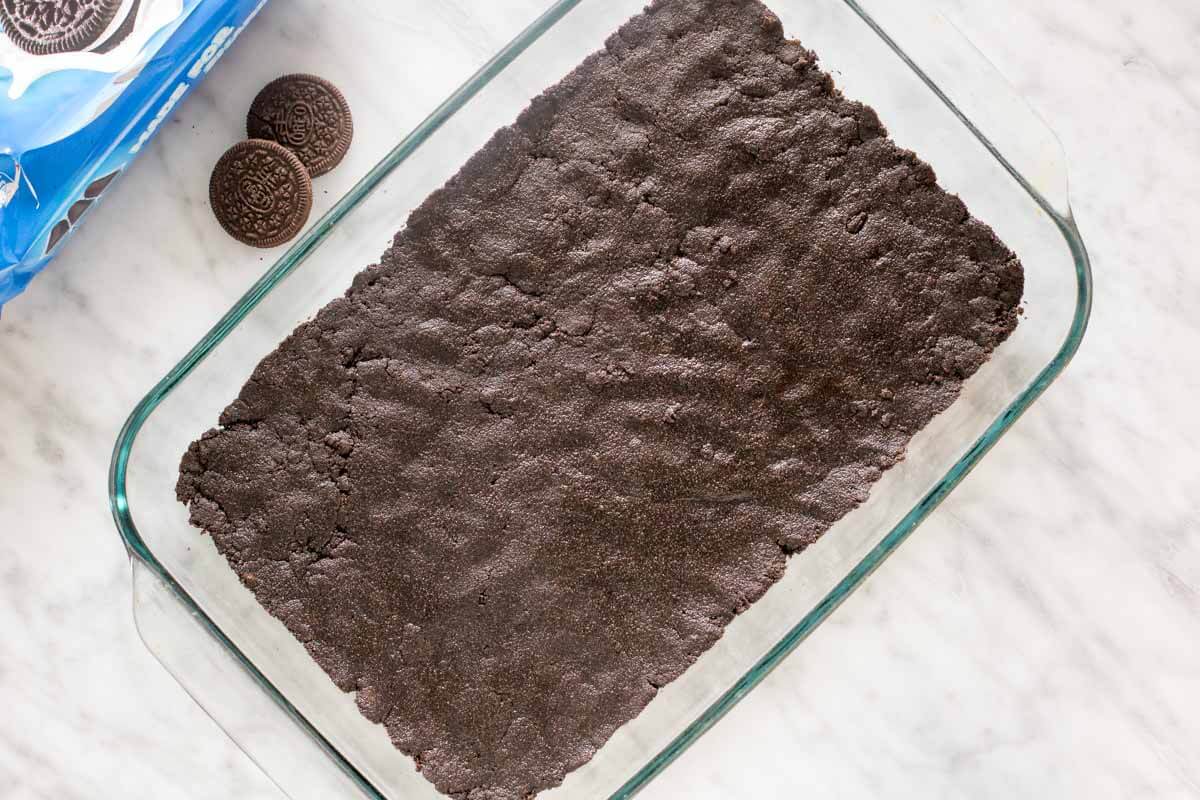
The filling is creamy, thick and perfectly peanut buttery. Since peanut butter is very thick – you’ll notice that the batter is definitely thicker than other cheesecake recipes. I had to be really careful here as well, because I didn’t want the peanut butter to dry things out, or negatively impact the texture of the cheesecake.
For the filling, you’ll start off by beating together the cream cheese and sugar until smooth. ALWAYS use full-fat, brick-style cream cheese in cheesecake. Then you’ll mix in the peanut butter. This recipe uses sour cream as well, which gets mixed in after the peanut butter. Sour cream makes the cheesecake smoother and lighter in texture since it isn’t as thick or heavy as cream cheese. Then you’ll mix in the eggs until the batter is just combined.
It’s very important not to over mix the batter after you add in the eggs. Over beating, once the eggs have been incorporated adds more air to the batter. More air in the batter increases the likelihood of the cheesecake cracking.
Note: In an earlier version of this recipe, I used 1/2 cup sour cream and 5 eggs. In this version that you’ll see below – there’s 3/4 cup sour cream and 3 eggs. I found this change reduced the risk of the cheesecake cracking and made it creamier.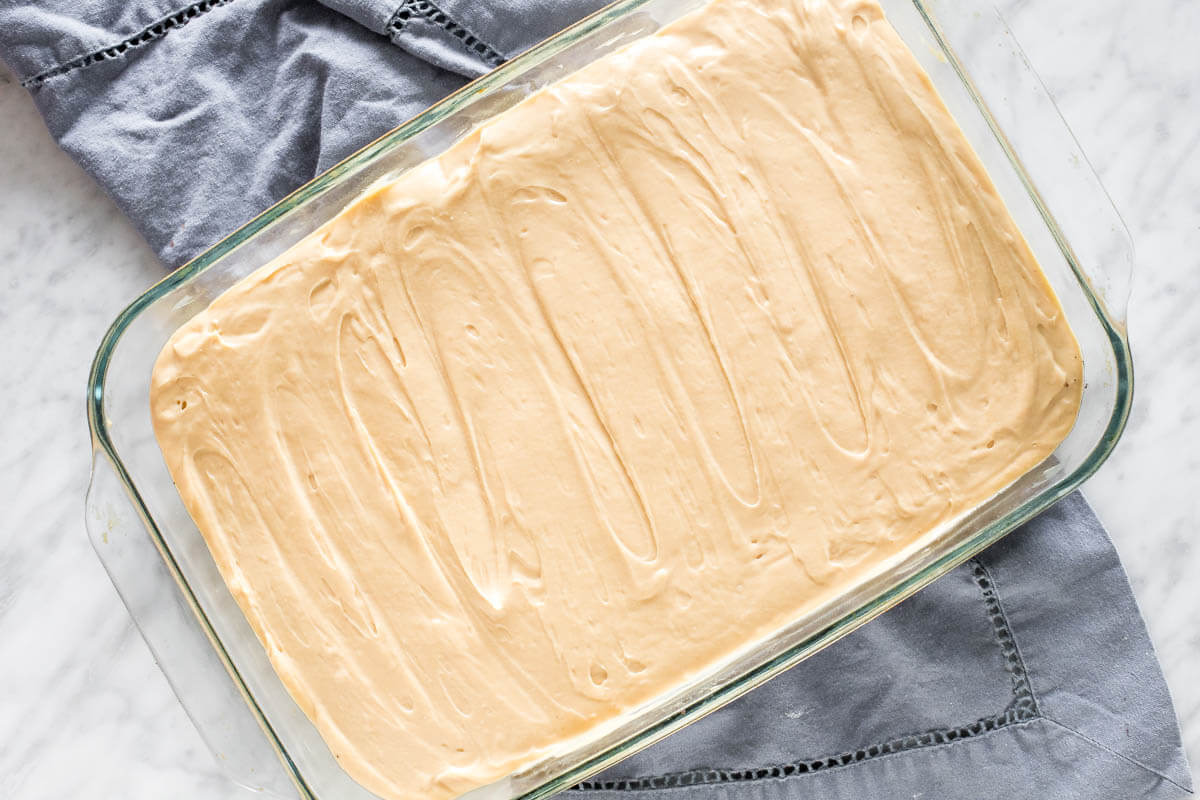
The cheesecake will bake for about 35 minutes. Once it’s done baking, it should look almost set except for in the very middle. If you give the pan a nudge, it should still wobble a little, but it shouldn’t look like liquid.
Chilling & Serving
With any cheesecake, it’s so important for the cheesecake to cool slowly and chill in the fridge for at least 6 hours first. This allows the cheesecake to set properly and actually improves the flavor. The cream cheese and peanut butter marry together into the perfect flavor as the cheesecake chills.
Once the cheesecake is done baking, I like to turn off the oven and open the oven door. Let it sit in the turned-off oven for about 30 minutes to slowly cool, then cool outside of the oven until it’s room temperature. Cover the pan, then chill in the fridge for at least 6 hours, or preferably overnight.
Because cooling the cheesecake slowly and chilling is absolutely imperative, I typically make the cheesecake the night before I plan to serve it. Then at some point during the next day, I’ll make the chocolate topping and pop it back in the fridge.
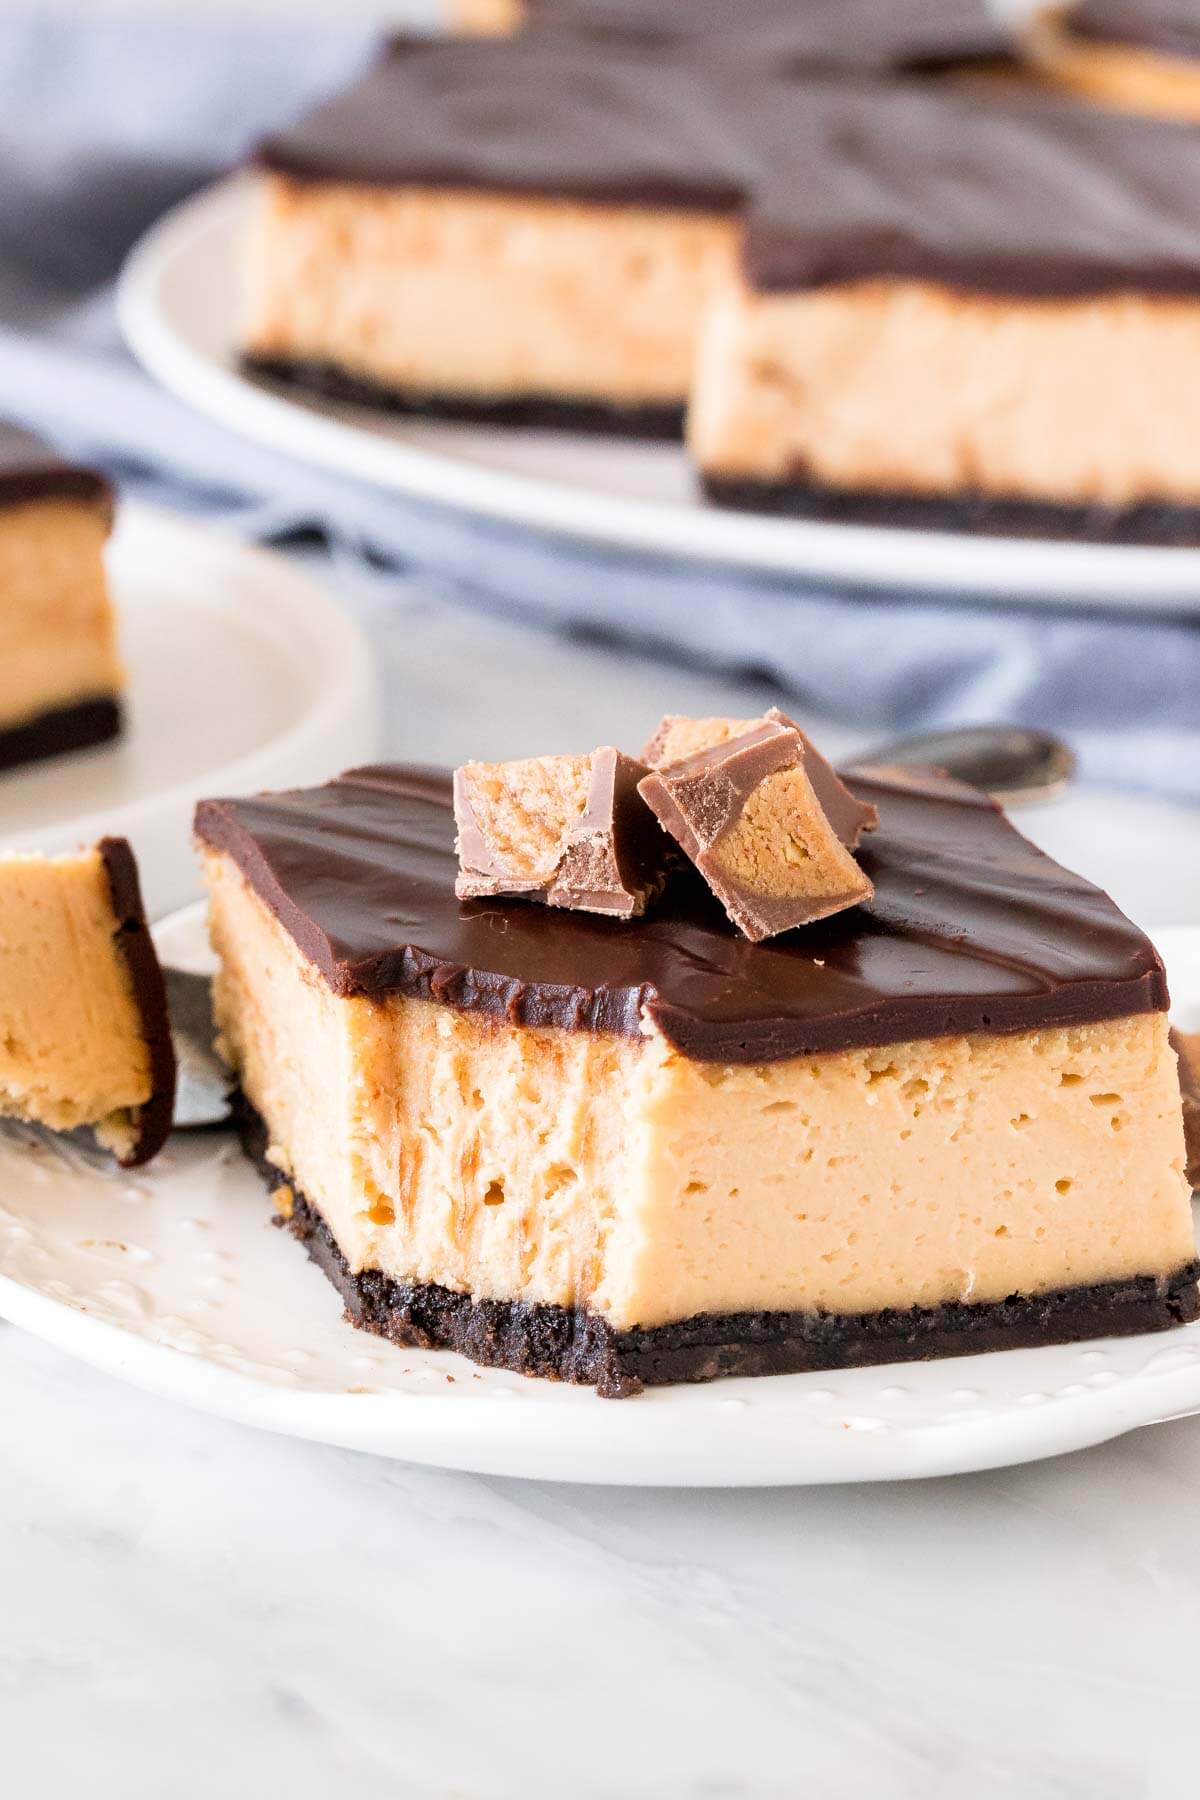
The chocolate layer is a simple ganache made with chocolate and cream. You can leave it off if you prefer, or make it right before serving and let your guests drizzle a little over their own piece. A few chopped peanut butter cups on top also never go amiss 😉
Creamy, tangy peanut butter flavor, silky smooth texture, cookie crust, and chocolate on top – this peanut butter cheesecake is my idea of peanut butter heaven.
And if you love peanut butter, make sure to try these other peanut butter treats:
- No-Bake Peanut Butter Pie
- Drumstick Cake – AKA Peanut Butter Ice Cream Cake
- No-Bake Peanut Butter Cheesecake
Peanut Butter Cheesecake Squares
Ingredients
For the Oreo Cookie Crust
- 34 Oreo cookies, wafers and filling
- 1/2 cup unsalted butter, melted
For the Peanut Butter Cheesecake
- 24 oz brick-style cream cheese*, softened to room temperature
- 1 cup granulated sugar
- 1 and 1/4 cup creamy peanut butter*, do not use natural or whipped
- 1 teaspoon vanilla extract
- 3/4 cup sour cream*, room temperature
- 3 large eggs, room temperature
For the Topping
- 8 oz dark chocolate*, I like to use 50% or semi-sweet works too
- 1/2 cup whipping cream, 33-35% MF
Instructions
- Preheat the oven to 325F (160C) degrees. Lightly spray a glass or ceramic* 9x13 inch pan (23x33 cm) with cooking spray.
Oreo Crust
- Pulse the cookies (wafers and filling) in a food processor until they're fine crumbs. Alternatively, place the cookies in a freezer bag and crush them with a rolling pin.
- Mix the crumbs with the melted butter.
- Press the mixture into the bottom of the lightly greased pan to form an even layer.
- Bake in the preheated oven for 10 minutes, then remove the pan from the oven (leaving the oven turned on).
Peanut Butter Cheesecake Filling
- In a very large bowl, beat the cream cheese and sugar until very smooth. Turn off the mixer and scrape down the sides of the bowl as needed.
- Beat in the peanut butter and vanilla extract. Ensure that there are no lumps of cream cheese at the bottom or on the sides of the bowl.
- Mix in the sour cream until smooth.
- Whisk the eggs together in a small bowl. With the mixer on low speed, beat the eggs into the cheesecake batter until just combined. Be very careful not to over mix.
- Pour the cheesecake batter over the cooked crust and smooth the top.
- Bake in the preheated oven for about 35-40 minutes, or until the top looks almost set, except for in the middle. If you see any large cracks forming, your cheesecake is definitely done baking. If the cheesecake still has a wobble to it, that's ok. If you nudge the pan and it shakes and looks liquidy, it's not done baking.
- Then turn off the oven and open the oven door about 6 inches. Allow the cheesecake to cool in the oven (turned off) for about 30 minutes. Remove the cheesecake from the oven and continue to cool until it reaches room temperature. Then cover the cheesecake pan and chill in the fridge for at least 6 hours or preferably overnight.
Chocolate Ganache Topping (& Serving)
- After the cheesecake has chilled in the fridge for at leat 6 hours, it's time to make the topping.
- Finely chop the chocolate into very small pieces and place in a heatproof bowl.
- Heat the cream (either in the microwave or in a saucepan until almost boiling).
- Pour the very hot cream over the finely chopped chocolate and let sit for 2-4 minutes, then whisk until smooth. If not all the chocolate has quite melted, microwave for 30-second intervals at medium power (not high/standard) and whisk until smooth.
- Pour the ganache over the cheesecake and smooth the top. Return to the fridge until you're ready to serve.
- Slice the cheesecake with a sharp knife (not a table knife), being sure to slice all the way through the crust. Wipe off the knife in between cuts for cleaner slices.
Notes
- Make sure to use full-fat, brick-style cream cheese. Do not use spreadable or lite - they will not provide the desired texture for a cheesecake.
- This recipe requires smooth peanut butter. Peanut butter that can separate - such as natural or homemade will not work, because it can end up distributing oil into the cheesecake.
- The cream cheese, sour cream and eggs should all be room temperature before getting started. Take them out of the fridge, measure out the quantity and let them sit at room temperature for about 30 minutes prior to making the crust.
- Preparation/Make-Ahead Tips: I typically make the cheesecake the night before I plan to serve it, since it needs to chill in the fridge for at least 6 hours before serving. I'll then add the chocolate ganache topping in the morning or afternoon of the day I plan to serve it. Then pop it back in the fridge until I'm ready to serve.
- Store leftovers coved in the fridge for up to 5 days.
- Nutrition information is an estimate only and based on 1 piece, assuming the pan is sliced into 15 equal pieces. 15 pieces will provide very generous slices per person.


Do you have to bake the Oreo crust or can you leave it just as is?
You don’t necessarily have to – it just helps to keep the crust a little crunchier.
Looks scrumptious!
Oh! These bars just look perfect! Love the chocolate on top!
Yes. Yes to every little tiny bit of this. I am totally obsessing- and I know my whole family is going to, too!
Thanks Karly! Let me know what you think of the recipe