No Bake Chocolate Pie
I may receive compensation in the form of payment or products to supplement my posts, but all opinions remain my own. Read our disclosure policy.

This no bake chocolate pie is rich, fudgy, and seriously delicious. The crust is no bake and made with Oreo cookies. Then the filling is a chocolate ganache that’s silky smooth. Top it off with whipped cream and berries for the perfect dark chocolate treat.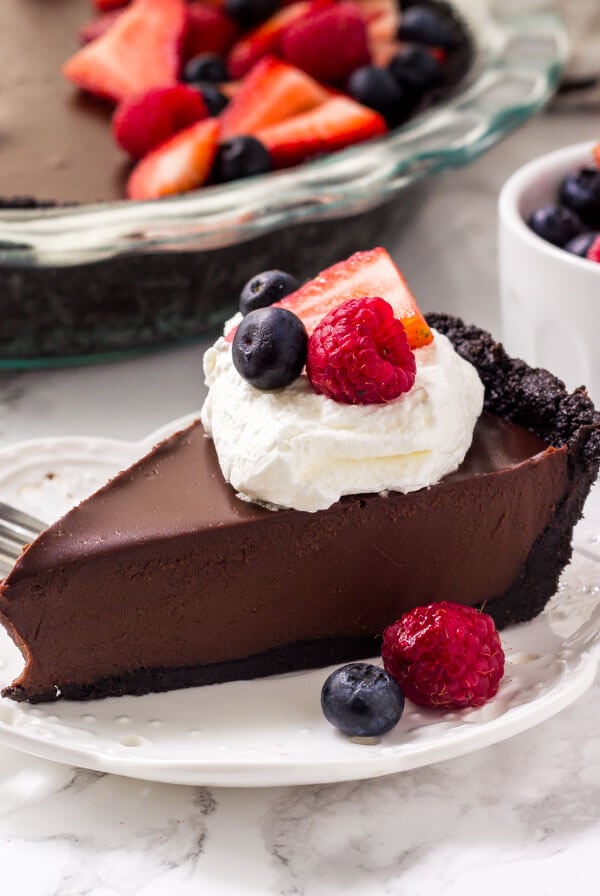
If you’re looking for a chocolate pie recipe that’s rich, decadent, and for true chocolate lovers only – then this no bake chocolate pie is for you. It’s like biting into a piece of silky, smooth, extra creamy chocolate fudge. And tastes gourmet – even though it’s crazy simple to make.
No Bake Chocolate Pie Recipe
 For this chocolate cream pie recipe, you only need a few simple ingredients.
- Oreo Cookies. You’ll use the wafers and filling.
- Butter – it’ll go in the curst and in the pie filling. Make sure to use real butter because the filling won’t set properly if you use margarine.
- Dark chocolate – I typically use 70% cocoa, but anywhere between 50%-80% works. The higher the percentage you use, the richer the pie will be.
- Milk chocolate.
- Corn syrup. By using just a little corn syrup makes the pie extra smooth and gives a glossy finish.
- Heavy cream. You’ll want about 33-35% MF.
To make the crust, first crush the cookies. You can either do this in a food processor or blender. Or place the cookies in a Ziploc bag and bash them with a rolling pin. Then mix the cookies with 6 tablespoons of melted butter and press the mixture into the bottom and up the sides of a 9 inch pie plate. Pop the crust in the freezer as you make the filling. 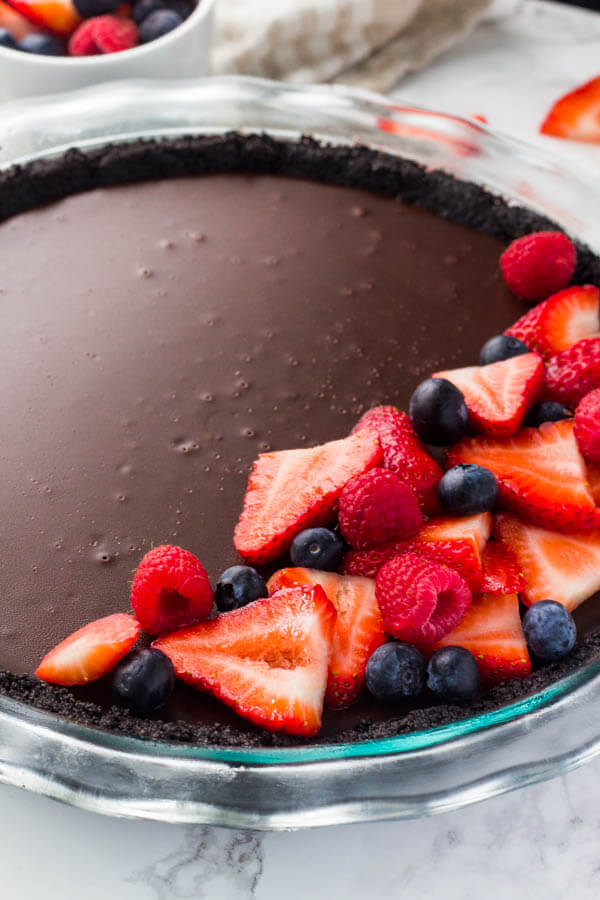
For the filling, chop the chocolate and place it in a large heatproof bowl along with the butter and corn syrup. Then add the cream to a saucepan and bring it to a simmer. Once it starts to gently simmer, remove it from the heat and pour the cream over the chocolate and butter.
Cover the bowl with clingfilm and let it stand for 3 minutes. Then whisk the mixture together until it becomes smooth and no longer looks milky.
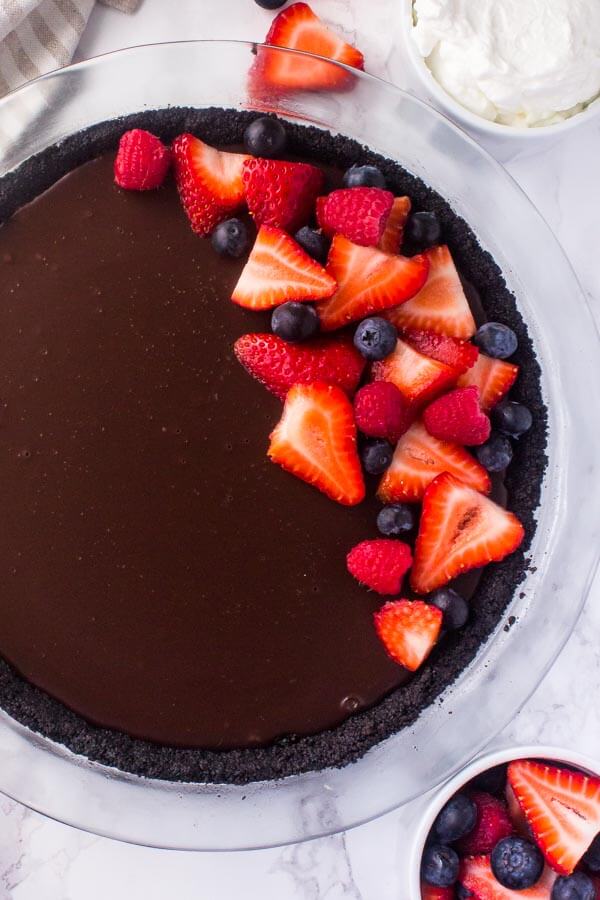
Carefully pour the chocolate into the pie crust, and place it in the fridge for 2 hours or overnight to firm up.
Tips for Making This No Bake Chocolate Pie
- Make sure to use quality chocolate. Because the dark chocolate provides most of the flavor – it’s important to use one that doesn’t taste waxy or overly sweet. I typically use Callebaut or Lindt chocolate bars.
- Do not use chocolate chips. Chocolate chips are made with stabilizers to prevent them from melting – therefore your pie can become lumpy instead of smooth.
- If you find that everything isn’t quite melting together properly, reheat the mixture using a double boiler. Place the bowl over top of a saucepan with 1/2 inch of simmering water, and gently whisk as the mixture melts. Just make sure the bottom of the bowl isn’t touching the water.
- This pie freezes well. You can store it in the fridge for 5 days, or in the freezer for about a month. Then thaw in the fridge overnight.
- Cut the pie with a sharp knife. I recommend dipping the knife into a cup of hot water then drying it off before cutting into the pie. This helps to slightly melt the filling for a smoother cut.
- If the pie has been in the fridge overnight or for longer, take it out about 20 minutes before before serving for easier slicing.

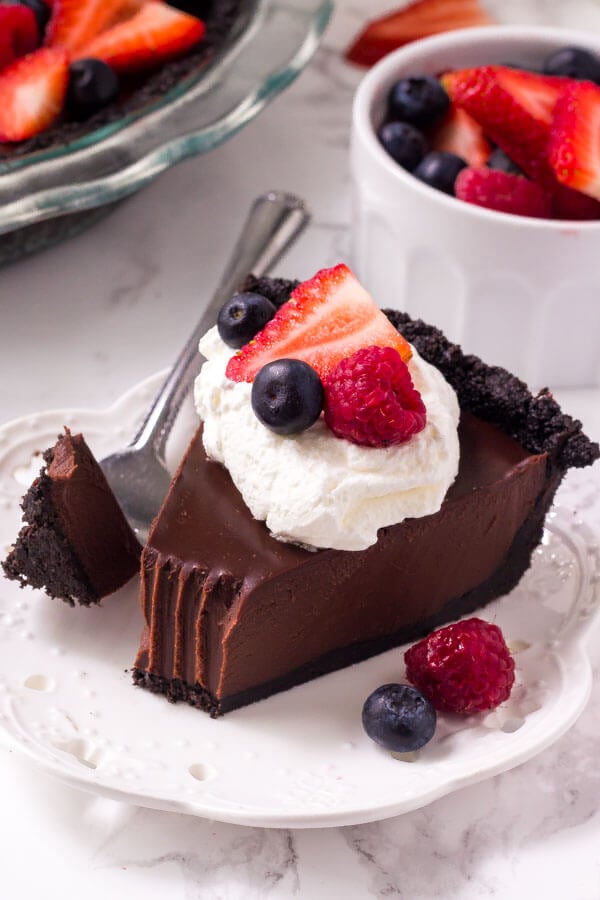
I like to top each slice with whipped cream and fresh berries. But it’s also delicious plain, or with a drizzle of salted caramel and a little sea salt. It makes for a beautiful dinner party dessert, and is seriously delicious.
So if you love desserts that are:
- Rich
- Filled with chocolate
- Taste gourmet
- Super easy to make
- And not for the chocolate faint of heart
Then this no bake chocolate pie is definitely for you! 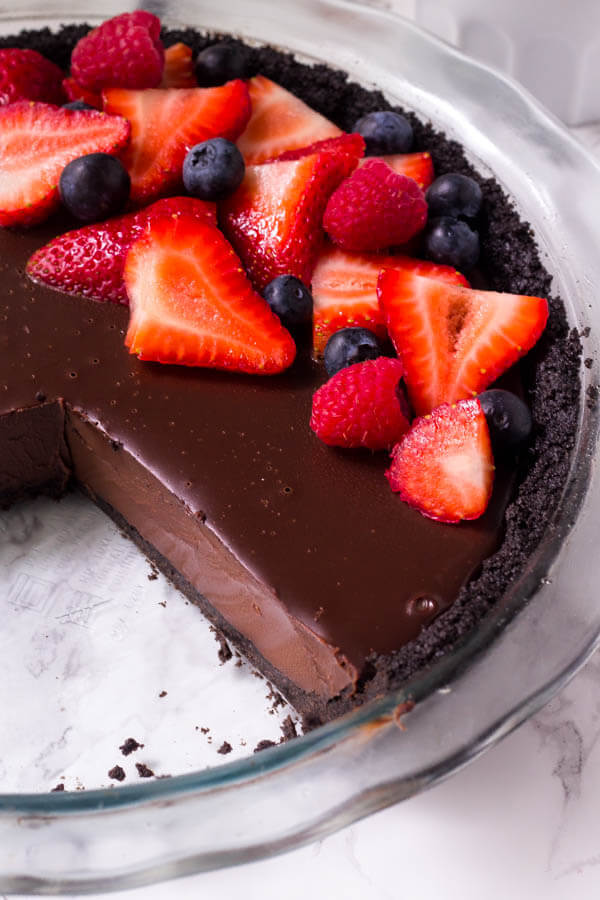

No Bake Chocolate Pie
Ingredients
Oreo Crust
- 25 Oreo cookies, , wafers and filling
- 6 tablespoons unsalted butter, , melted
Chocolate Filling
- 10 oz dark chocolate, , 50-80%
- 6 oz milk chocolate
- 6 tablespoons unsalted butter, , in 6 pieces
- 1 tablespoon corn syrup
- 1 3/4 cups heavy cream
Instructions
Oreo Crust
- Crush the Oreos in a food processor, or place them in a Ziploc bag and bash with a rolling pin.
- Mix the crushed cookies with the melted butter.
- Press into the bottom and up the sides of a 9-inch pie plate.
- Place in the freezer as you make the filling.
Chocolate Filling
- Chop the chocolate and place in a large heat-proof bowl along with the butter and corn syrup.
- Bring the cream to a gentle simmer in a medium saucepan over medium-low heat.
- Once the cream gently starts to boil, remove from the heat and pour over the chocolate.
- Cover the bowl and let sit for 3 minutes.
- Whisk everything together until it's glossy and no longer looks milky.
- Pour into the prepared crust and place the pie in the fridge for at least 2 hours before slicing.
- Serve with whipped cream and berries.
Notes
Nutrition
For more easy pie recipes, make sure to try:

I don’t normally leave comments for recipes BUT I made this pie using the recommended amount of chocolate in a normal pie tin (disposable cause holidays!) and I had an entire small Pyrex container FULL left over melted chocolate. That being said I could have 3/4 the recipe and been fine, or if making two practically halved it.
Then I used HEB brand dark chocolate. I don’t know if anyone reading this is a Texan, but HEB is life here. And it worked brilliantly! Incredibly glossy and beautiful. I even used the bit of extra crust to frame out a Christmas tree with a cookie cutter once the pie semi-set! My family and my family friends (who got their own pie) adored it and raves about it. So go by gut or price if you’re a broke college student like myself just trying to see to everyone having a extra chocolately Christmas in some hot weather.
Regardless, I loved this recipe and it was exactly what this warm Texas Christmas was needed. I highly recommend! (Without the extra chocolate I shouldn’t have saved for just me! Haha!)
Should the filling be runny before putting it in the pie plate?
Yes! As it sets it will firm up