Red Velvet Chocolate Chip Cookies
I may receive compensation in the form of payment or products to supplement my posts, but all opinions remain my own. Read our disclosure policy.

These red velvet chocolate chip cookies have the most delicious red velvet flavor and are filled with white chocolate chips. They turn out soft and chewy with a beautiful red color makes them perfect for Valentine’s Day, Christmas or whenever you’re craving red velvet. 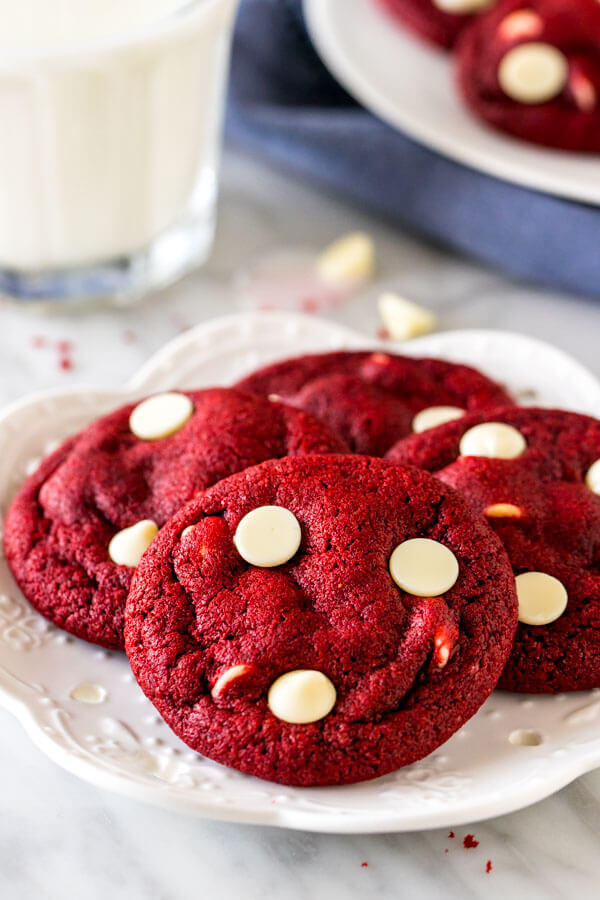
**This recipe was originally published February 2016, and updated January 6, 2020 with updated photos and recipe tips**
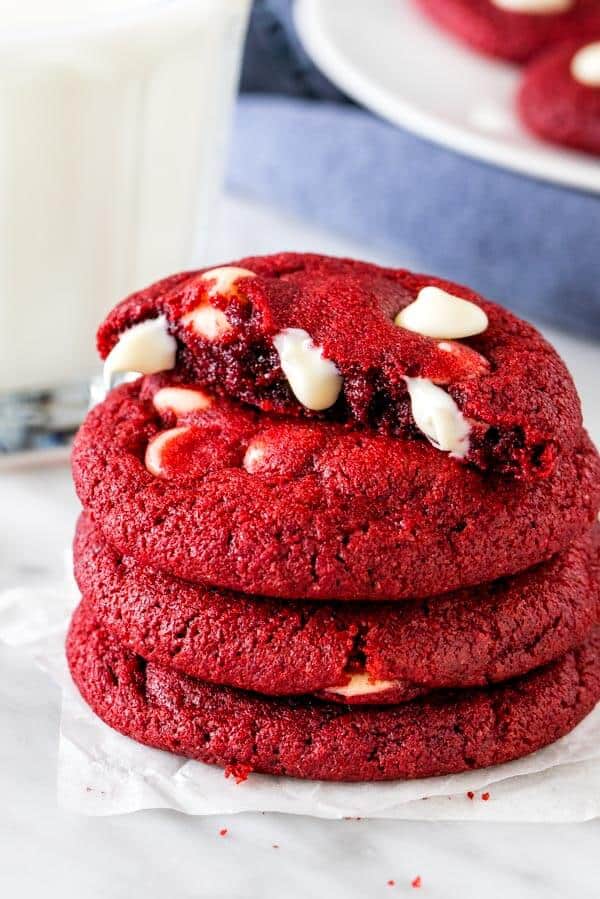
I’m a totally sucker for red velvet. And these red velvet chocolate chip cookies are the perfect combination of classic red velvet cake and chewy chocolate chip cookies. They have:
- a hint of cocoa powder for the perfect red velvet flavor
- a beautiful, deep red color
- a soft and chewy texture
- and tons of white chocolate chips (or whatever kind of chocolate chips you prefer)
They’re made from completely from scratch, and the recipe is no more difficult than making chocolate chip cookies.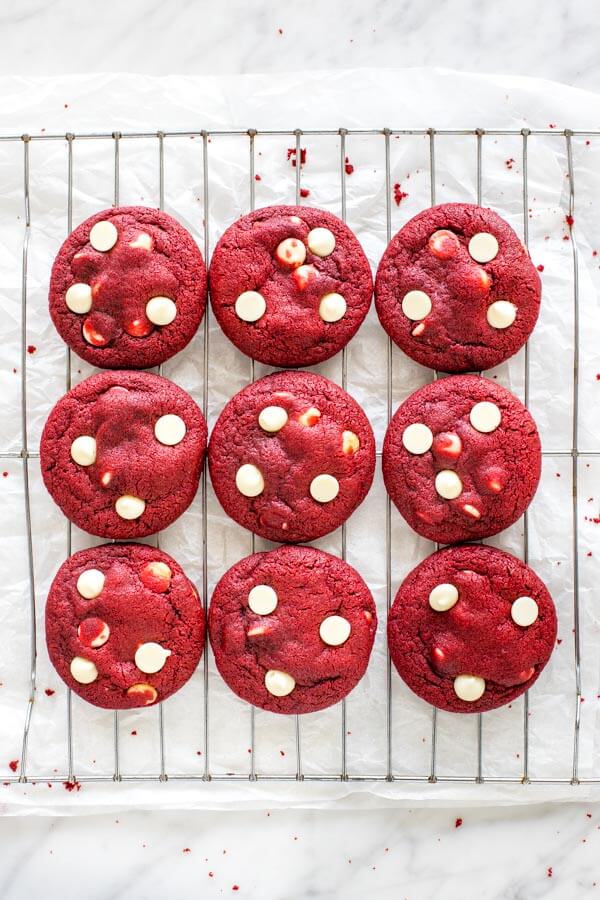
Red Velvet Chocolate Chip Cookie Recipe
Ok – let’s talk cookie baking.
For this recipe, you’ll start by whisking together the dry ingredients: all-purpose flour, cocoa powder, cornstarch, baking soda and salt. Red velvet has just a hint of cocoa to give it a very mild chocolate flavor. I like to use natural cocoa powder (as opposed to Dutch-process cocoa powder) in these cookies. Then the cornstarch makes the cookies extra soft.
Then in a separate bowl – you’ll cream together the butter, brown sugar and white sugar. Using real butter adds flavor, while the brown sugar adds moisture to the dough to make cookies chewy. You’ll mix in the egg for tenderness, a little vanilla extract and the red food coloring. You can use gel or liquid food coloring – and add 2-3 teaspoons total. I used 3 teaspoons to get the bright color pictured.
Then you’ll carefully mix the dry ingredients into the butter mixture, and last but not least, stir in the white chocolate chips. 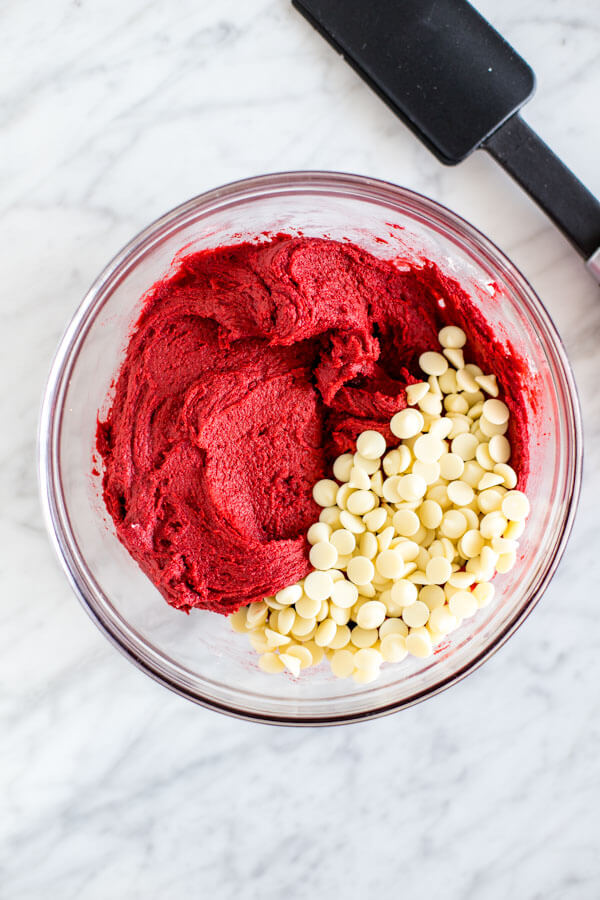
Then it’s time to chill the dough. The dough for this recipe is quite soft due to the red food coloring – so chilling is 100% necessary to reduce spreading and ensure your cookies aren’t too thin. I pack my cookies full of chocolate chips – so they need to be thick. The dough will need to chill covered in the fridge for at least 3 hours, or up to 24 hours.
Baking Tips & Tricks
- If your dough feels especially sticky, stir in 1 more tablespoon of flour.
- If the dough is very hard after being chilled, let the bowl sit at room temperature for 10-15 minutes before forming into balls.
- I definitely recommend using a cookie scoop to form the cookies into balls to avoid getting red food coloring on your fingers.
- When the cookies come out of the oven – place a few chocolate chips on top of each cookie for the perfect “eat me” look.
- For extra soft cookies, underbake them slightly. The tops should be almost set when you take the cookies out of the oven – they’ll continue baking on the cookie tray as they cool on the cookie tray.
- This recipe can be easily doubled to make about 40-44 cookies total.
If you’re really craving red velvet cookies, but need to save time – check out these red velvet cake mix cookies. Or for more red velvet treats – be sure to try:
- Red Velvet Sandwich Cookies – like a soft and chewy red velvet Oreo!
- Red Velvet Cupcakes
- Easy Red Velvet Cake

Red Velvet Chocolate Chip Cookies
Ingredients
- 1 1/2 cup all-purpose flour, aka plain flour
- 2 tablespoons cocoa powder
- 1 and 1/2 teaspoons cornstarch
- 1/2 teaspoon baking soda
- 1/4 teaspoon salt
- 1/2 cup unsalted butter, softened to room temperature
- 1/3 cup brown sugar, lightly packed
- 1/2 cup white sugar
- 1 large egg
- 1 teaspoon vanilla
- 2-3 teaspoons red food coloring, liquid or gel
- 3/4 cup white chocolate chips
Instructions
- In a large bowl whisk together the flour, cocoa, cornstarch, baking soda & salt.
- In a separate large bowl beat the butter and sugars together until light & fluffy.
- Beat in the egg, vanilla extract and food coloring.
- With the mixer on low, beat in the flour mixture about 1/2 at a time.
- Turn off the mixer and stir in the chocolate chips.
- Cover the bowl with plastic wrap and refrigerate for 3 hours, or overnight.
- When ready to bake, preheat the oven to 350F degrees. Line 2 cookie sheets with parchment paper or a silicone baking mat.
- Using a cookie scoop, form dough into balls of about 1- 1.5 tablespoon in size and place 2 inches apart on the lined cookie sheets. Note: if the dough is too hard to form into balls, let the bowl sit on the counter for 10-20 minutes first.
- Bake 1 cookie sheet at a time on the middle rack of the oven for 7-9 minutes, or until the tops look just set.
- Remove from the oven and optionally, place a few white chocolate chips on the tops of each cookie. Cool on the cookie tray for 10 minutes, before transferring to a wire rack to continue cooling.
Notes
Nutrition


This recipe was great! It was just the perfect amount of chewy and had a nice flavour. The only thing I found was that they did not spread in the oven at all. They still remained ball shaped. I even tried flattening the balls out before putting them in and that did nothing. In the end I had to press them down with a spatula. It worked but also made them not as pretty with all of the cracks around the edges. I also doubled the recipe and came out with 20 regular sized cookies instead of the 40 that was mention.
can the baked cookies be frozen?
Yes, the cookie dough balls will just need 1 or 2 extra minutes.
Pardon, to clarify I meant the cookies that are already baked not the cookie dough.
Do you have to use butter?
I have only tested the recipe with butter, so I can’t be sure of the results with a butter substitute
Delicious cookies! Such an easy recipe to follow, I ended up chilling my dough overnight and they came out wonderfully soft and they look great!
Hi. I made these cookies last night and followed the exact recipe which turned out great, the soft and chewy texture but sadly it turned too soft overnight. It became almost cakelike and the chewy texture wasn’t there anymore. Could you tell me how to fix it?
Hi there. Which shade of wilton gel color would you suggest in order to get this bright color? I don’t want my cookies to be brown.
I typically just use the one called Red in gel. Using natural cocoa powder instead of dutch process (ie don’t use the Hershey’s Special Dark) also helps to keep the cookies from not looking more brown.
hi.. is the white sugar meant to be whole or powdered?
White sugar refers to granulated sugar – sometimes referred to as table sugar, as opposed to icing/powdered sugar.