Lemon Brownies – AKA Lemon Blondies
I may receive compensation in the form of payment or products to supplement my posts, but all opinions remain my own. Read our disclosure policy.

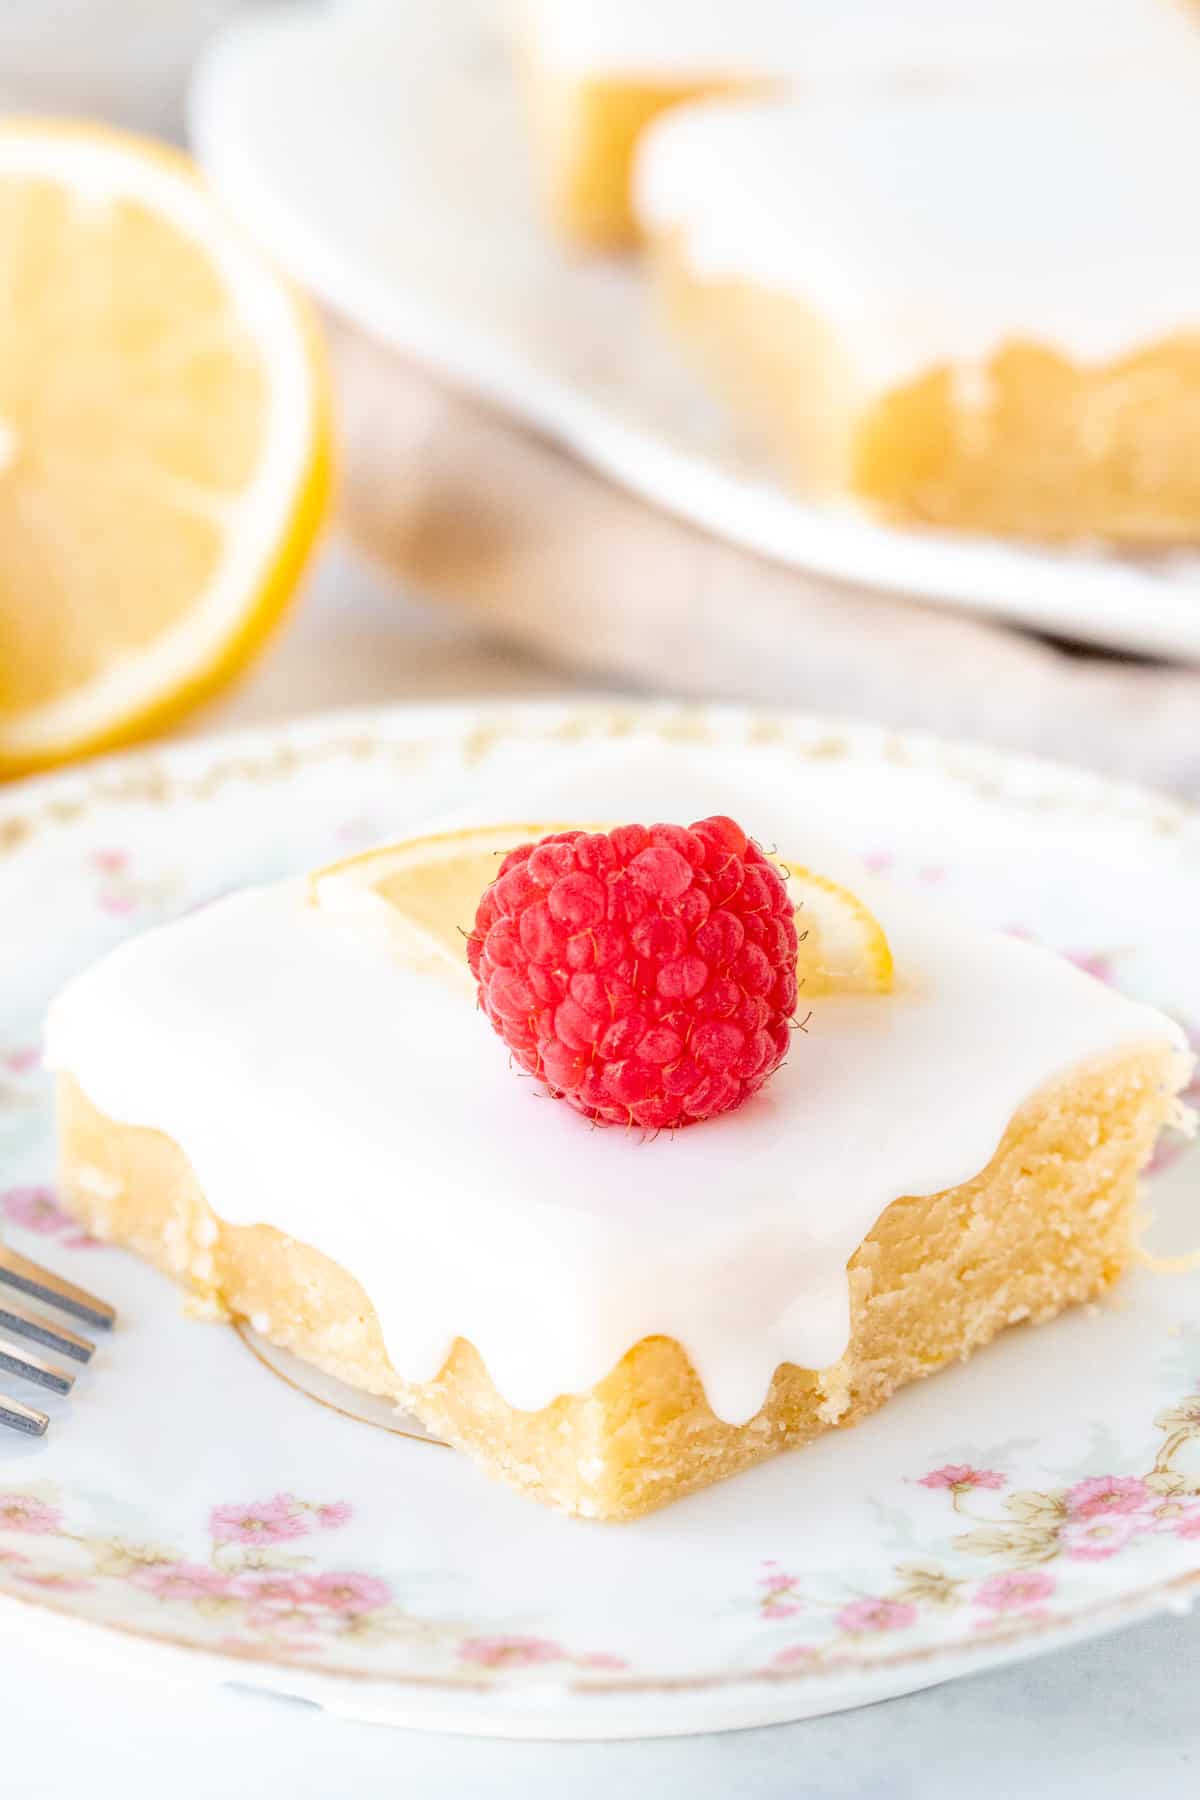
Lemon brownies are insanely delicious with a fudgy texture, bright lemon flavor and sweet lemon glaze. They’re sometimes called lemonies or lemon blondies – but either way they mean delicious. The recipe is simple and straight forward, and you end up with a delicious lemon dessert that’s perfect for spring and tastes like sunshine. 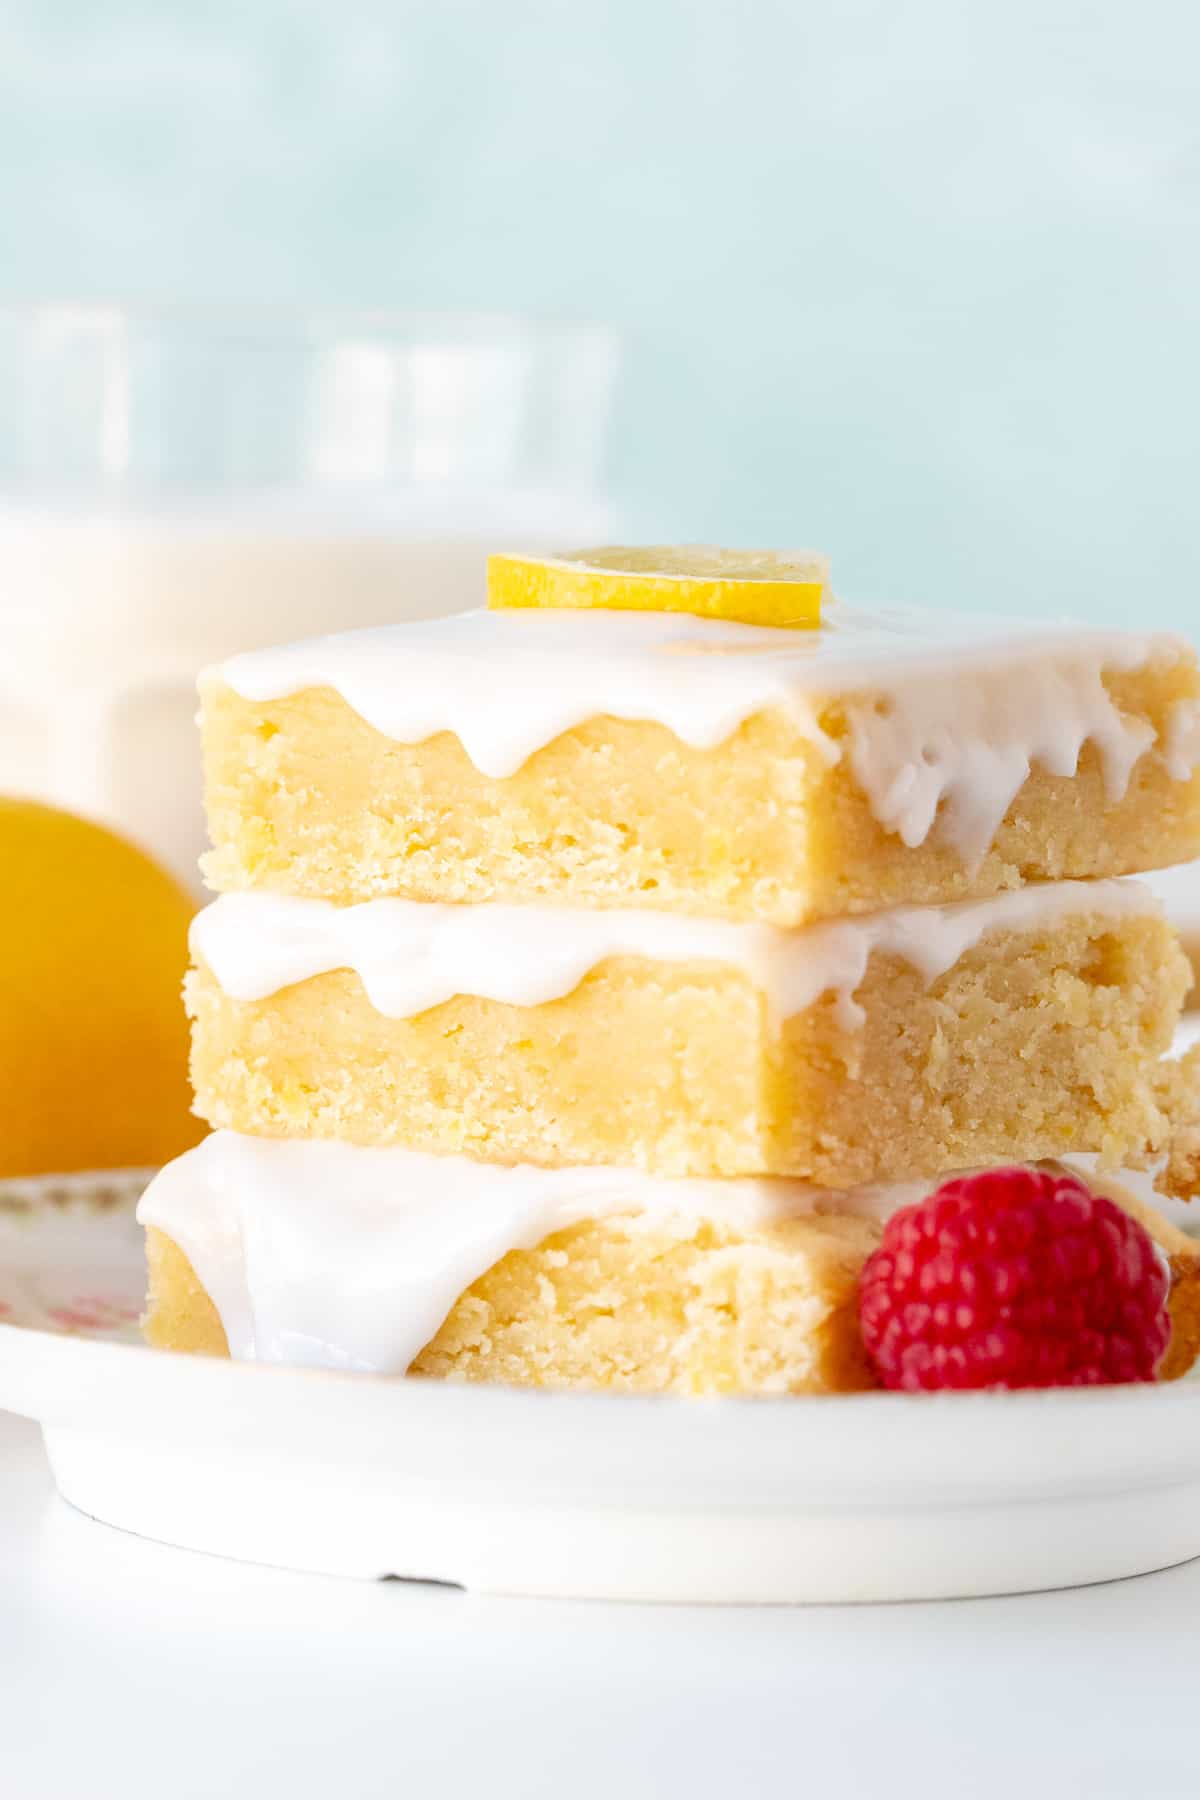
**This post was updated May 6, 2023 with new photos and recipe tips**
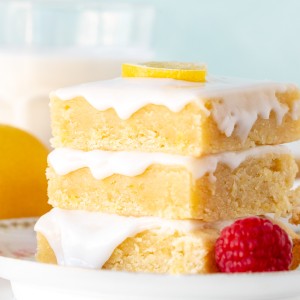
These lemon brownies are probably one of the most delicious bar recipes you could imagine. If you love classic lemon bars or lemon loaf – then you’re going to love these. They have a dense, chewy, fudgy texture that’s similar to your favorite blondies or brownies. Then the lemon flavor comes from both fresh lemon zest and lemon juice for a sunshine-y flavor that’s sweet, a little tart, but never sour. They’re topped with lemon glaze for the perfect lemon dessert.
I always think lemon desserts are the perfect thing for spring – because after a cold and dreary winter – lemon is the kind of bright, sunshine-y, happiness that’s calling my name. And seriously, after taking a look at one of these beauties, I think they’re calling your name too. No matter what day of the year it is.
Please eat me. – sincerely, lemon brownie
Lemon Brownie Recipe
These lemon brownies are an easy, fudgy, one-bowl kind of deal. (Well, apart from the glaze). For the ingredients you’ll need:
- 1/2 cup unsalted butter. I always use unsalted butter in baking because then I can adjust the amount of salt as needed. But if salted is all you have on hand, it will work too.
- 3 ounces white chocolate. The white chocolate is key for helping these lemon brownies have a dense, fudgy and chewy texture.
- 3/4 cup granulated sugar. Or caster. I typically bake with caster sugar because it is finer and dissolves more easily in baking. But I realize that most people keep granulated in the cupboard.
- 2 large eggs. Make sure your eggs are at room temperature – cold eggs can curdle the mixture, which we definitely don’t want.
- 2 tablespoons lemon zest
- 2 tablespoons freshly squeezed lemon juice. Make sure to use freshly squeezed lemon juice and nothing from a bottle. Bottled lemon juice is far too sour for baking with.
- 1 1/4 cup all-purpose flour. If your flour is lumpy, I recommend sifting it first.
- 1/4 teaspoon salt to balance out the sweetness.

Note: There is no baking powder or baking soda in this recipe. Both baking soda and baking powder help baked goods rise for a lighter texture. Because we want brownies and blondies to be dense and fudgy – there is no baking powder or baking soda in this recipe.
I’m including step-by-step tips with photos below.
- Start by preheating the oven to 325F and lining an 8×8 inch (20×20 cm) pan with baking paper or aluminum foil. I prefer to line the pan so that there’s an overhang around the sides. This way you can lift the bars out of the pan to slice after the bars have cooled and you’re ready to slice. Alternatively, you could simply grease the pan.
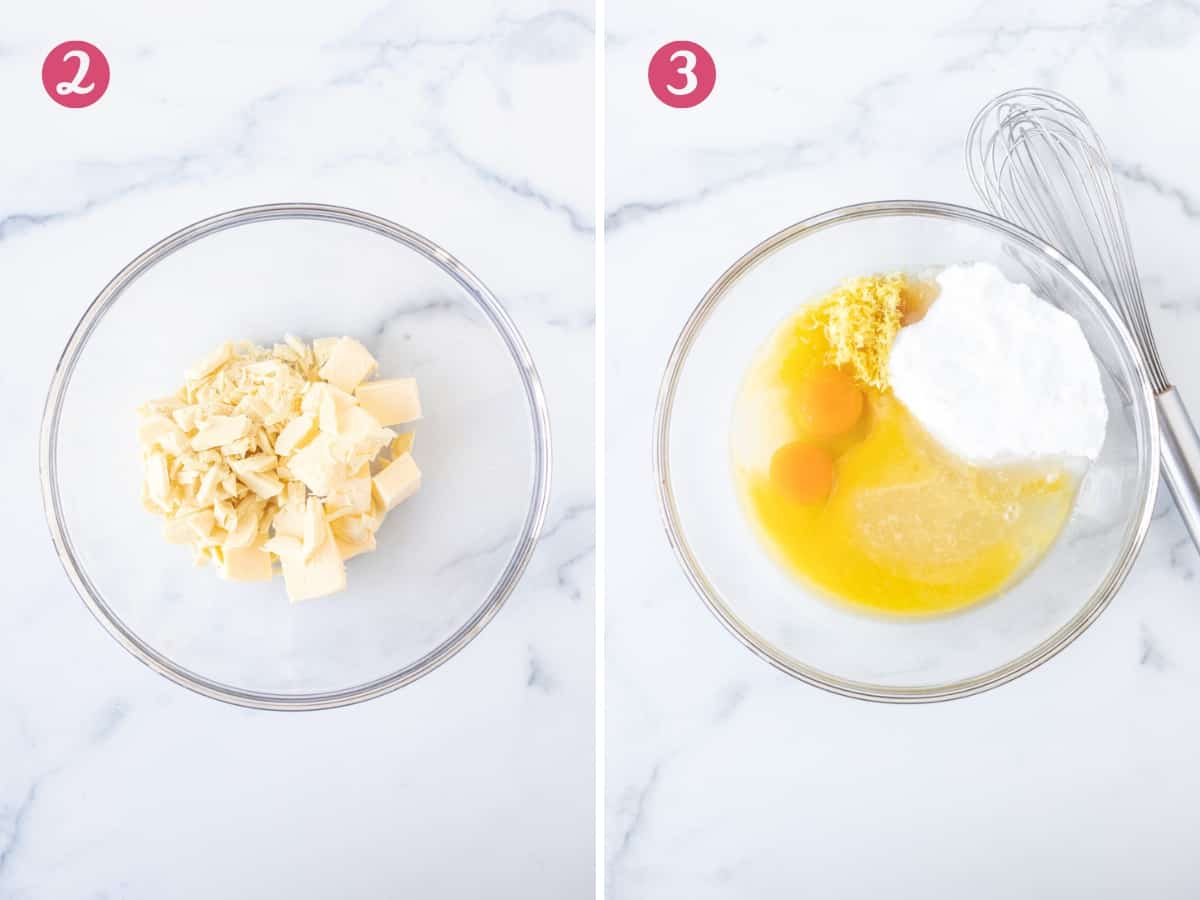
- Finely chop the white chocolate and place it in a heatproof bowl along with the butter cut into chunks. Microwave in 45-second intervals on medium power (not high power, which is often the default). Between each interval, remove the bowl from the microwave and stir until the mixture is smooth. It’s important to do this very slowly and on a low to medium setting – otherwise the chocolate can bake and become grainy.
- Whisk in sugar, eggs, vanilla extract, lemon juice and lemon zest. Before doing this, make sure that the mixture isn’t hot – otherwise the hot butter can end up cooking the eggs.

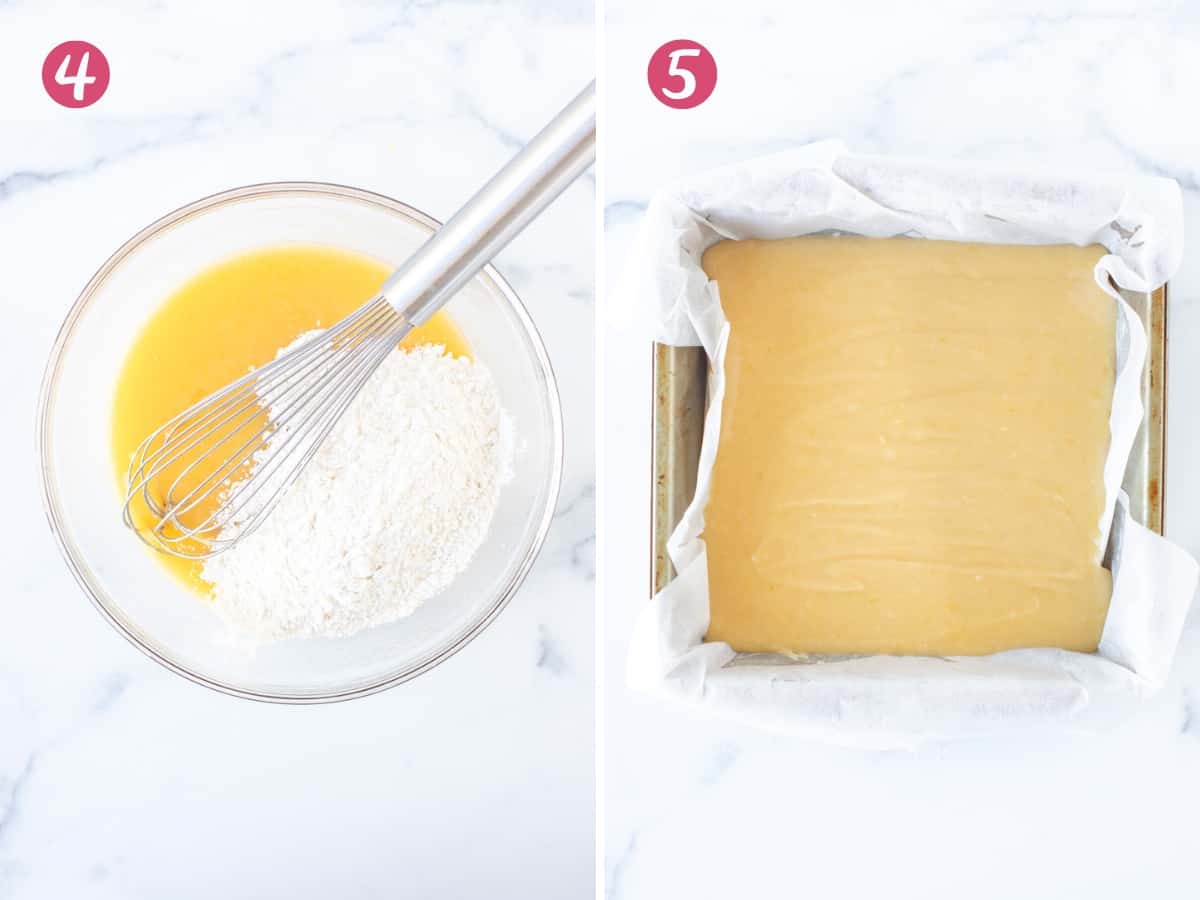
- Then whisk in the flour and salt until no lumps remain. Be sure to stop whisking as soon as everything is combined. The more you stir and whisk the batter, the more air will get in. More air will lead to a lighter and fluffier texture.
- Spoon/pour the batter into your prepared pan and smooth the surface.
- Then bake in the preheated oven for 22-25 minutes, or until the top looks set and an inserted toothpick comes out clean or with a few damp crumbs – the same as when you’re baking brownies.
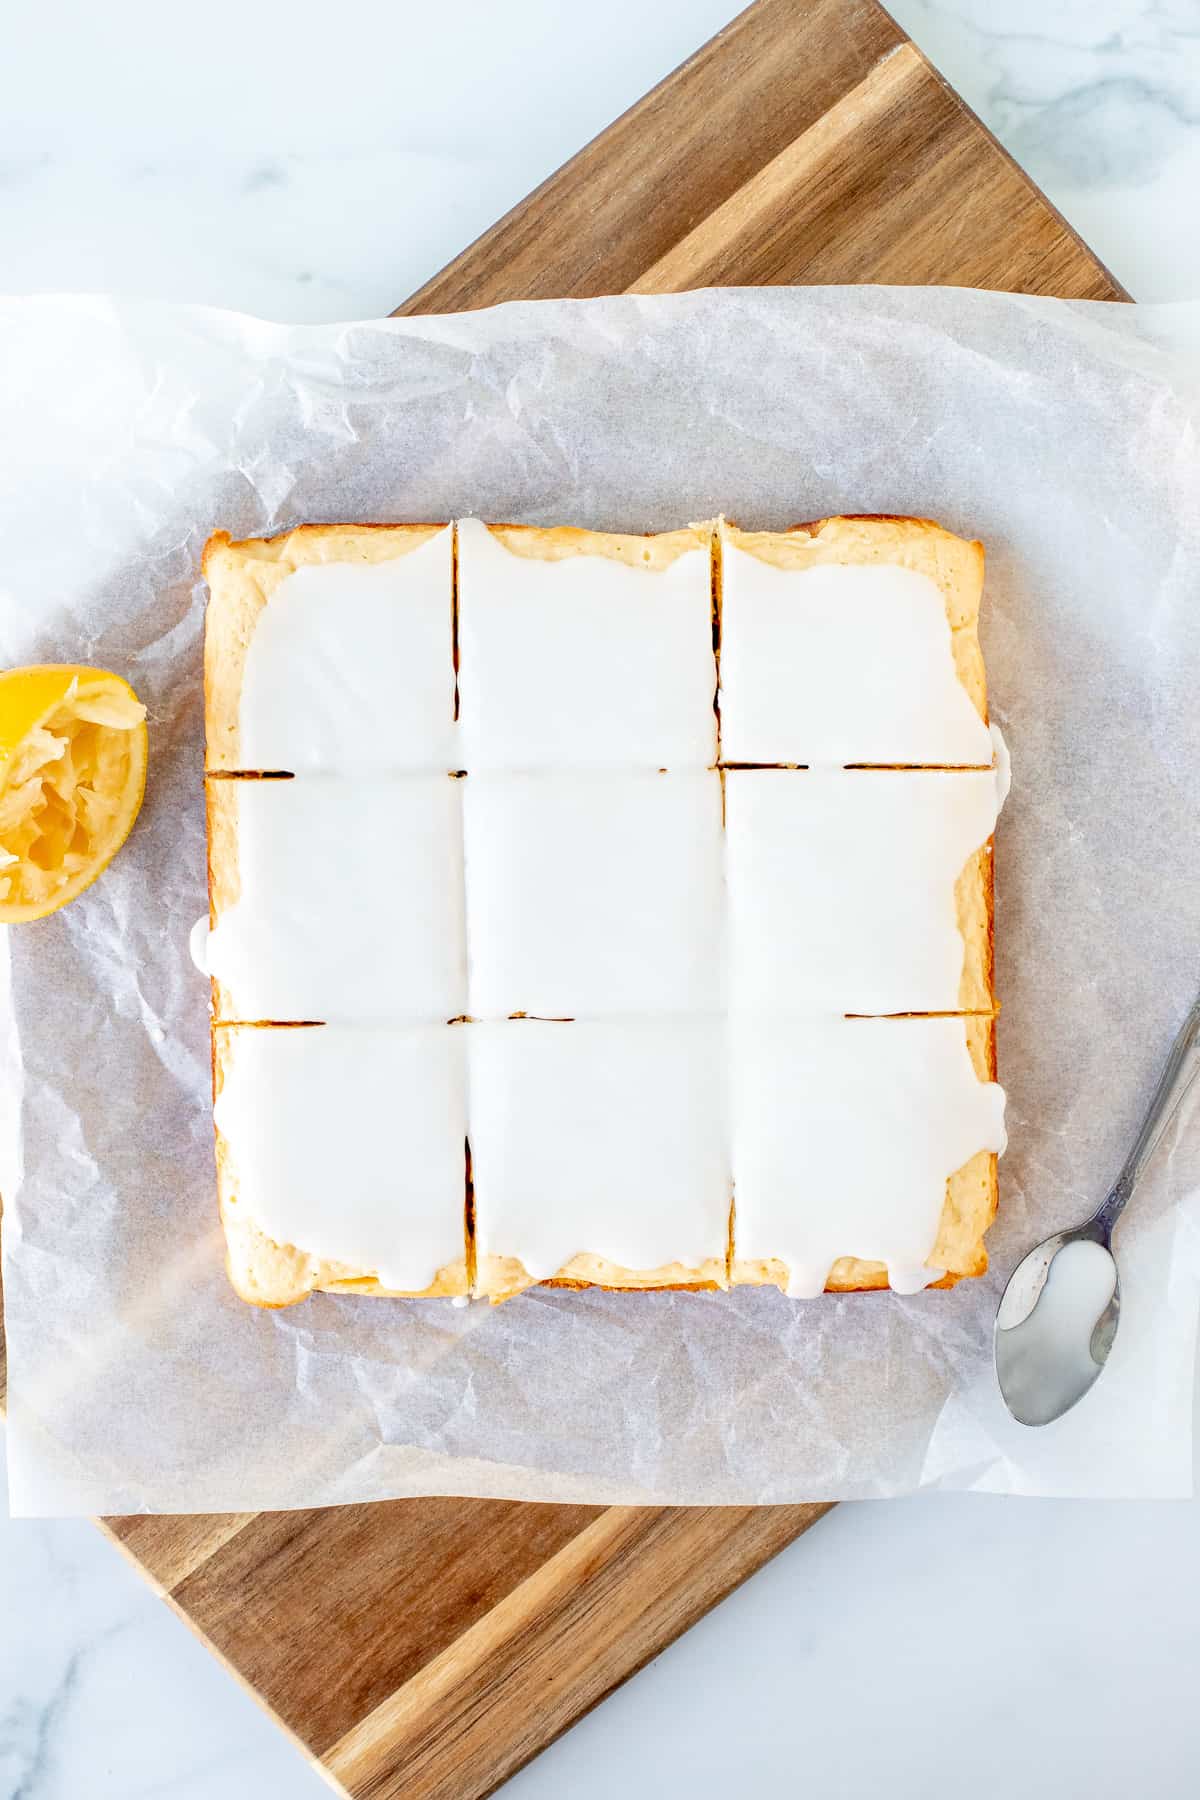
You’ll let the bars cool fully before adding the glaze. The glaze is simply fresh lemon juice whisked together with powdered sugar (AKA icing sugar). I like to lift the bars out of the pan using the overhang of the parchment paper. Then set on a cutting board, peel back the parchment paper and pour the glaze overtop.
Baking Tips
- Do not use lemon juice from a bottle. I find the bottled stuff is way too sour for baking.
- I have been asked if the white chocolate can be omitted from the recipe. I developed this recipe using white chocolate for fudgier, chewier bars that are more similar to brownies in texture. If you really want to omit the white chocolate – then reduce the flour by 1/4 cup (use 1 cup in total) and only use 2 tablespoons of lemon juice instead of 3. The bars will still be tasty, but less dense.
- This recipe can be doubled and made in a 9×13 inch (23×33 cm) pan. The bake time will be between 25-30 minutes.
Freezing & Make Ahead Instructions for Lemon Brownies
- Because the bars need to cool fully before adding the glaze, I often make them the day before I plan to serve. Cool fully, then cover the pan and store at room temperature overnight. Make the glaze and top the bars the day you plan to serve.
- To freeze, bake and cool the brownies. Wrap tightly and then place in a freezer bag. Freeze for up to 2 months, then thaw in the fridge. Glaze the bars before serving.
Whether you call these bars lemonies, lemon brownies or lemon blondies – they’re seriously delicious thanks to the bright lemon flavor, dense and fudgy texture, and sweet lemon glaze. And if you love lemon, then these are definitely for you.
Be sure to check out these other favorite lemon recipes:
- Lemon Cheesecake with Blueberry Compote
- Lemon Loaf
- Lemon Cake Mix Cookies
- Creamy Lemon Pie
- Lemon Raspberry Bars
Lemon Brownies - AKA Lemon Blondies
Equipment
- 8x8 inch (20x20 cm) pan
Ingredients
Lemon Brownies
- 1/2 cup unsalted butter (112 grams)
- 3 oz white chocolate (85 grams)
- 3/4 cup granulated sugar (150 grams)
- 2 large eggs, room temperature
- 2 tbsp lemon zest
- 3 tbsp lemon juice (45 ml) , freshly squeezed
- 1 1/4 cup all purpose flour (156 grams)
- 1/4 teaspoon salt
Lemon Glaze
- 1-2 tbsp fresh lemon juice (15-30 ml)
- 1 1/2 - 2 1/2 cups powdered sugar (165-275 grams)
Instructions
Lemon Brownies
- Preheat the oven to 325F degrees. Line an 8x8 inch pan with parchment paper or aluminium foil, leaving an overhang around the edges. Alternatively, lightly grease the pan.
- Chop the chocolate very finely and place in a heatproof bowl along with the butter. Microwave for 45-second intervals on medium power (not high power, which is often standard). Remove from the microwave between each interval and stir. Repeat the process until smooth.
- Whisk the sugar, eggs, vanilla, lemon zest and lemon juice into the butter and chocolate mixture until no lumps remain.
- Whisk in the flour and salt. Be sure to stop mixing as soon as everything is combined.
- Pour the batter into the prepared pan and smooth the top.
- Bake in the middle of the preheated oven for 22-25 minutes, or until the top looks set and an inserted toothpick comes out clean or with a few damp crumbs.
- Cool the bars in the pan.
Lemon Glaze
- Whisk together 1 tablespoon lemon juice and 1 cup powdered sugar.
- Continue to whisk in a little more powdered sugar at a time until the glaze is opaque but still thin enough to drizzle.
- Drizzle the glaze over the cooled lemon brownies and spread into a smooth layer. Before adding the glaze, I lift the bars out of the pan using the overhang of the parchment paper and place on a cutting board.
Notes
- Lemons: You will need 2-3 lemons for this recipe, for making both the lemon brownies and the glaze.
- Storage: Store in an airtight container at room temperature for up to 4 days, or in the fridge for up to 6 days.
- Nutrition: Details provided are an estimate only and based on 1 brownie with glaze, assuming that pan is sliced into 9 uniform brownies.
Nutrition


I guess I missed the size pan to cook these in?
Yikes! Thanks for the catch. You’ll need an 8×8 inch pan 🙂
Any tips on making these a day in advance?
Making these a day in advance is definitely fine – that’s actually usually what I do since they can take awhile to cool. I usually make the brownies the day before, then the glaze the day of. If you make the glaze the day before – I’d just be careful not to stack the bars on top of each other or else they might stick/get a bit messy